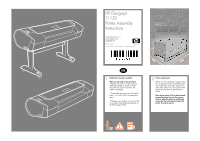
HP T1120ps HP Designjet T1120 Printer Assembly Instructions: English - Page 4
Notice that the printer body is, upside down. - 24
 |
UPC - 884420611936
View all HP T1120ps manuals
Add to My Manuals
Save this manual to your list of manuals |
Page 4 highlights
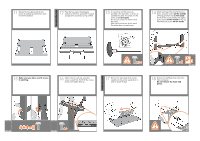
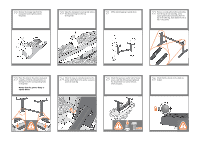
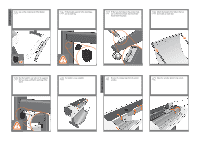
19 Remove the orange tape from the transparent covering that protects the printer. 20 Open the transparent covering and remove the desiccant bag from the top of the printer. 21 Lift the stand, keeping it upside down. 22 There is a round yellow button protruding from the top of one stand leg, and a square green button protruding from the top of the other leg. Each button fits into a hole in the printer. 23 Place the stand on the printer slowly and carefully, so that the colored buttons on the legs fit into the corresponding holes in the printer. Notice that the printer body is upside down. 24 When the legs are correctly located on the printer, attach them to the printer using two screws for each leg. 25 Check that you have used a total of twenty screws, and that all have been tightened. You should have two screws left over, which are spare. 26 Check that the wheels on the stand are locked. x20
-
 1
1 -
 2
2 -
 3
3 -
 4
4 -
 5
5 -
 6
6 -
 7
7 -
 8
8 -
 9
9 -
 10
10 -
11
-
12
 |
 |
