HP Workstation xw6000 Optical Drive Installation for HP Workstations - Page 2
Preparing for Installation - audio drivers
 |
View all HP Workstation xw6000 manuals
Add to My Manuals
Save this manual to your list of manuals |
Page 2 highlights
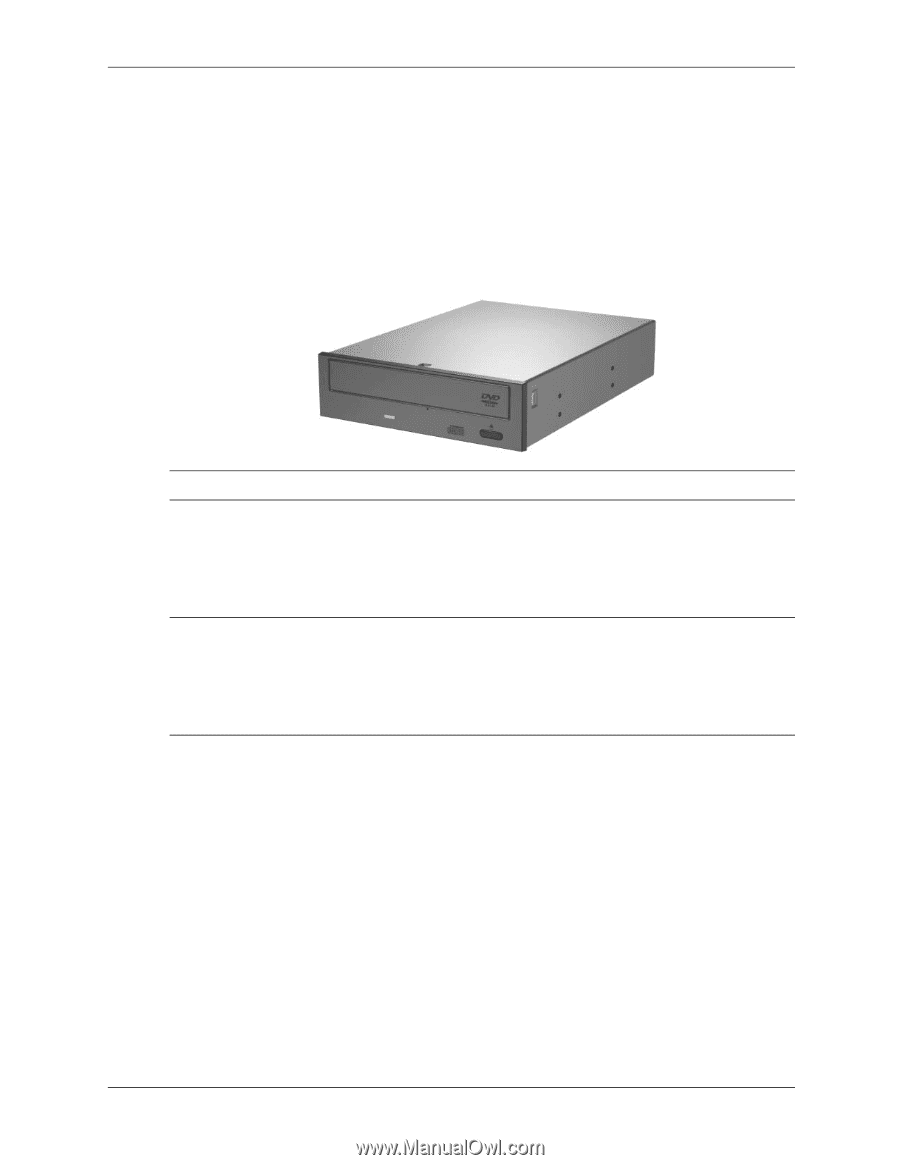
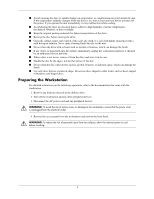
Preparing for Installation Kit Contents The following components are included in your optical drive kit: ■ 5.25-inch, half-height optical drive with IDE capability ■ Audio cable ■ Four M3 guide screws ■ Warranty NOTE: The drive may not be identical to the drive shown. Tools Required You may need the following to install the optical drive: ■ T-15 Torx driver or flat-bladed screwdriver NOTE: On some workstations, optical drives are mounted using M3 metric guide screws. These workstations come with extra metric guide screws that are located on the front of the chassis under the front bezel or on the diskette drive bracket under the access panel. HP-supplied metric screws are black. On other workstations, the optical drives do not require these guide screws. Instead, the drive cage is equipped with a latching mechanism to secure the optical drive in place. Precautions ■ Ensure that you are static-free by briefly touching a grounded metal object before beginning the installation procedures. ■ Avoid touching any exposed metal on the option board/chip or on the workstation's circuit boards. ■ Do not use worn, cracked, warped, or poor quality discs in the optical drive. ■ Look for cracks in the clear plastic area in the center of the disc. If cracks are present, do not use the disc in the optical drive. ■ Do not affix any adhesive labels to the disc surface. Affixing an adhesive label on the disc can cause damage to the disc and/or optical drive. ■ Do not drop the disc or subject it to physical shock. ■ Do not put the disc in a location subject to dust, direct sunlight, extreme temperatures, or high humidity. ■ Do not move the drive during operation. Doing so may cause it to malfunction during reading. 2
-
 1
1 -
 2
2 -
 3
3 -
 4
4 -
 5
5 -
 6
6 -
 7
7 -
 8
8 -
9
-
10
-
11
-
12
-
13
-
14
-
15
-
16
-
17
-
18
 |
 |