HP Xw6400 HP xw Workstation series - Sliding rack mount kit installation
HP Xw6400 - Workstation - 4 GB RAM Manual
 |
UPC - 882780645493
View all HP Xw6400 manuals
Add to My Manuals
Save this manual to your list of manuals |
HP Xw6400 manual content summary:
- HP Xw6400 | HP xw Workstation series - Sliding rack mount kit installation - Page 1
Sliding rack mount kit installation HP xw6x00 Workstation series This document describes how to install the sliding rack mount kit on an HP xw6200, xw6400, and xw6600 Workstation. It also describes how to install the workstation into a rack. Kit contents This product includes the parts necessary - HP Xw6400 | HP xw Workstation series - Sliding rack mount kit installation - Page 2
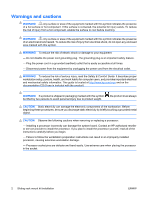
cautions when removing or replacing a processor: - Installing a processor incorrectly can damage the system board. Contact an HP authorized reseller or service provider to install the processor. If you plan to install the processor yourself, read all of the instructions carefully before you begin - HP Xw6400 | HP xw Workstation series - Sliding rack mount kit installation - Page 3
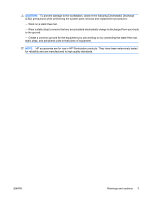
to the workstation, observe the following Electrostatic Discharge (ESD) precautions while performing the system parts removal and replacement procedures: - units to that piece of equipment. NOTE: HP accessories are for use in HP Workstation products. They have been extensively tested for reliability - HP Xw6400 | HP xw Workstation series - Sliding rack mount kit installation - Page 4
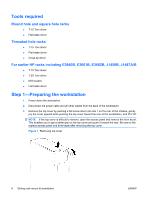
T-15 Torx driver ● Flat blade driver ● Cross-tip driver For earlier HP racks including E3660B, E3661B, E3662B, J1450B, J1487A/B ● T-15 Torx driver ● T-25 Torx driver ● M10 socket ● Flat blade driver Step 1-Preparing the workstation 1. Power down the workstation. 2. Disconnect the power cable and all - HP Xw6400 | HP xw Workstation series - Sliding rack mount kit installation - Page 5
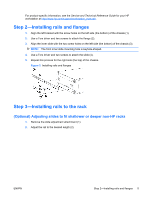
-specific information, see the Service and Technical Reference Guide for your HP workstation at http://www.hp.com/support/workstation_manuals. Step 2-Installing rails and flanges 1. Align the left bracket with the screw holes on the left side (the bottom) of the chassis (1). 2. Use a Torx driver - HP Xw6400 | HP xw Workstation series - Sliding rack mount kit installation - Page 6
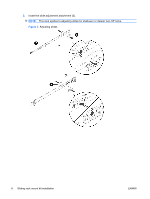
3. Insert the slide adjustment attachment (3). NOTE: This step applies to adjusting slides for shallower or deeper non-HP racks. Figure 3 Adjusting slides 6 Sliding rack mount kit installation ENWW - HP Xw6400 | HP xw Workstation series - Sliding rack mount kit installation - Page 7
round hole and square hole racks These instructions apply to racks such as standard HP racks. NOTE: This product must be mounted task. Repeat this procedure for the second slide. 3. Release rear bracket if it must be repositioned (3). 4. Release front bracket if it must be repositioned (4). Figure 4 - HP Xw6400 | HP xw Workstation series - Sliding rack mount kit installation - Page 8
Installing on threaded hole racks NOTE: This product must be mounted in the middle of a 4U space. Use the template in Mounting Aid in this document to determine a 4U space and mark the center. 1. Remove the three pins from the rear slide mounting bracket using a flat blade screwdriver (1). 2. Remove - HP Xw6400 | HP xw Workstation series - Sliding rack mount kit installation - Page 9
separately in adapter kit number 5064-9677. 1. Remove the rear mounting brackets from the outer slides (1). 2. Remove the front mounting brackets from the outer slides (2). Save the nuts for use in steps 5 and 6 below. 3. Extend the rails (3). Figure 6 Installing on earlier HP racks NOTE: This - HP Xw6400 | HP xw Workstation series - Sliding rack mount kit installation - Page 10
Step 4-Mounting into a rack 1. Insert the inner rails into the outer rails. 2. Push the workstation to slide it completely into the rack. You might need to release the latches on the slides. 3. Secure the workstation into the rack by tightening the thumb screws on the mounting flanges. NOTE: Two - HP Xw6400 | HP xw Workstation series - Sliding rack mount kit installation - Page 11
4. Mark the center at 2U. This will be the center line of the slides. Figure 9 Mounting aid Step 5-Reassembling the workstation When installation is complete, replace the access cover (if necessary), restore power, and power up the workstation. ENWW Step 5-Reassembling the workstation 11
-
 1
1 -
 2
2 -
 3
3 -
 4
4 -
 5
5 -
 6
6 -
 7
7 -
8
-
9
-
10
-
11
 |
 |
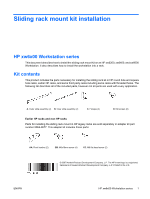
Sliding rack mount kit installation
HP xw6x00 Workstation series
This document describes how to install the sliding rack mount kit on an HP xw6200, xw6400, and xw6600
Workstation. It also describes how to install the workstation into a rack.
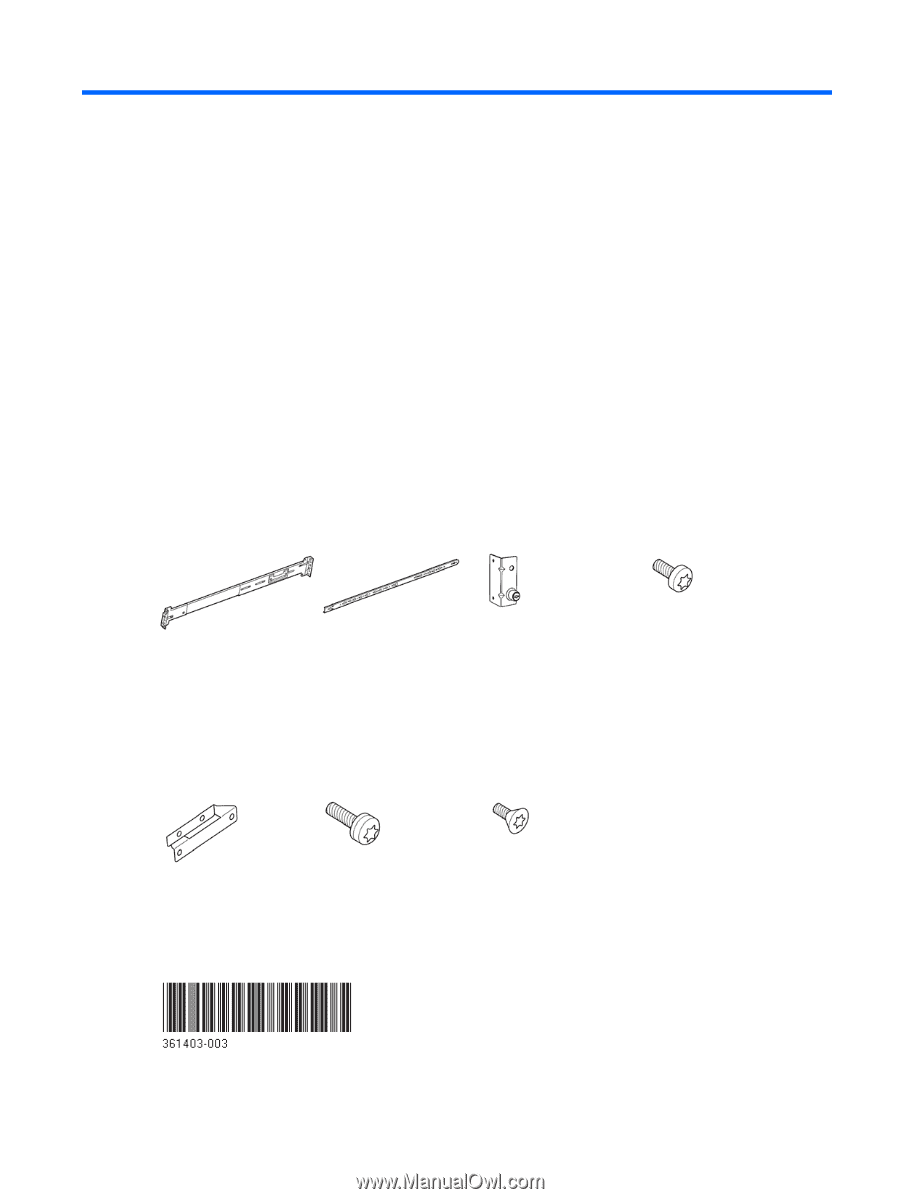
Kit contents
This product includes the parts necessary for installing the sliding rack kit in HP round hole and square
hole racks, earlier HP racks, and some third-party racks including some racks with threaded holes. The
following list describes all of the included parts, however not all parts are used with every application.
A.
Outer slide assembly (2)
B.
Inner slide assembly (2)
C.
Flanges (2)
D.
M4 screws (8)
Earlier HP racks and non-HP racks
Parts for installing the sliding rack mount in HP legacy racks are sold separately in adapter kit part
number 5064-9677. This adapter kit includes these parts:
AA.
Front bracket (2)
BB.
M5x16mm screw (4)
CC.
M6 flat head screw (2)
© 2007 Hewlett-Packard Development Company, L.P. The HP Invent logo is a registered
trademark of Hewlett-Packard Development Company, L.P. Printed in the U.S.
ENWW
HP xw6x00 Workstation series
1