Intermec PX6i Intermec Printer Language (IPL) Developer's Guide (old) - Page 15
Creating Command Strings, Sending IPL Commands to the Printer
 |
View all Intermec PX6i manuals
Add to My Manuals
Save this manual to your list of manuals |
Page 15 highlights
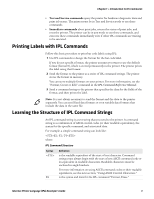
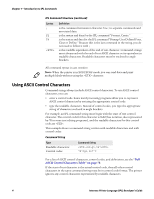
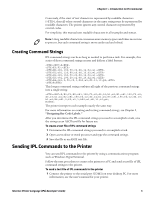
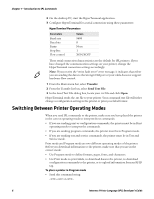
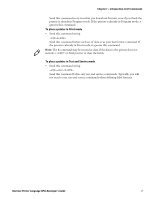
Chapter 1 - Introduction to IPL Commands Conversely, if the start of text character is represented by readable characters (), then all other control characters in the same string must be represented by readable characters. The printer ignores any control characters represented by control codes. For simplicity, this manual uses readable characters in all examples and syntax. Note: Using readable characters consumes more memory space and takes more time to process, but each command string is more easily read and edited. Creating Command Strings IPL command strings can be as long as needed to perform a task. For example, this series of short command strings creates and defines a label format: P E3;F3; H0;o81,100;f0;c0;d0,16;h1;w1; H1;o81,120;f0;c0;d0,16;h1;w1; H2;o81,150;f0;c2;d0,14;h1;w1; H3;o81,190;f0;c2;d0,16;h1;w1; B4;o81,0;f0;c0,1;h50;w1;d0,11;i0;p@; R This longer command string combines all eight of the previous command strings into a single string: P;E3;F3;H0;o81,100;f0;c0;d0,16;h1;w1;H1;o81,120;f0;c0; d0,16;h1;w1;H2;o81,150;f0;c2;d0,14;h1;w1;H3;o81,190;f0;c2;d0,16; h1;w1;B4;o81,0;f0;c0,1;h50;w1;d0,11;i0;p@; R The printer interprets each example exactly the same way. For more information on creating and testing command strings, see Chapter 2, "Designing Bar Code Labels." After you determine the IPL command strings you need to accomplish a task, save the strings as an ASCII text file for future use. To create a text file of IPL command strings 1 Determine the IPL command strings you need to accomplish a task. 2 Open a text editor or word processor and type the command strings. 3 Save the file as an ASCII text file. Sending IPL Commands to the Printer You can send IPL commands to the printer by using a communications program such as Windows HyperTerminal. Follow the next procedure to connect the printer to a PC and send a text file of IPL command strings to the printer. To send a text file of IPL commands to the printer 1 Connect the printer to the serial port (COM1) on your desktop PC. For more information, see the user's manual for your printer. Intermec Printer Language (IPL) Developer's Guide 5
-
 1
1 -
2
-
3
-
4
-
5
-
6
-
7
-
8
-
9
-
 10
10 -
 11
11 -
 12
12 -
 13
13 -
 14
14 -
 15
15 -
 16
16 -
 17
17 -
 18
18 -
 19
19 -
 20
20 -
21
-
22
-
23
-
24
-
25
-
26
-
27
-
28
-
29
-
30
-
31
-
32
-
33
-
34
-
35
-
36
-
37
-
38
-
39
-
40
-
41
-
42
-
43
-
44
-
45
-
46
-
47
-
48
-
49
-
50
-
51
-
52
-
53
-
54
-
55
-
56
-
57
-
58
-
59
-
60
-
61
-
62
-
63
-
64
-
65
-
66
-
67
-
68
-
69
-
70
-
71
-
72
-
73
-
74
-
75
-
76
-
77
-
78
-
79
-
80
-
81
-
82
-
83
-
84
-
85
-
86
-
87
-
88
-
89
-
90
-
91
-
92
-
93
-
94
-
95
-
96
-
97
-
98
-
99
-
100
-
101
-
102
-
103
-
104
-
105
-
106
-
107
-
108
-
109
-
110
-
111
-
112
 |
 |
