JVC GZ-MG230 other - Page 52
File Backup on the PC
 |
UPC - 046838036675
View all JVC GZ-MG230 manuals
Add to My Manuals
Save this manual to your list of manuals |
Page 52 highlights
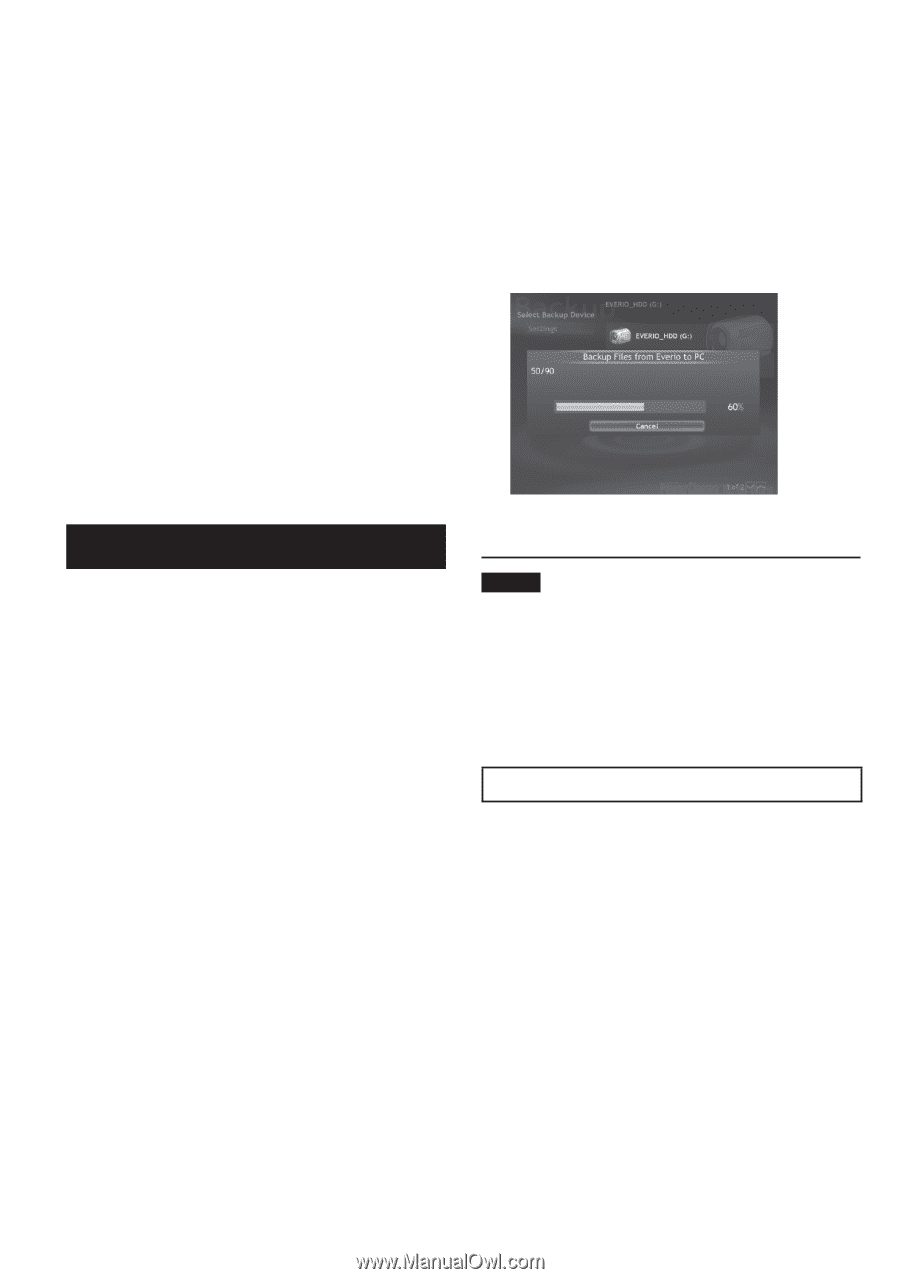
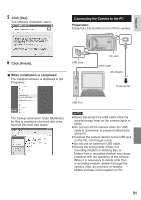
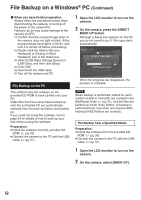
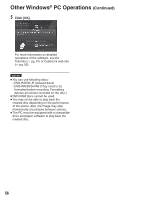
File Backup on a Windows® PC (Continued) - When you have finished operation Always follow the procedures below when disconnecting the camera, or turning off the power of the camera/PC. Failing to do so may cause damage to the camera and PC. 1) Confirm that the access/charge lamp on the camera does not light or blink. (If the access/charge lamp lights or blinks, wait until it is turned off before proceeding.) 2) Double-click the [Safely Remove Hardware] or [Unplug or Eject Hardware] icon in the status bar. 3) Select [USB Mass Storage Device] or [USB Disk], and then click [Stop]. 4) Click [OK]. 5) Disconnect the USB cable. 6) Turn off the camera and PC. File Backup on the PC This method uses the software on the provided CD-ROM to back up files onto your PC. Video files that have never been backed up onto the connected PC are automatically selected from the back up history and backed up. If you could not install the software, turn to page 53 for details of how to back up your files without using this software. Preparation: • Install the software from the provided CD- ROM. (੬ pg. 50) • Connect the camera to the PC with the USB cable. (੬ pg. 51) 1 Open the LCD monitor to turn on the camera. 2 On the camera, press the DIRECT BACK UP button. Although a dialog box appears on the PC, you do not need to use it. File copy starts automatically. When the progress bar disappears, the process is complete. NOTE When backup is performed, folders for each medium (HDD or microSD) are created in the [MyWorks] folder (੬ pg. 51), and the files are backed up inside those folders. (If backup is performed from more than one camera HDD, individual HDD folders are created.) File Backup from a Specified Media Preparation: • Install the software from the provided CD- ROM. (੬ pg. 50) • Connect the camera to the PC with the USB cable. (੬ pg. 51) 1 Open the LCD monitor to turn on the camera. 2 On the camera, select [BACK UP]. 52
-
 1
1 -
2
-
3
-
4
-
5
-
6
-
7
-
8
-
9
-
10
-
11
-
12
-
13
-
14
-
15
-
16
-
17
-
18
-
19
-
20
-
21
-
22
-
23
-
24
-
25
-
26
-
27
-
28
-
29
-
30
-
31
-
32
-
33
-
34
-
35
-
36
-
37
-
38
-
39
-
40
-
41
-
42
-
43
-
44
-
45
-
46
-
 47
47 -
 48
48 -
 49
49 -
 50
50 -
 51
51 -
 52
52 -
 53
53 -
 54
54 -
 55
55 -
 56
56 -
 57
57 -
58
-
59
-
60
-
61
-
62
-
63
-
64
-
65
-
66
-
67
-
68
-
69
-
70
-
71
-
72
-
73
-
74
-
75
-
76
 |
 |