JVC GZ-VX700BUS User Manual - English - Page 107
Recording Automatically by Sensing Movements (AUTO REC), Time-Lapse Setting, Caution
 |
View all JVC GZ-VX700BUS manuals
Add to My Manuals
Save this manual to your list of manuals |
Page 107 highlights
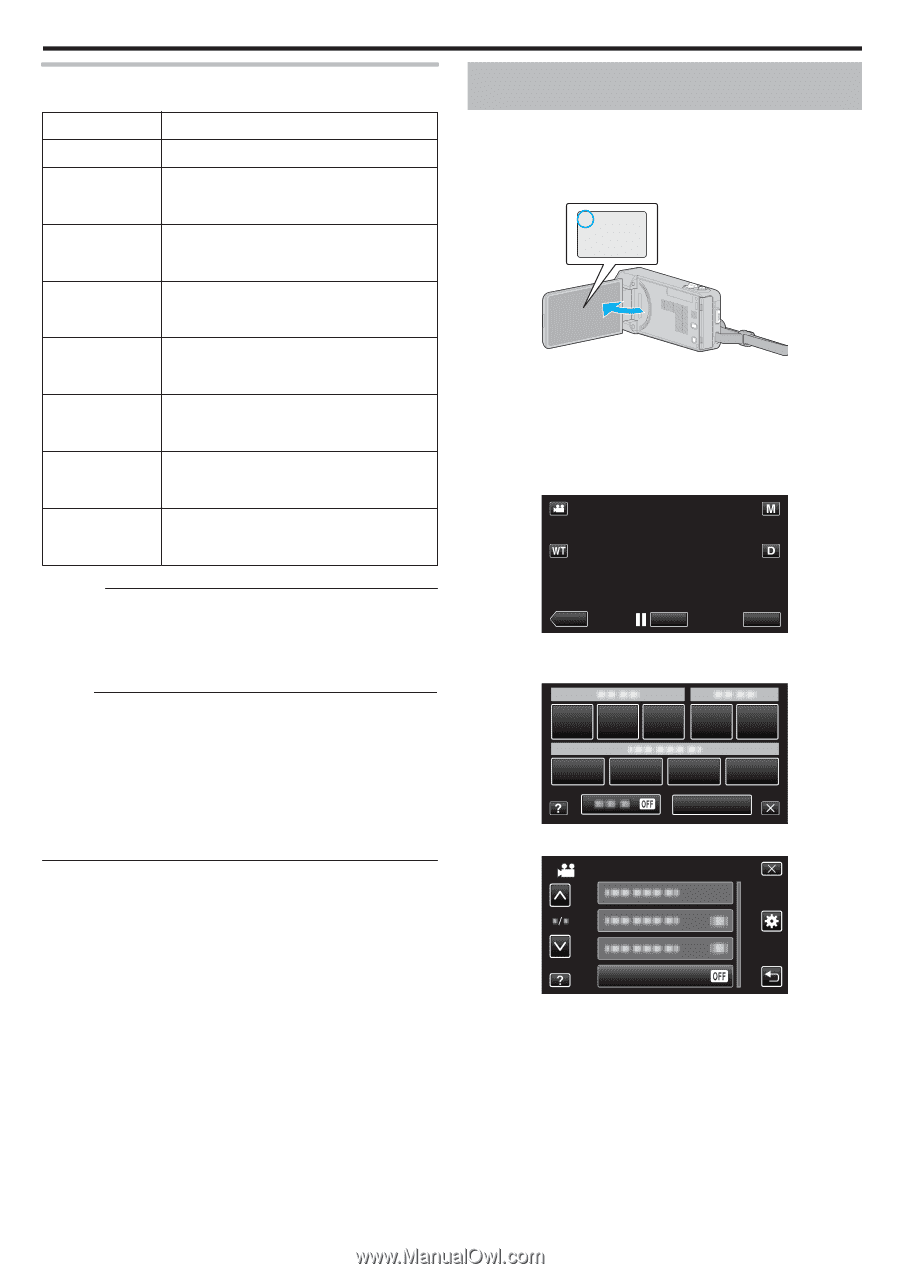
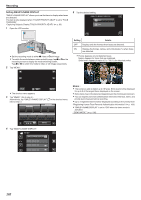
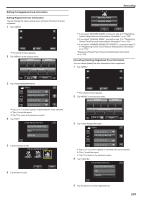
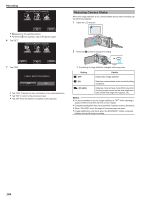
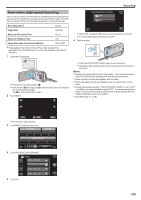
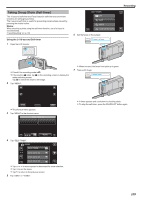
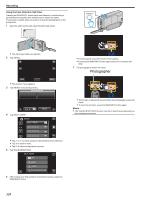
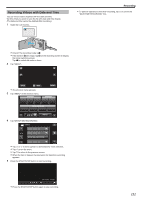
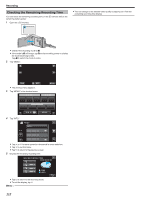
Recording Time-Lapse Setting The greater the number of seconds, the longer the recording interval. Setting Details OFF Deactivates the function. 1SEC INTERVAL Takes a frame at 1-second intervals. Recorded videos will be played back at 30 times speed. 2SEC INTERVAL Takes a frame at 2-second intervals. Recorded videos will be played back at 60 times speed. 5SEC INTERVAL Takes a frame at 5-second intervals. Recorded videos will be played back at 150 times speed. 10SEC INTERVAL Takes a frame at 10-second intervals. Recorded videos will be played back at 300 times speed. 20SEC INTERVAL Takes a frame at 20-second intervals. Recorded videos will be played back at 600 times speed. 40SEC INTERVAL Takes a frame at 40-second intervals. Recorded videos will be played back at 1 200 times speed. 80SEC INTERVAL Takes a frame at 80-second intervals. Recorded videos will be played back at 2 400 times speed. Caution : 0 Audio cannot be recorded during time-lapse recording. 0 Zooming, simultaneous still image recording, and image stabilizer are not available in time-lapse recording. 0 When recording is stopped with the recorded time less than "0:00:00:17" , the video will not be saved. Memo : 0 Settings of time-lapse recording are reset when the power is turned off. To start time-lapse recording again, it is necessary to make the selection once more. 0 Recording stops automatically 99 hours after it is started. 0 Make use of a tripod and AC adapter for time-lapse recordings with long intervals. It is also recommended to fix the focus and white balance manually. "Tripod Mounting" (A p. 70) "Adjusting Focus Manually" (A p. 82) "Setting White Balance" (A p. 86) Recording Automatically by Sensing Movements (AUTO REC) This function enables the unit to record automatically by sensing the changes in subject's movement (brightness) within the red frame displayed on the LCD monitor. It can be set for both video and still image modes. 1 Open the LCD monitor. A . 0 Set the recording mode to either A video or B still image. 0 To switch the mode between video and still image, tap A or B on the recording screen to display the mode switching screen. Tap A or B to switch the mode to video or still image respectively. 2 Compose the picture according to the subject. 0 Adjust the angle of view with the zoom, etc. 3 Tap "MENU". ˻PLAY REC . 0 The shortcut menu appears. 4 Tap "MENU" in the shortcut menu. MENU . 5 Tap "AUTO REC". VIDEO MENU AUTO REC . 0 Tap 3 or 2 to move upward or downward for more selection. 0 Tap L to exit the menu. 0 Tap J to return to the previous screen. 6 Tap "ON". 107
-
 1
1 -
2
-
3
-
4
-
5
-
6
-
7
-
8
-
9
-
10
-
11
-
12
-
13
-
14
-
15
-
16
-
17
-
18
-
19
-
20
-
21
-
22
-
23
-
24
-
25
-
26
-
27
-
28
-
29
-
30
-
31
-
32
-
33
-
34
-
35
-
36
-
37
-
38
-
39
-
40
-
41
-
42
-
43
-
44
-
45
-
46
-
47
-
48
-
49
-
50
-
51
-
52
-
53
-
54
-
55
-
56
-
57
-
58
-
59
-
60
-
61
-
62
-
63
-
64
-
65
-
66
-
67
-
68
-
69
-
70
-
71
-
72
-
73
-
74
-
75
-
76
-
77
-
78
-
79
-
80
-
81
-
82
-
83
-
84
-
85
-
86
-
87
-
88
-
89
-
90
-
91
-
92
-
93
-
94
-
95
-
96
-
97
-
98
-
99
-
100
-
101
-
 102
102 -
 103
103 -
 104
104 -
 105
105 -
 106
106 -
 107
107 -
 108
108 -
 109
109 -
 110
110 -
 111
111 -
 112
112 -
113
-
114
-
115
-
116
-
117
-
118
-
119
-
120
-
121
-
122
-
123
-
124
-
125
-
126
-
127
-
128
-
129
-
130
-
131
-
132
-
133
-
134
-
135
-
136
-
137
-
138
-
139
-
140
-
141
-
142
-
143
-
144
-
145
-
146
-
147
-
148
-
149
-
150
-
151
-
152
-
153
-
154
-
155
-
156
-
157
-
158
-
159
-
160
-
161
-
162
-
163
-
164
-
165
-
166
-
167
-
168
-
169
-
170
-
171
-
172
-
173
-
174
-
175
-
176
-
177
-
178
-
179
-
180
-
181
-
182
-
183
-
184
-
185
-
186
-
187
-
188
-
189
-
190
-
191
-
192
-
193
-
194
-
195
-
196
-
197
-
198
-
199
-
200
-
201
-
202
-
203
-
204
-
205
-
206
-
207
-
208
-
209
 |
 |