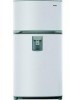
Kenmore 7531 Use and Care Guide - Page 12
type.Directions
 |
View all Kenmore 7531 manuals
Add to My Manuals
Save this manual to your list of manuals |
Page 12 highlights
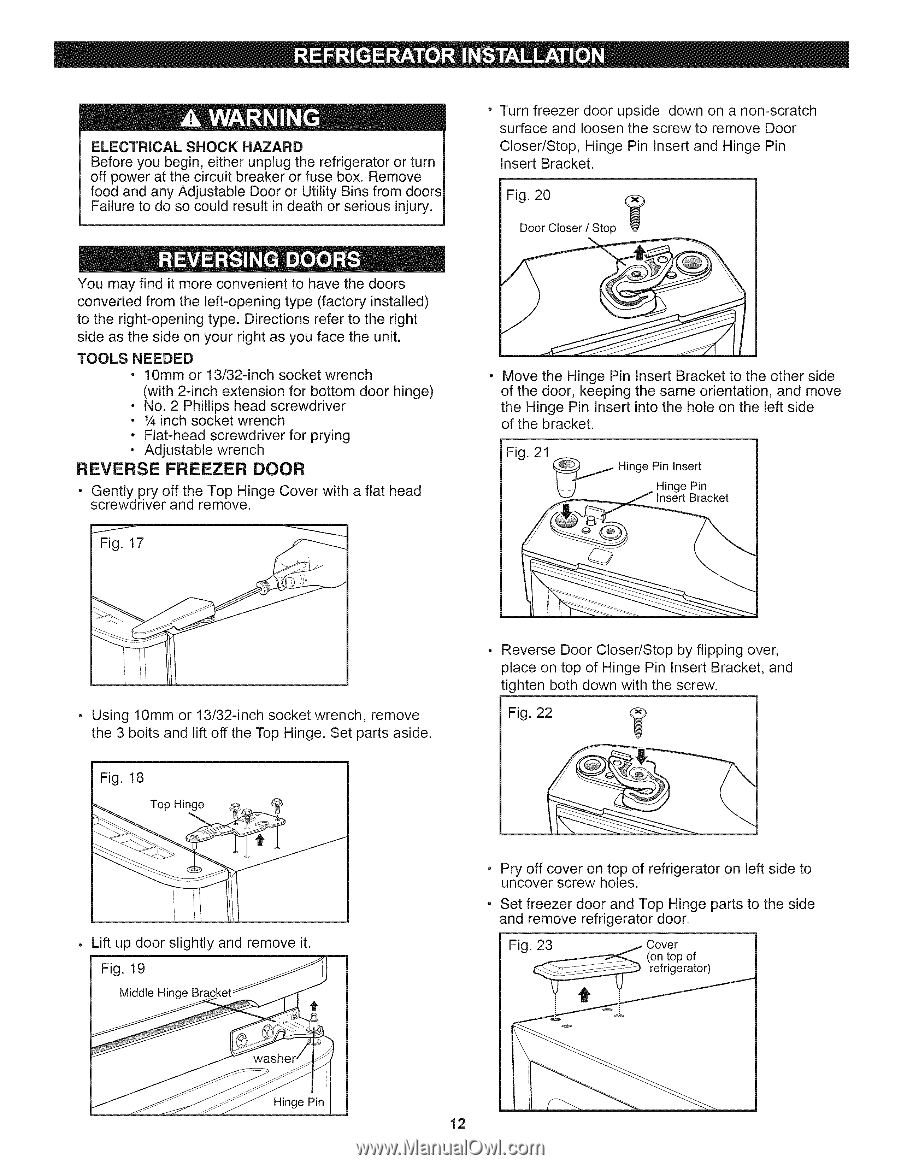
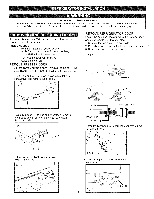
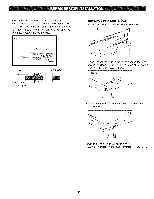
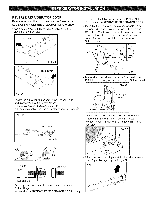
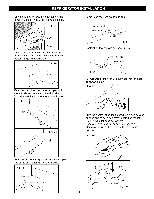
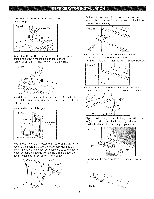
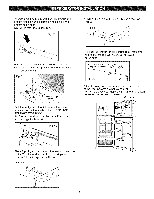
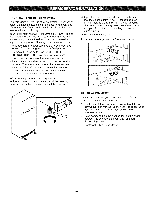
ELECTRICASLHOCKHAZARD Beforeyoubegine, itherunplugtherefrigeratoorrturn offpoweratthecircuitbreakeor rfusebox.Remove foodandanyAdjustablDe ooror UtilityBinsfromdoors Failuretodosocouldresultindeathor seriousinjury. ° Turn freezer door upside down on a non-scratch surface and loosen the screw to remove Door Closer/Stop, Hinge Pin Insert and Hinge Pin Insert Bracket. Fig. 20 @ Door Closer / Stop Youmayfinditmoreconvenientot havethedoors convertedfromthe left-openintgype(factoryinstalled) to theright-openintgype.Directionrseferto theright sideas thesideonyourrightasyoufacetheunit. TOOLSNEEDED • 10mmor 13/32-incshocketwrench (with2-inchextension for bottom door hinge) • No. 2 Phillips head screwdriver • 1,4inch socket wrench - Flat-head screwdriver for prying o Adjustable wrench REVERSE FREEZER DOOR • Gently pry off the Top Hinge Cover with a flat head screwdriver and remove. J Fig. 17 Move the Hinge Pin Insert Bracket to the other side of the door, keeping the same orientation, and move the Hinge Pin Insert into the hole on the left side of the bracket. Fig. 21 _ Hinge PHiningInesePrtin Insert Bracket • Using 10mm or 13/32-inch socket wrench, remove the 3 bolts and lift off the Top Hinge. Set parts aside. I Fig. 18 Top Hinge Lift up door slightly and remove it. Fig. 19 Middle Hinge Bracket Reverse Door Closer/Stop by flipping over, place on top of Hinge Pin Insert Bracket, and tighten both down with the screw. Fig. 22 Pry off cover on top of refrigerator on left side to uncover screw holes. Set freezer door and Top Hinge parts to the side and remove refrigerator door. Fig. 23 _i Cover (on top of refrigerator) J_ Hinge Pin 12
-
 1
1 -
2
-
3
-
4
-
5
-
6
-
 7
7 -
 8
8 -
 9
9 -
 10
10 -
 11
11 -
 12
12 -
 13
13 -
 14
14 -
 15
15 -
 16
16 -
 17
17 -
18
-
19
-
20
-
21
-
22
-
23
-
24
-
25
-
26
-
27
-
28
-
29
-
30
-
31
-
32
-
33
-
34
 |
 |