Kenmore 7531 Use and Care Guide - Page 18
Refrigerator, Control
 |
View all Kenmore 7531 manuals
Add to My Manuals
Save this manual to your list of manuals |
Page 18 highlights
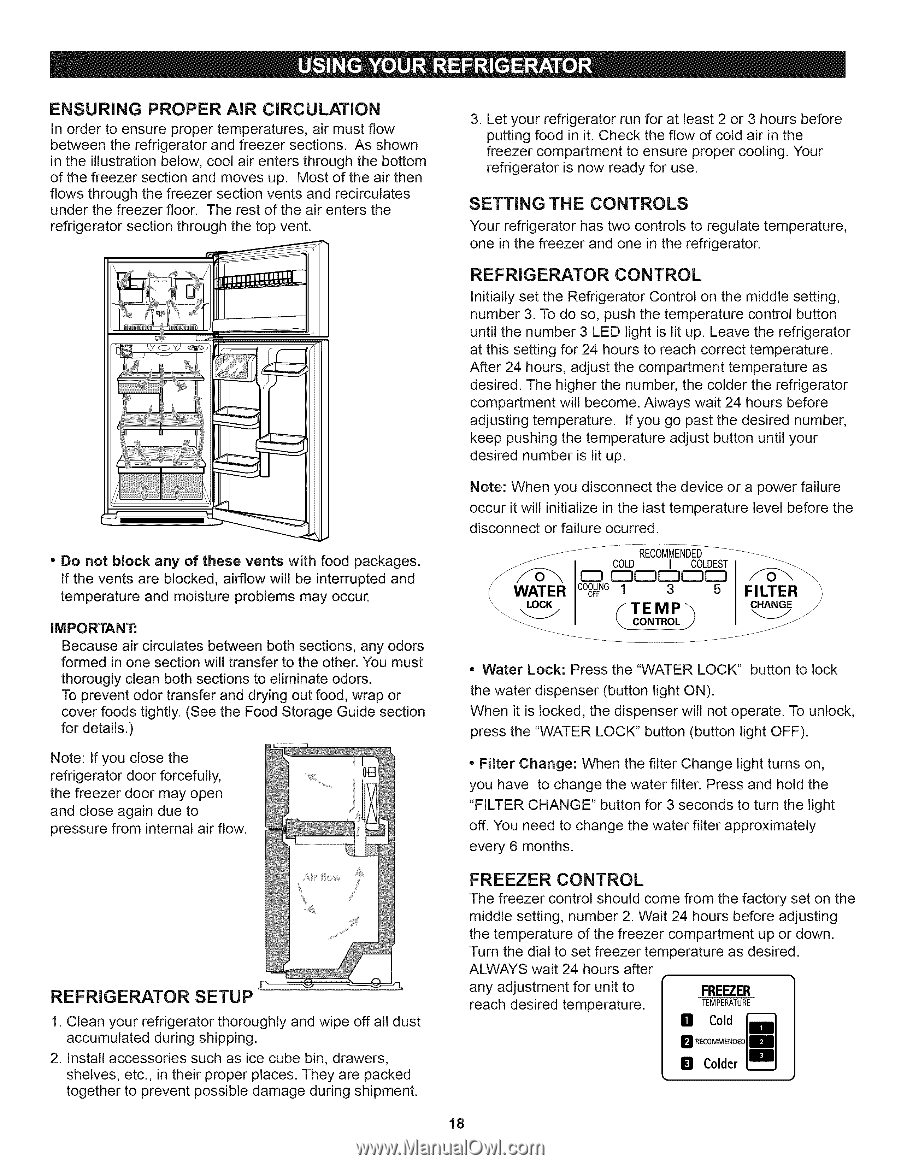
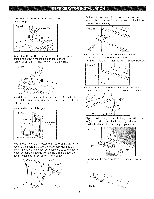
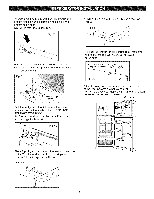
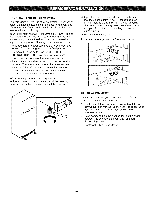
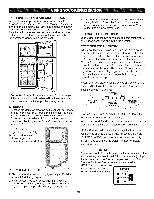
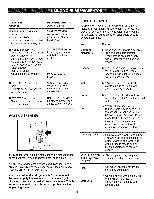
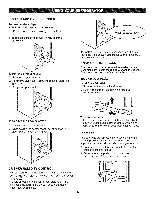
ENSURING PROPER AiR CiRCULATiON In order to ensure proper temperatures, air must flow between the refrigerator and freezer sections. As shown in the illustration below, cool air enters through the bottom of the freezer section and moves up. Most of the air then flows through the freezer section vents and recirculates under the freezer floor. The rest of the air enters the refrigerator section through the top vent. * Do not block any of these vents with food packages. If the vents are blocked, airflow will be interrupted and temperature and moisture problems may occur. IMPORTANT: Because air circulates between both sections, any odors formed in one section will transfer to the other. You must thorougly clean both sections to eliminate odors. To prevent odor transfer and drying out food, wrap or cover foods tightly. (See the Food Storage Guide section for details.) Note: If you close the refrigerator door forcefully, the freezer door may open and close again due to pressure from internal air flow. REFRIGERATOR SETUP 1. Clean your refrigerator thoroughly and wipe off all dust accumulated during shipping. 2. Install accessories such as ice cube bin, drawers, shelves, eta, in their proper places. They are packed together to prevent possible damage during shipment. 3. Let your refrigerator run for at least 2 or 3 hours before putting food in it. Check the flow of cold air in the freezer compartment to ensure proper cooling. Your refrigerator is now ready for use. SETTING THE CONTROLS Your refrigerator has two controls to regulate temperature, one in the freezer and one in the refrigerator. REFRIGERATOR CONTROL Initially set the Refrigerator Control on the middle setting, number 3. To do so, push the temperature control button until the number 3 LED light is lit up. Leave the refrigerator at this setting for 24 hours to reach correct temperature. After 24 hours, adjust the compartment temperature as desired. The higher the number, the colder the refrigerator compartment will become. Always wait 24 hours before adjusting temperature. If you go past the desired number, keep pushing the temperature adjust button until your desired number is lit up. Note: When you disconnect the device or a power failure occur it will initialize in the last temperature level before the disconnect or failure ocurred. _ .... RECOMMENDED .... /WWAT _.-.._/ ER COOOLFINGFCO1LD __I fTEMP_ COLD__EST FILTER CHANGE • Water Lock: Press the "WATER LOCK" button to lock the water dispenser (button light ON). When it is locked, the dispenser will not operate. To unlock, press the "WATER LOCK" button (button light OFF). • Filter Change: When the filter Change light turns on, you have to change the water filter. Press and hold the "FILTER CHANGE" button for 3 seconds to turn the light off. You need to change the water filter approximately every 6 months. FREEZER CONTROL The freezer control should come from the factory set on the middle setting, number 2. Wait 24 hours before adjusting the temperature of the freezer compartment up or down. Turn the dial to set freezer temperature as desired. ALWAYS wait 24 hours after any adjustment for unit to reach desired temperature. FREEZER TEMPERATURE B Cold M RECOMMENDE0 D Colder 18
-
 1
1 -
2
-
3
-
4
-
5
-
6
-
7
-
8
-
9
-
10
-
11
-
12
-
 13
13 -
 14
14 -
 15
15 -
 16
16 -
 17
17 -
 18
18 -
 19
19 -
 20
20 -
 21
21 -
 22
22 -
 23
23 -
24
-
25
-
26
-
27
-
28
-
29
-
30
-
31
-
32
-
33
-
34
 |
 |