Kenmore 7531 Use and Care Guide - Page 22
Crisper, Cover, Control
 |
View all Kenmore 7531 manuals
Add to My Manuals
Save this manual to your list of manuals |
Page 22 highlights
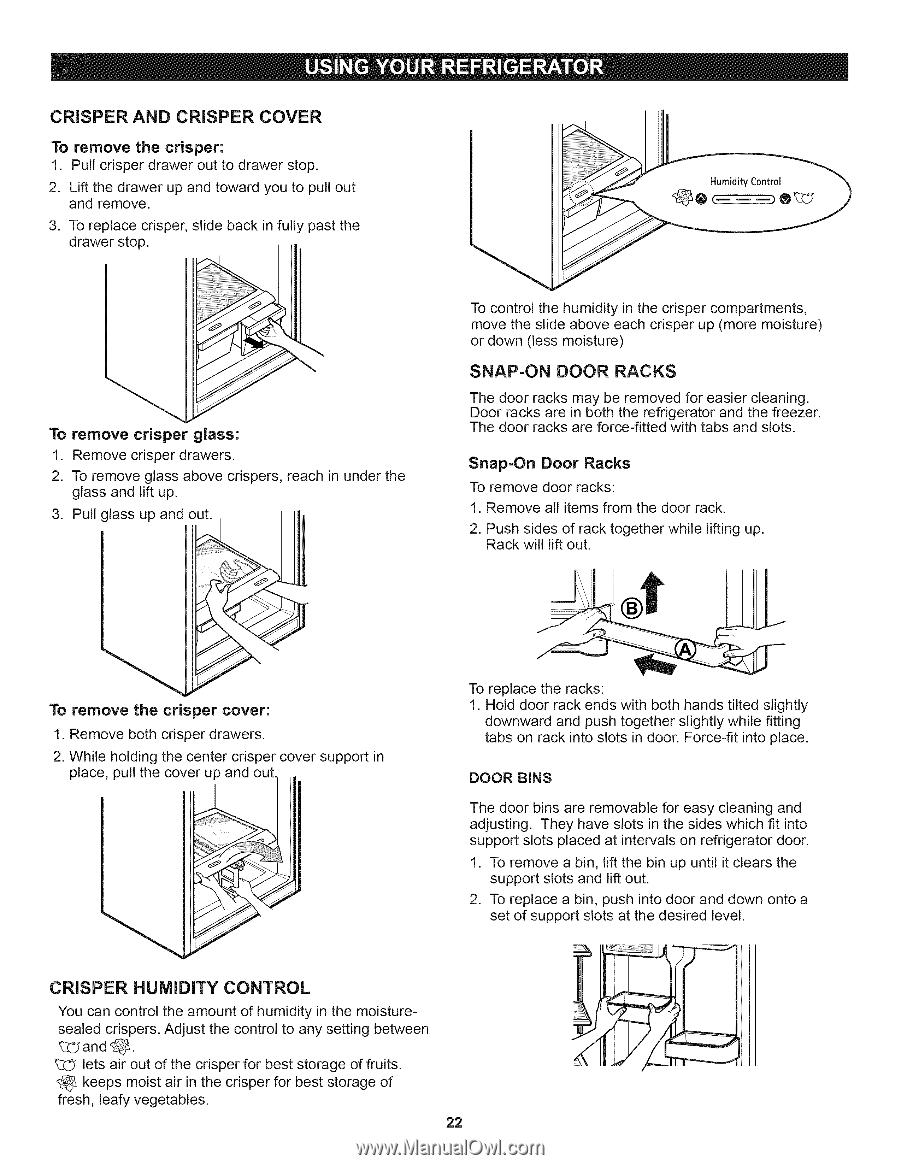
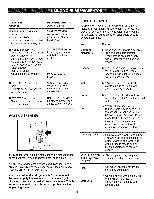
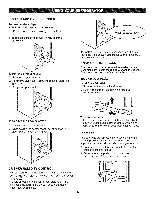
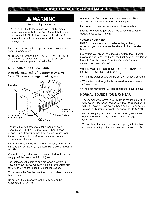
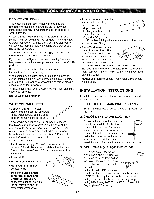
CRISPER AND CRISPER COVER To remove the crisper: 1. Pull crisper drawer out to drawer stop. 2. Lift the drawer up and toward you to pull out and remove. 3. To replace crisper, slide back in fully past the drawer stop. To remove crisper glass: 1. Remove crisper drawers. 2. To remove glass above crispers, reach in under the glass and lift up. 3. Pull glass up and out. To control the humidity in the crisper compartments, move the slide above each crisper up (more moisture) or down (less moisture) SNAP=ON DOOR RACKS The door racks may be removed for easier cleaning. Door racks are in both the refrigerator and the freezer. The door racks are force-fitted with tabs and slots. Snap=On Door Racks To remove door racks: 1. Remove all items from the door rack. 2. Push sides of rack together while lifting up. Rack will lift out. To remove the crisper cover: 1. Remove both crisper drawers. 2. While holding the center crisper cover support in place, pull the cover up and out. To replace the racks: 1. Hold door rack ends with both hands tilted slightly downward and push together slightly while fitting tabs on rack into slots in door. Force-fit into place. DOOR BINS The door bins are removable for easy cleaning and adjusting. They have slots in the sides which fit into support slots placed at intervals on refrigerator door. 1. To remove a bin, lift the bin up until it clears the support slots and lift out. 2. To replace a bin, push into door and down onto a set of support slots at the desired level. CRISPER HUMIDITY CONTROL You can control the amount of humidity in the moisturesealed crispers. Adjust the control to any setting between _:_and _. lets air out of the crisper for best storage of fruits. keeps moist air in the crisper for best storage of fresh, leafy vegetables. 22
-
 1
1 -
2
-
3
-
4
-
5
-
6
-
7
-
8
-
9
-
10
-
11
-
12
-
13
-
14
-
15
-
16
-
 17
17 -
 18
18 -
 19
19 -
 20
20 -
 21
21 -
 22
22 -
 23
23 -
 24
24 -
 25
25 -
 26
26 -
 27
27 -
28
-
29
-
30
-
31
-
32
-
33
-
34
 |
 |