Kenmore 9961 Use and Care Guide - Page 11
Operating, the Bridge, Surface, Radiant, Element, Operate, Indicator, Lights
 |
View all Kenmore 9961 manuals
Add to My Manuals
Save this manual to your list of manuals |
Page 11 highlights
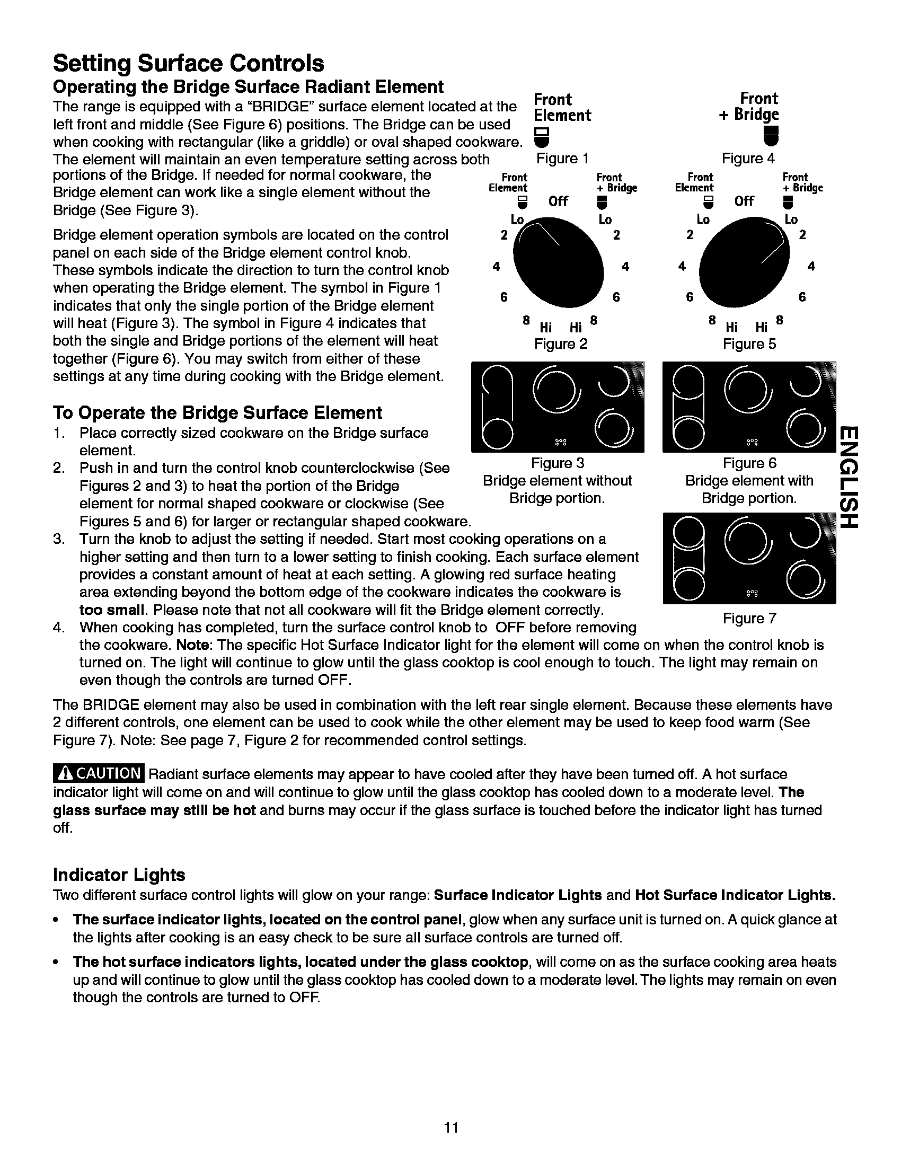
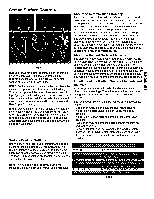
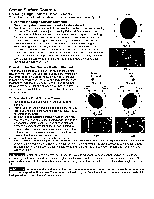
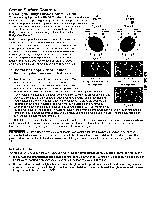
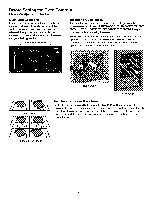
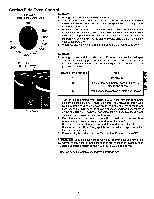
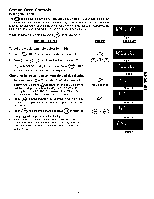
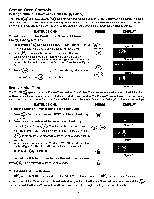
Setting Surface Controls Operating the Bridge Surface Radiant Element The range is equipped with a "BRIDGE" surface element located at the FErleomntent left front and middle (Bee Figure 6) positions. The Bridge can be used r_ when cooking with rectangular (like a griddle) or oval shaped cookware. • The element will maintain an even temperature setting across both Figure 1 portions of the Bridge. If needed for normal cookware, the Bridge element can work like a single element without the Bridge (See Figure 3). Bridge element operation symbols are located on the control Front Element Off • 2 Front + Bridge m • Lo 2 panel on each side of the Bridge element control knob. These symbols indicate the direction to turn the control knob 4 4 when operating the Bridge element. The symbol in Figure 1 indicates that only the single portion of the Bridge element will heat (Figure 3). The symbol in Figure 4 indicates that 6 6 8 Hi Hi 8 both the single and Bridge portions of the element will heat Figure 2 together (Figure 6). You may switch from either of these settings at any time during cooking with the Bridge element. Front + Bridge mm Figure 4 Front Element D Off w Lo 2 Front + Bridge • Lo 2 4 6 Hi Hi 8 Figure 5 To Operate the Bridge Surface Element 1. Place correctly sized cookware on the Bridge surface element. 2. Push in and turn the control knob counterclockwise (See Figures 2 and 3) to heat the portion of the Bridge element for normal shaped cookware or clockwise (See Figure 3 Bridge element without Bridge portion. Figure 6 Bridge element with Bridge portion. Figures 5 and 6) for larger or rectangular shaped cookware. "-I- 3. Turn the knob to adjust the setting if needed. Start most cooking operations on a higher setting and then turn to a lower setting to finish cooking. Each surface element provides a constant amount of heat at each setting. A glowing red surface heating area extending beyond the bottom edge of the cookware indicates the cookware is too small. Please note that not all cookware will fit the Bridge element correctly. 4. When cooking has completed, turn the surface control knob to OFF before removing Figure 7 the cookware. Note: The specific Hot Surface Indicator light for the element will come on when the control knob is turned on. The light will continue to glow until the glass cooktop is cool enough to touch. The light may remain on even though the controls are turned OFF. The BRIDGE element may also be used in combination with the left rear single element. Because these elements have 2 different controls, one element can be used to cook while the other element may be used to keep food warm (See Figure 7). Note: See page 7, Figure 2 for recommended control settings. Radiant surface elements may appear to have cooled after they have been turned off. A hot surface indicator light will come on and will continue to glow until the glass cooktop has cooled down to a moderate level. The glass surface may still be hot and burns may occur if the glass surface is touched before the indicator light has turned off. Indicator Lights Two different surface control lights will glow on your range: Surface Indicator Lights and Hot Surface Indicator Lights. • The surface indicator lights, located on the control panel, glow when any surface unit is turned on. A quick glance at the lights after cooking is an easy check to be sure all surface controls are turned off. • The hot surface indicators lights, located under the glass cooktop, will come on as the surface cooking area heats up and will continue to glow until the glass cooktop has cooled down to a moderate level.The lights may remain on even though the controls are turned to OFF. 11
-
 1
1 -
2
-
3
-
4
-
5
-
 6
6 -
 7
7 -
 8
8 -
 9
9 -
 10
10 -
 11
11 -
 12
12 -
 13
13 -
 14
14 -
 15
15 -
 16
16 -
17
-
18
-
19
-
20
-
21
-
22
-
23
-
24
-
25
-
26
-
27
-
28
-
29
-
30
-
31
-
32
-
33
-
34
-
35
-
36
-
37
-
38
-
39
-
40
-
41
-
42
-
43
-
44
-
45
 |
 |