Kenwood Here2Everywhere Operating Instructions - Page 6
Installation in a Home - sirius
 |
View all Kenwood Here2Everywhere manuals
Add to My Manuals
Save this manual to your list of manuals |
Page 6 highlights
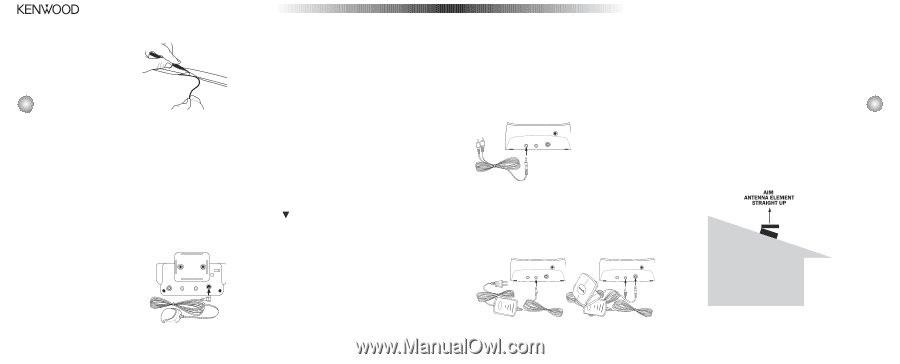
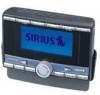
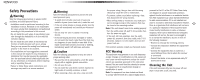
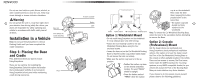
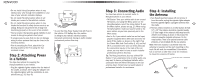
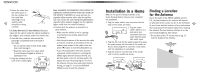
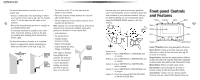
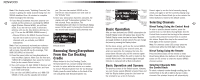
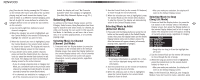
3. Route the cable from the lowest point of the rear window into the trunk. Take advantage of any 10 existing cable channels or wiring conduits. For SUVs, Minivans & 5-door Vehicles: Bring the cable into the vehicle under the rubber molding for the tailgate, and continue under the interior trim. 4. From the trunk, route the cable around the passenger compartment and to the back of the cradle. • Do not pull the cable across sharp edges that could damage it. • Keep the cable away from areas where it could become tangled in driver's or passengers' feet. 5. Plug the antenna into the back of the cradle (right). DC 12V AUDIO OUT FM OUT ANT Note: KENWOOD RECOMMENDS UNPLUGGING THE CIGARETTE LIGHTER ADAPTER AFTER YOU TURN OFF THE VEHICLE'S IGNITION. (In some vehicles, the cigarette lighter remains active after the ignition has been turned off, and leaving Here2Everywhere's cigarette lighter adapter plugged into the cigarette lighter could drain the vehicle's battery.) 6. Confirm that the antenna is mounted in a good location. • Make sure the vehicle is not in a garage or somewhere the satellite signal could be blocked. • Slide Here2Everywhere all the way into the cradle so that the connector at the bottom of the unit makes proper contact in the cradle. Press the power ( ) button to turn Here2Everywhere on. • If your Here2Everywhere has been properly connected and the antenna is receiving the SIRIUS signal (Preview Channel #184), you will hear audio. If you do not hear audio, the display will read "Acquiring Signal." Re-orient the antenna until you hear audio. (See Antenna Aiming, on page 27 to use the ANTENNA SIGNAL screen to aim the antenna.) Installation in a Home Finding a Location Note: Do not put the Here2Everywhere in the for the Antenna Home Docking Station until you have completed the installation. Due to the paths of the SIRIUS satellites over the U.S., the best location for the antenna will depend 1. Plug the audio cable's mini connector into the back of the cradle, as shown. on what part of the country you live in, the orientation 11 of your home, and the locations of any obstructions 2. Plug the audio that could prevent the satellite signal from reaching ANT AUDIO OUT DC 12V cable's white (L ch.) the antenna. The best antenna location is on the and red (R ch.) roof, facing straight up (see below). connectors into your audio system's avail- • The location of the "X" on the map on pg. 13 must be visible to the antenna. able audio input. 3. Plug the AC cord into the power supply, then plug the power supply into the back of the cradle, as shown. Don't plug the AC cord into a wall outlet until the installation is completed. 4. Plug the antenna into the back of the cradle until it is firmly seated, as shown. ANT AUDIO OUT DC 12V ANT AUDIO OUT DC 12V
-
 1
1 -
 2
2 -
 3
3 -
 4
4 -
 5
5 -
 6
6 -
 7
7 -
 8
8 -
 9
9 -
 10
10 -
 11
11 -
 12
12 -
13
-
14
-
15
-
16
-
17
 |
 |