Konica Minolta MS6000 MK II Twain Driver and Overlay Manager Software Installa - Page 8
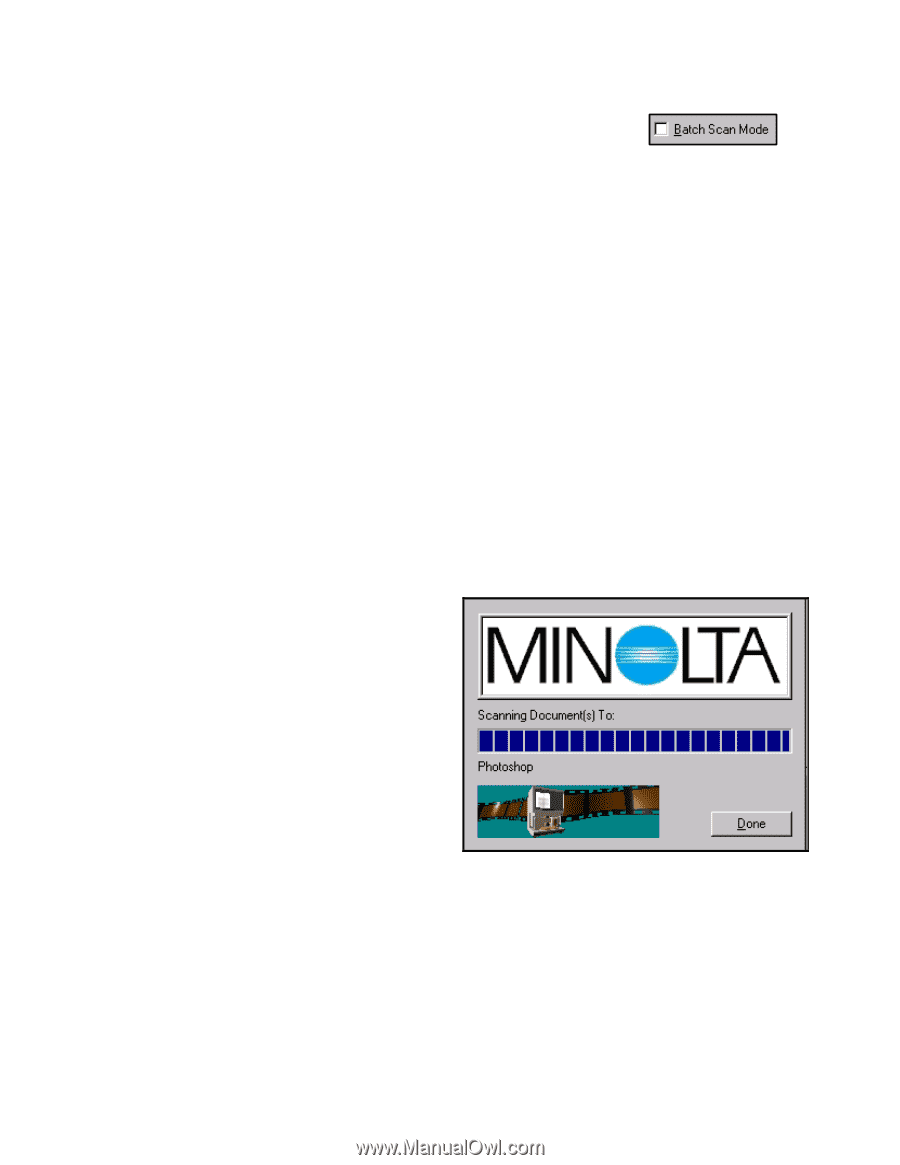
Batch Scan Mode
 |
View all Konica Minolta MS6000 MK II manuals
Add to My Manuals
Save this manual to your list of manuals |
Page 8 highlights
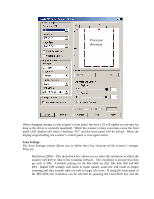
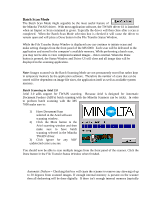
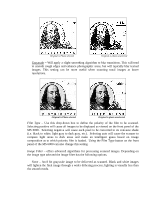
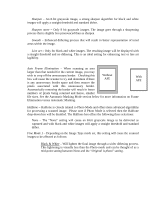
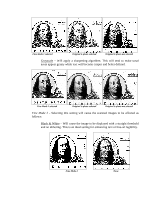
Batch Scan Mode The Batch Scan Mode might arguably be the most useful feature of the Minolta TWAIN driver. With most application software, the TWAIN driver UI is launched when an Import or Scan command is given. Typically the driver will then close after a scan is completed. When the Batch Scan Mode selection box is checked it will cause the driver to remain open and will place a Done button in the File Transfer Status Window. While the File Transfer Status Window is displayed you can continue to initiate scans and make setting changes from the front panel of the MS 6000. Each scan will be delivered to the application and stored in the computer's available memory. While performing a batch scan, you may not be able to view completed scanned images - this is normal. When the Done button is pressed, the Status Window and Driver UI will close and all image data will be displayed in the scanning application. Note: Images scanned via the Batch Scanning Mode are not permanently stored but rather kept in temporary memory by the application software. Therefore the number of scans that can be stored will be dependent on image file sizes, the application itself as well as available system memory. Batch Scanning in Ariel 3.0 Ariel 3.0 adds support for TWAIN scanning. Because Ariel is designed for Automatic Document Feeders (ADFs) batch scanning with the Minolta Scanners can be tricky. In order to perform batch scanning with the MS 7000 make sure to: 1) Have Document/Scan selected in the Ariel software scanning window. 2) Click the More button in the Ariel scanning window and then make sure to have batch scanning selected in the Minolta TWAIN driver. 3) Click Ignore for any ADF undetected errors you see. You should now be able to scan multiple images from the front panel of the scanner. Click the Done button in the File Transfer Status Window when finished. Automatic Deskew - Checking this box will cause the scanner to remove any skewing of up to 30 degrees from scanned images. If enough internal memory is present on the scanner then all deskewing will be done digitally. If there isn't enough internal memory (typically
-
 1
1 -
2
-
 3
3 -
 4
4 -
 5
5 -
 6
6 -
 7
7 -
 8
8 -
 9
9 -
 10
10 -
 11
11 -
 12
12 -
 13
13 -
14
-
15
-
16
-
17
-
18
-
19
-
20
-
21
-
22
-
23
-
24
-
25
-
26
-
27
-
28
-
29
-
30
-
31
-
32
-
33
-
34
-
35
-
36
-
37
-
38
-
39
-
40
-
41
-
42
-
43
-
44
-
45
-
46
-
47
-
48
-
49
-
50
-
51
-
52
-
53
-
54
-
55
-
56
-
57
-
58
-
59
 |
 |