Konica Minolta PS7000 PS7000 Operator Manual (PC Version) - Page 48
When using Windows95], Insert the ISIS Driver floppy disk into
 |
View all Konica Minolta PS7000 manuals
Add to My Manuals
Save this manual to your list of manuals |
Page 48 highlights
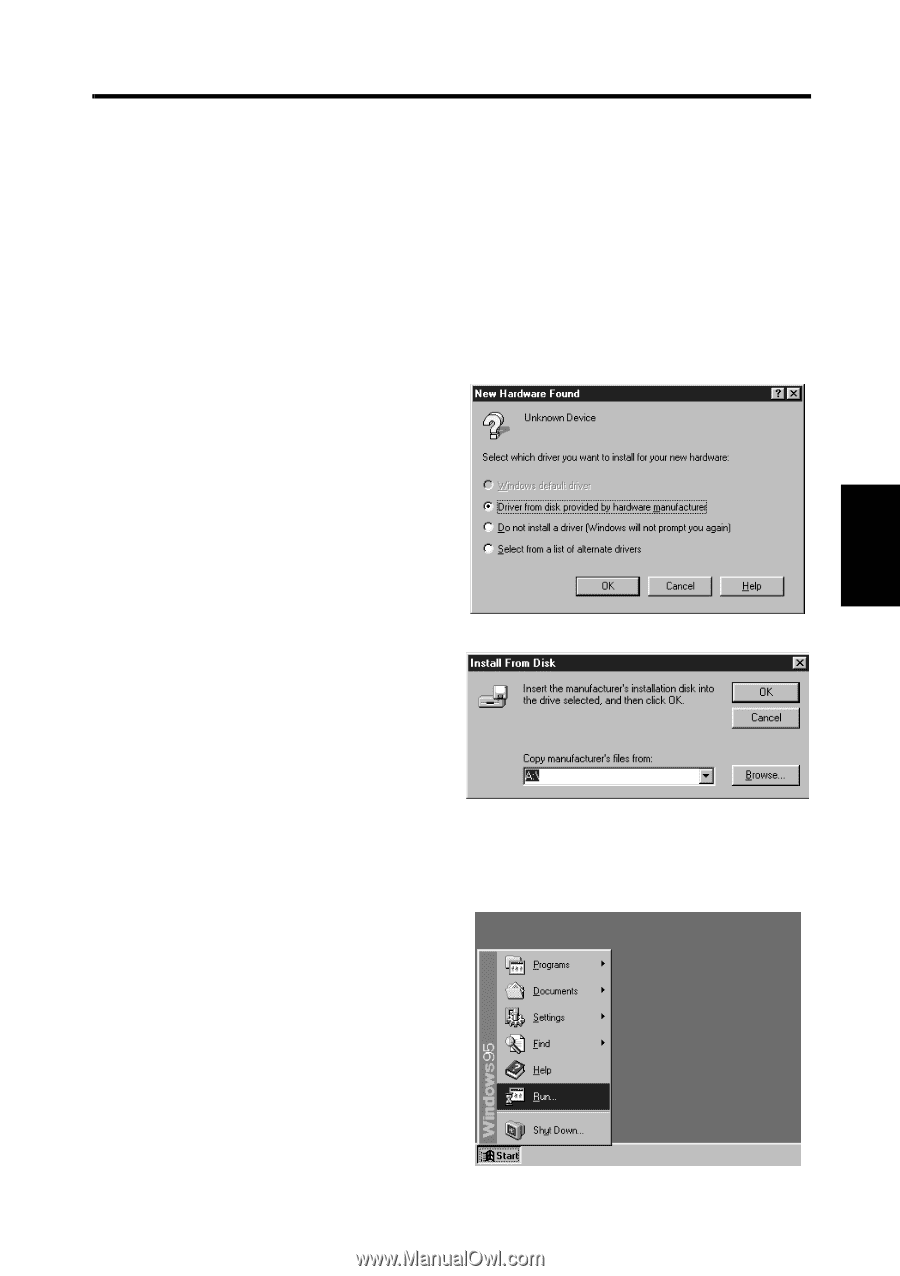
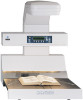
4-2 Installation Installation procedure Follow the procedure below to install the Driver. *Screens may differ slightly depending on the Windows version. 1 Check that the Scanner is connected to the personal computer. 2 Turn on the power switch of the Scanner (refer to "Turning on" on page 5-3), and then turn the personal computer on to start Windows. [When using Windows95] Select [Driver from disk provided by hardware manufacturer] and click the [OK] button when the following screen appears. The screen shown below appears. Insert the ISIS Driver floppy disk into the floppy disk drive (generally drive "A") of the personal computer and click the [OK] button. 3 After window's has started, set the ISIS Driver floppy disk into the computer's floppy desk drive. 4 Click the [Start] button and select [Run...]. PS7000 ISIS Driver Chapter 4
-
 1
1 -
2
-
3
-
4
-
5
-
6
-
7
-
8
-
9
-
10
-
11
-
12
-
13
-
14
-
15
-
16
-
17
-
18
-
19
-
20
-
21
-
22
-
23
-
24
-
25
-
26
-
27
-
28
-
29
-
30
-
31
-
32
-
33
-
34
-
35
-
36
-
37
-
38
-
39
-
40
-
41
-
42
-
 43
43 -
 44
44 -
 45
45 -
 46
46 -
 47
47 -
 48
48 -
 49
49 -
 50
50 -
 51
51 -
 52
52 -
 53
53 -
54
-
55
-
56
-
57
-
58
-
59
-
60
-
61
-
62
-
63
-
64
-
65
-
66
-
67
-
68
-
69
-
70
-
71
-
72
-
73
-
74
-
75
-
76
-
77
-
78
-
79
-
80
-
81
-
82
-
83
-
84
-
85
-
86
-
87
-
88
-
89
-
90
-
91
-
92
-
93
-
94
-
95
-
96
-
97
-
98
-
99
-
100
-
101
-
102
-
103
-
104
-
105
-
106
-
107
-
108
-
109
-
110
-
111
-
112
-
113
-
114
-
115
-
116
-
117
-
118
-
119
-
120
-
121
-
122
 |
 |