Konica Minolta magicolor 5670EN magicolor 5650/5670 User Manual - Page 268
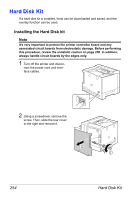
Hard Disk Kit, Installing the Hard Disk kit - printer review
 |
View all Konica Minolta magicolor 5670EN manuals
Add to My Manuals
Save this manual to your list of manuals |
Page 268 highlights
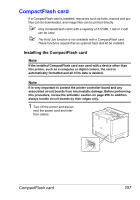
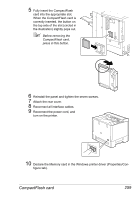
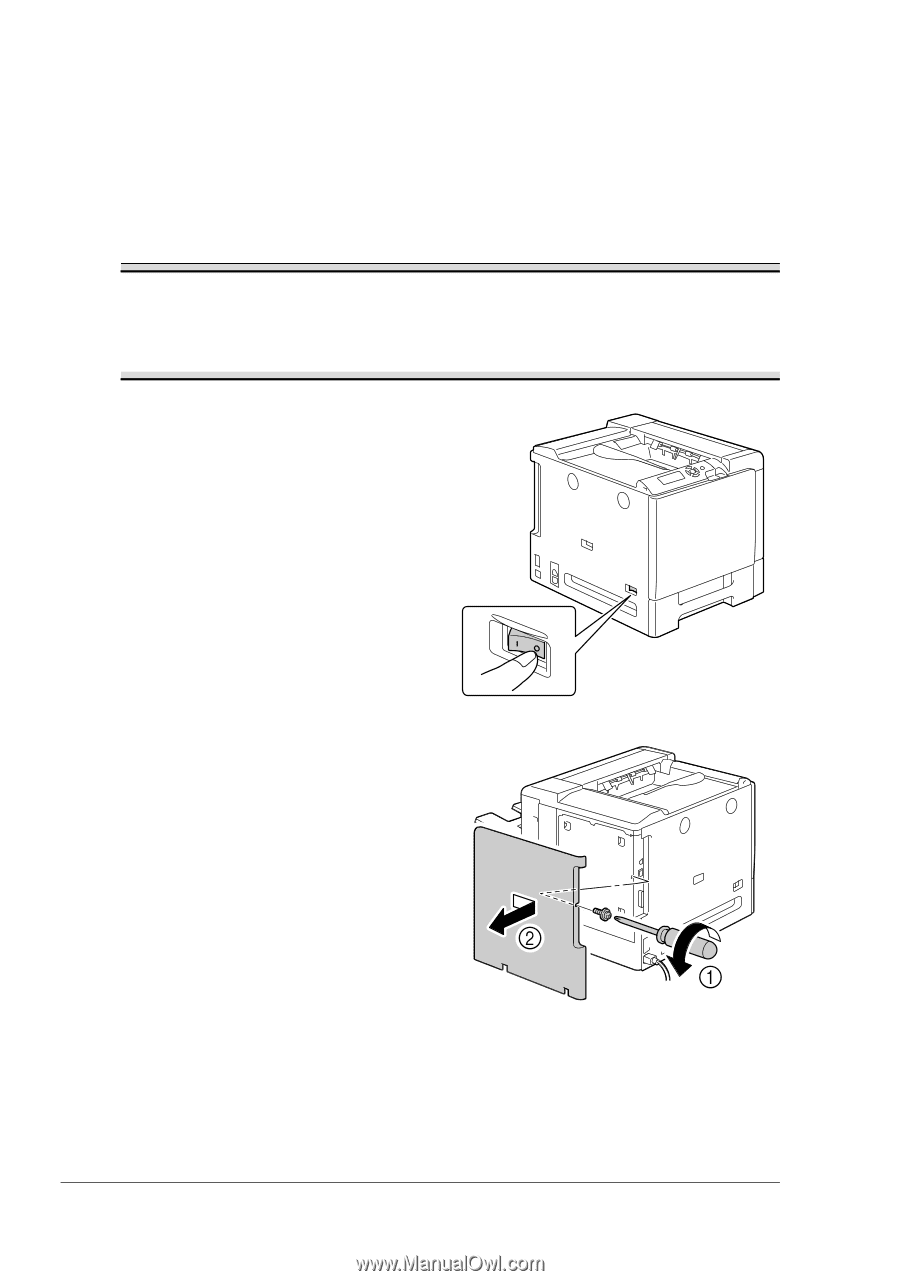
Hard Disk Kit If a hard disk kit is installed, fonts can be downloaded and saved, and the overlay function can be used. Installing the Hard Disk kit Note It's very important to protect the printer controller board and any associated circuit boards from electrostatic damage. Before performing this procedure, review the antistatic caution on page 250. In addition, always handle circuit boards by the edges only. 1 Turn off the printer and discon- nect the power cord and interface cables. 2 Using a screwdriver, remove the screw. Then, slide the rear cover to the right and remove it. 254 Hard Disk Kit
-
 1
1 -
2
-
3
-
4
-
5
-
6
-
7
-
8
-
9
-
10
-
11
-
12
-
13
-
14
-
15
-
16
-
17
-
18
-
19
-
20
-
21
-
22
-
23
-
24
-
25
-
26
-
27
-
28
-
29
-
30
-
31
-
32
-
33
-
34
-
35
-
36
-
37
-
38
-
39
-
40
-
41
-
42
-
43
-
44
-
45
-
46
-
47
-
48
-
49
-
50
-
51
-
52
-
53
-
54
-
55
-
56
-
57
-
58
-
59
-
60
-
61
-
62
-
63
-
64
-
65
-
66
-
67
-
68
-
69
-
70
-
71
-
72
-
73
-
74
-
75
-
76
-
77
-
78
-
79
-
80
-
81
-
82
-
83
-
84
-
85
-
86
-
87
-
88
-
89
-
90
-
91
-
92
-
93
-
94
-
95
-
96
-
97
-
98
-
99
-
100
-
101
-
102
-
103
-
104
-
105
-
106
-
107
-
108
-
109
-
110
-
111
-
112
-
113
-
114
-
115
-
116
-
117
-
118
-
119
-
120
-
121
-
122
-
123
-
124
-
125
-
126
-
127
-
128
-
129
-
130
-
131
-
132
-
133
-
134
-
135
-
136
-
137
-
138
-
139
-
140
-
141
-
142
-
143
-
144
-
145
-
146
-
147
-
148
-
149
-
150
-
151
-
152
-
153
-
154
-
155
-
156
-
157
-
158
-
159
-
160
-
161
-
162
-
163
-
164
-
165
-
166
-
167
-
168
-
169
-
170
-
171
-
172
-
173
-
174
-
175
-
176
-
177
-
178
-
179
-
180
-
181
-
182
-
183
-
184
-
185
-
186
-
187
-
188
-
189
-
190
-
191
-
192
-
193
-
194
-
195
-
196
-
197
-
198
-
199
-
200
-
201
-
202
-
203
-
204
-
205
-
206
-
207
-
208
-
209
-
210
-
211
-
212
-
213
-
214
-
215
-
216
-
217
-
218
-
219
-
220
-
221
-
222
-
223
-
224
-
225
-
226
-
227
-
228
-
229
-
230
-
231
-
232
-
233
-
234
-
235
-
236
-
237
-
238
-
239
-
240
-
241
-
242
-
243
-
244
-
245
-
246
-
247
-
248
-
249
-
250
-
251
-
252
-
253
-
254
-
255
-
256
-
257
-
258
-
259
-
260
-
261
-
262
-
 263
263 -
 264
264 -
 265
265 -
 266
266 -
 267
267 -
 268
268 -
 269
269 -
 270
270 -
 271
271 -
 272
272 -
 273
273 -
274
-
275
-
276
-
277
-
278
-
279
-
280
-
281
-
282
-
283
-
284
-
285
-
286
-
287
-
288
-
289
-
290
-
291
-
292
-
293
-
294
-
295
-
296
-
297
-
298
-
299
-
300
-
301
-
302
 |
 |
Hard Disk Kit
254
Hard Disk Kit
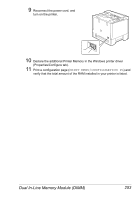
If a hard disk kit is installed, fonts can be downloaded and saved, and the
overlay function can be used.
Installing the Hard Disk kit
Note
It’s very important to protect the printer controller board and any
associated circuit boards from electrostatic damage. Before performing
this procedure, review the antistatic caution on page 250. In addition,
always handle circuit boards by the edges only.
1
Turn off the printer and discon-
nect the power cord and inter-
face cables.
2
Using a screwdriver, remove the
screw. Then, slide the rear cover
to the right and remove it.