Kyocera FS-C5100DN FS-C5100DN/C5200DN/C5300DN KX Driver User Guide Ver. 7.7 - Page 12
Installing Optional Components, Add Printer Wizard - Windows XP/2000
 |
UPC - 632983010280
View all Kyocera FS-C5100DN manuals
Add to My Manuals
Save this manual to your list of manuals |
Page 12 highlights
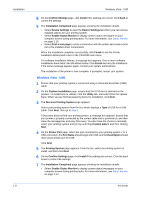
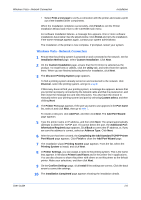
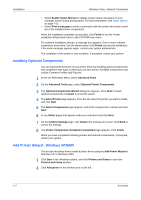
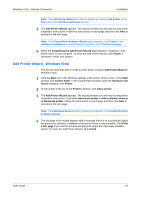
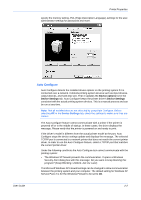
Installation Windows Vista - Network Connection • Select Enable Status Monitor to display system status messages on your computer screen during printing tasks. For more information, see Status Monitor on page 2-13. • Select Print a test page to verify a connection with the printer and create a print out of the installed driver components. When the installation completes successfully, click Finish to exit the Printer Installation Wizard and return to the CD-ROM main menu. For software installation failures, a message box appears, One or more software installations have failed. See the details below. Click Finish and retry the installation. If the same message appears again, contact your system administrator. The installation of the printer is now complete. If prompted, restart your system. Installing Optional Components You can expand the functions of your printer driver by installing optional components that complement the ways in which you use your printer. Available components may include Common Profiles and Plug-ins. 1 In the CD-ROM Main Menu, select Advanced Tools. 1 2 On the Advanced Tools page, select Optional Printer Components. 2 3 The Optional Components Wizard dialog box appears. Click Next to install optional components or Cancel to close the wizard. 3 4 The Select Printer page appears. From the list, select the printer you want to install, and click Next. 4 5 The Select Components page appears. Select the components to install, and click Next. 5 6 In any Select pages that appear make your selections and click Next. 7 On the Confirm Settings page, click Install if the settings are correct. Click Back to correct the settings. 6 8 The Printer Components Installation Completed page appears. Click Finish. 7 When you have completed installing printers and optional components, if prompted, restart your system. Add Printer Wizard - Windows XP/2000 This section describes how to install a printer driver using the Add Printer Wizard in Windows XP or Windows 2000. 1 Click Start in the Windows taskbar, and click Printers and Faxes to open the Printers and Faxes window. 1 2 Click Add printer in the window area on the left. 2 1-7 KX Driver
-
 1
1 -
2
-
3
-
4
-
5
-
6
-
 7
7 -
 8
8 -
 9
9 -
 10
10 -
 11
11 -
 12
12 -
 13
13 -
 14
14 -
 15
15 -
 16
16 -
 17
17 -
18
-
19
-
20
-
21
-
22
-
23
-
24
-
25
-
26
-
27
-
28
-
29
-
30
-
31
-
32
-
33
-
34
-
35
-
36
-
37
-
38
-
39
-
40
-
41
-
42
-
43
-
44
-
45
-
46
-
47
-
48
-
49
-
50
-
51
-
52
-
53
-
54
-
55
-
56
-
57
-
58
-
59
-
60
-
61
-
62
-
63
-
64
-
65
-
66
-
67
-
68
-
69
-
70
-
71
-
72
-
73
-
74
-
75
-
76
-
77
-
78
-
79
-
80
-
81
-
82
-
83
-
84
 |
 |
