LG 25UM56-P Owners Manual - English - Page 26
-General, OSD menu, joystick
 |
View all LG 25UM56-P manuals
Add to My Manuals
Save this manual to your list of manuals |
Page 26 highlights
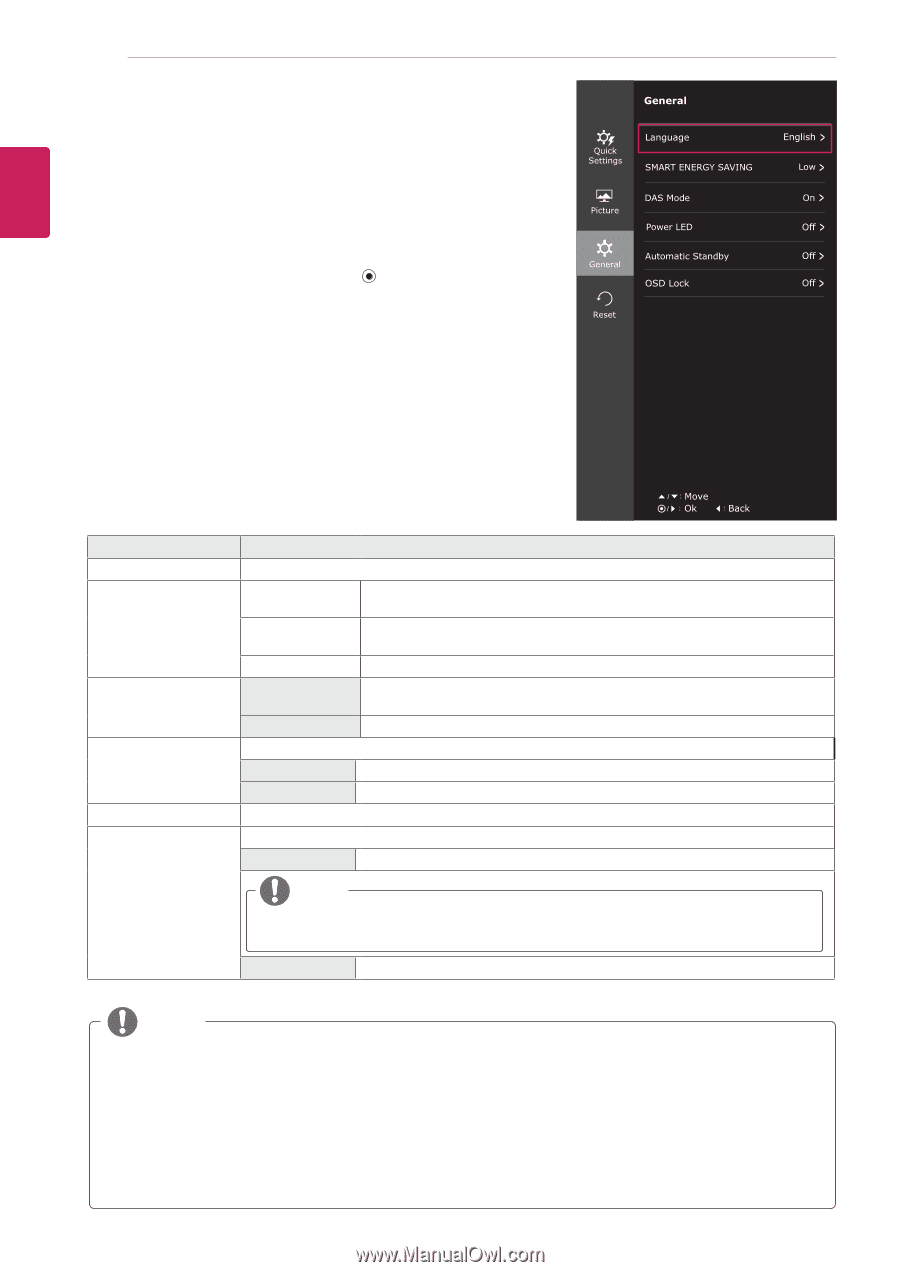
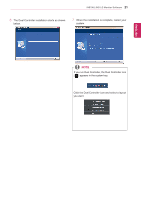
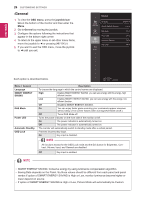
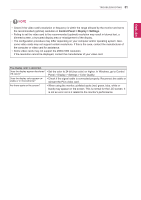
ENEGNLGISH 26 CUSTOMIZING SETTINGS -General 1 To view the OSD menu, press the joystick but- ton at the bottom of the monitor and then enter the Menu. 2 Go to General by moving the joystick. 3 Configure the options following the instructions that appear in the bottom right corner. 4 To return to the upper menu or set other menu items, move the joystick to ◄ or pressing ( / OK) it. 5 If you want to exit the OSD menu, move the joystick to ◄ until you exit. Each option is described below. Menu > General Language SMART ENERGY SAVING DAS Mode Power LED Automatic Standby OSD Lock Description To choose the language in which the control names are displayed. High Enables SMART ENERGY SAVING you can save energy with this energy- high efficient function. Low Enables SMART ENERGY SAVING you can save energy with this energy- low efficient function. Off Disables SMART ENERGY SAVING . On You can enjoy faster game ensuring your commands appear onscreen without delay. (The screen flickers when turning DAS Mode on/off.) Off Turns DAS Mode off. Turns the power indicator on the front side of the monitor on/off. On The power indicator is automatically turned on. Off The power indicator is automatically turned on. The monitor will automatically switch to standby mode after a certain period. Prevents incorrect key input. On Key input is disabled. NOTE All functions except for the OSD Lock mode and the Exit button for Brightness, Contrast, Volume, Input, and General are disabled. Off Key input is enabled. NOTE yySMART ENERGY SAVING: Conserve energy by using luminance compensation algorithm. yySaving Data depends on the Panel. So,those values should be different from each panel and panel vendor.If option of SMART ENERGY SAVING is High or Low, monitor luminance become higher or lower depend on source. yyIf option of SMART ENERGY SAVING is High or Low, Picture Mode will automatically be Custom.
-
 1
1 -
2
-
3
-
4
-
5
-
6
-
7
-
8
-
9
-
10
-
11
-
12
-
13
-
14
-
15
-
16
-
17
-
18
-
19
-
20
-
 21
21 -
 22
22 -
 23
23 -
 24
24 -
 25
25 -
 26
26 -
 27
27 -
 28
28 -
 29
29 -
 30
30 -
 31
31 -
32
-
33
-
34
-
35
-
36
 |
 |