Lantronix UDS1100 UDS1100 - User Guide - Page 17
: Using DeviceInstaller, Assigning an IP Address - user manual
 |
View all Lantronix UDS1100 manuals
Add to My Manuals
Save this manual to your list of manuals |
Page 17 highlights
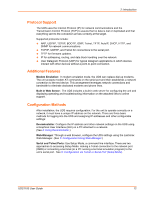
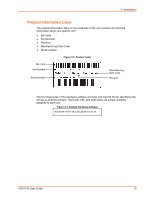
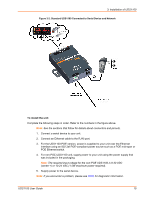
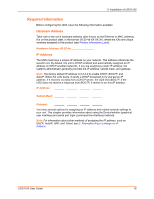
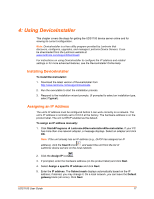
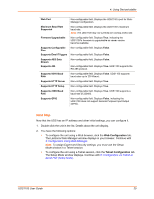
4: Using DeviceInstaller This chapter covers the steps for getting the UDS1100 device server online and for viewing its current configuration. Note: DeviceInstaller is a free utility program provided by Lantronix that discovers, configures, upgrades, and manages Lantronix Device Servers. It can be downloaded from the Lantronix website at www.lantronix.com/support/downloads. For instructions on using DeviceInstaller to configure the IP address and related settings or for more advanced features, see the DeviceInstaller Online Help. Installing DeviceInstaller To install DeviceInstaller: 1. Download the latest version of DeviceInstaller from http://www.lantronix.com/support/downloads. 2. Run the executable to start the installation process. 3. Respond to the installation wizard prompts. (If prompted to select an installation type, select Typical). Assigning an IP Address The unit's IP address must be configured before it can work correctly on a network. The unit's IP address is normally set to 0.0.0.0 at the factory. The hardware address is on the product label. The unit is DHCP enabled as the default. To assign an IP address manually: 1. Click StartPrograms LantronixDeviceInstallerDeviceInstaller. If your PC has more than one network adapter, a message displays. Select an adapter and click OK. Note: If the unit already has an IP address (e.g., DHCP has assigned an IP address), click the Search icon and select the unit from the list of Lantronix device servers on the local network. 2. Click the Assign IP icon . 3. If prompted, enter the hardware address (on the product label) and click Next. 4. Select Assign a specific IP address and click Next. 5. Enter the IP address. The Subnet mask displays automatically based on the IP address; if desired, you may change it. On a local network, you can leave the Default gateway blank (all zeros). Click Next. UDS1100 User Guide 17
-
 1
1 -
2
-
3
-
4
-
5
-
6
-
7
-
8
-
9
-
10
-
11
-
 12
12 -
 13
13 -
 14
14 -
 15
15 -
 16
16 -
 17
17 -
 18
18 -
 19
19 -
 20
20 -
 21
21 -
 22
22 -
23
-
24
-
25
-
26
-
27
-
28
-
29
-
30
-
31
-
32
-
33
-
34
-
35
-
36
-
37
-
38
-
39
-
40
-
41
-
42
-
43
-
44
-
45
-
46
-
47
-
48
-
49
-
50
-
51
-
52
-
53
-
54
-
55
-
56
-
57
-
58
-
59
-
60
-
61
-
62
-
63
-
64
-
65
-
66
-
67
-
68
-
69
-
70
-
71
-
72
-
73
-
74
-
75
-
76
-
77
-
78
-
79
-
80
-
81
-
82
-
83
-
84
-
85
 |
 |