Lexmark W840N User's Guide - Page 58
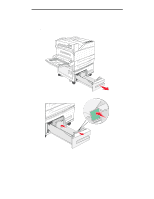
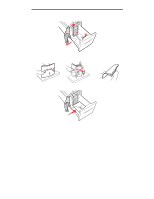
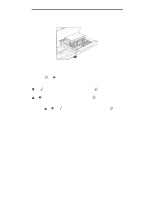
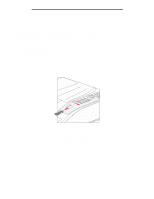
Loading Letter or A4 size print media in the short-edge feed orientation
 |
UPC - 734646079723
View all Lexmark W840N manuals
Add to My Manuals
Save this manual to your list of manuals |
Page 58 highlights
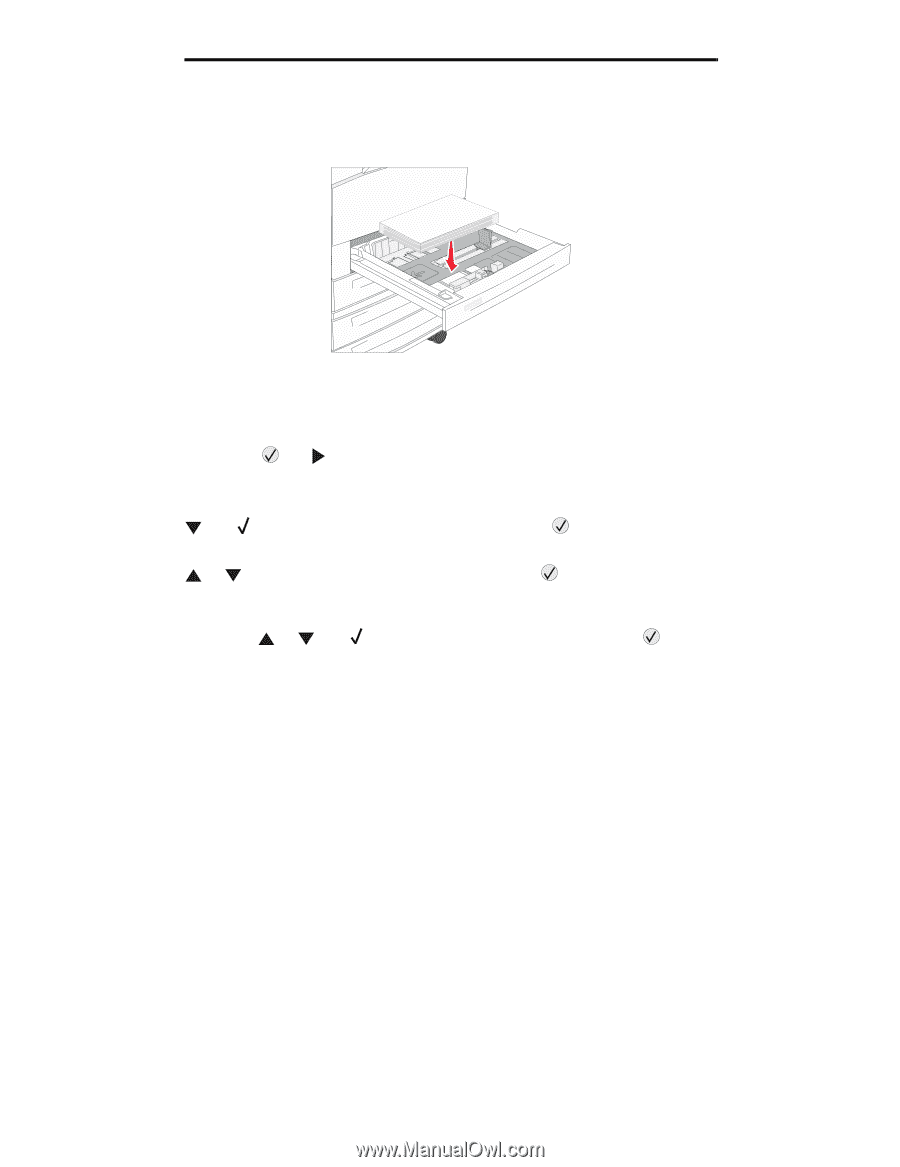
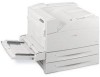
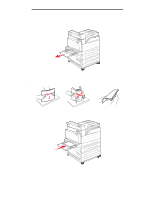
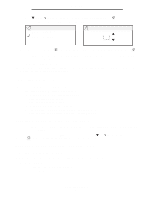
Printing Loading Letter or A4 size print media in the short-edge feed orientation In order for the printer to recognize letter or A4 size print media loaded in the short-edge feed orientation, Short-edge Printing must be enabled. 1 Make sure the printer is off. 2 Press and hold the and buttons while you turn the printer on. 3 Release both buttons when Performing Self Test appears on the display. The printer performs its power-on sequence, and then Config Menu appears on the first line of the display. 4 Press until Short-edge Printing appears, and then press . Disabled appears on the second line of the display. 5 Press or to change the setting to Enabled, and then press . Submitting Selection appears briefly on the display, and then is replaced by Config Menu on the first line and Short-edge Printing on the second line. 6 Press and release or until Exit Config Menu appears, and then press . Activating Menu Changes appears briefly, followed by Performing Self Test. The printer returns to Ready. Setting up trays with different orientations We recommend that you use the custom type settings to differentiate print media of the same size with different orientations. For example, if you want to have letter-size paper loaded into both standard trays, but one in the long-edge orientation and one in the short-edge orientation, you could set up the trays as follows: • Tray 1: Long-edge Fed; Paper Size=Letter; Paper Type=Plain • Tray 2: Short-edge Fed; Paper Size=Letter; Paper Type=Custom Type 1 By setting the printer menus like this, you can easily choose which orientation you want to use for a print job by selecting the appropriate tray. Changing the Custom Type Name You can use the printer Embedded Web Server or MarkVision to define a name other than "Custom Type [x]" for each of the custom media types that are loaded. When a custom name is defined for a Custom Type, then the printer displays this name wherever it would normally display "Custom Type [x]". Loading Letter or A4 size print media in the short-edge feed orientation 58
-
 1
1 -
2
-
3
-
4
-
5
-
6
-
7
-
8
-
9
-
10
-
11
-
12
-
13
-
14
-
15
-
16
-
17
-
18
-
19
-
20
-
21
-
22
-
23
-
24
-
25
-
26
-
27
-
28
-
29
-
30
-
31
-
32
-
33
-
34
-
35
-
36
-
37
-
38
-
39
-
40
-
41
-
42
-
43
-
44
-
45
-
46
-
47
-
48
-
49
-
50
-
51
-
52
-
 53
53 -
 54
54 -
 55
55 -
 56
56 -
 57
57 -
 58
58 -
 59
59 -
 60
60 -
 61
61 -
 62
62 -
 63
63 -
64
-
65
-
66
-
67
-
68
-
69
-
70
-
71
-
72
-
73
-
74
-
75
-
76
-
77
-
78
-
79
-
80
-
81
-
82
-
83
-
84
-
85
-
86
-
87
-
88
-
89
-
90
-
91
-
92
-
93
-
94
-
95
-
96
-
97
-
98
-
99
-
100
-
101
-
102
-
103
-
104
-
105
-
106
-
107
-
108
-
109
-
110
-
111
-
112
-
113
-
114
-
115
-
116
-
117
-
118
-
119
 |
 |