Lexmark X5450 Setup Solutions - Page 12
Using the Photo Card menu, Start Color, Start Black, Photo Card
 |
View all Lexmark X5450 manuals
Add to My Manuals
Save this manual to your list of manuals |
Page 12 highlights
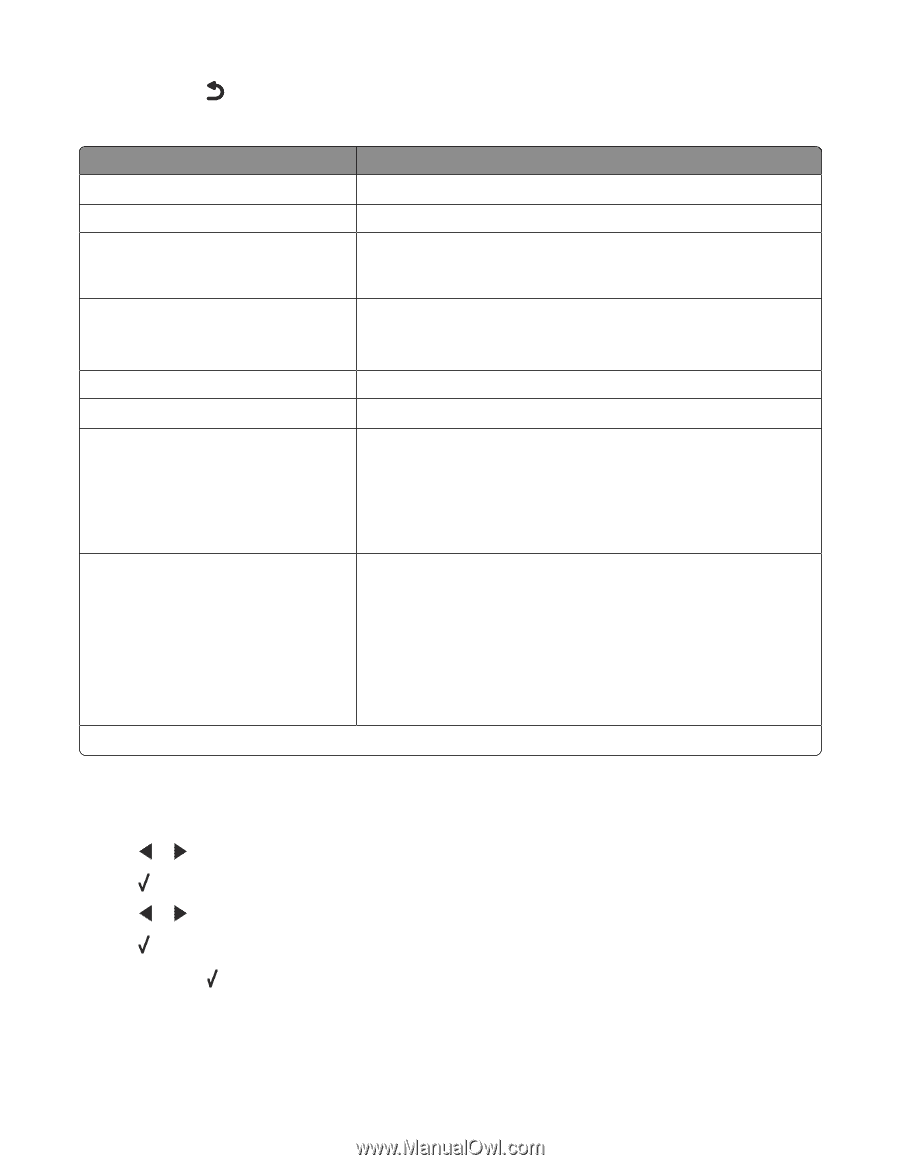
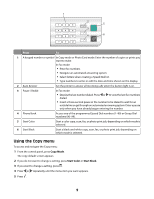
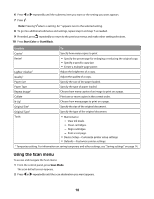
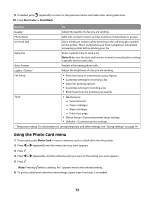
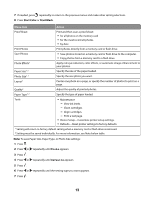
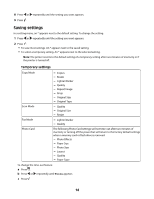
9 If needed, press repeatedly to return to the previous menus and make other setting selections. 10 Press Start Color or Start Black. Use this To Quality1 Adjust the quality of a fax you are sending. Phone Book Add, edit, and print names and fax numbers of individuals or groups. On Hook Dial Dial a telephone number while listening to the call through a speaker on the printer. This is useful when you must navigate an automated answering system before sending your fax. Delay Fax Enter a specific time to send a fax. Note: Make sure the date and time are entered correctly before setting a specific time to send a fax. Auto Answer Answer all incoming phone calls. Lighter / Darker1 Adjust the brightness of a fax you are sending. Fax Setup • Print fax history or transmission status reports. • Customize settings for receiving a fax. • Select fax printing options. • Customize settings for sending a fax. • Block faxes from the numbers you specify. Tools • Maintenance - View ink levels. - Clean cartridges. - Align cartridges. - Print a test page. • Device Setup-Customize printer setup settings. • Defaults-Customize printer settings. 1 Temporary setting. For information on saving temporary and other settings, see "Saving settings" on page 14. Using the Photo Card menu 1 If necessary, press Photo Card, or insert a memory card or a flash drive into the printer. 2 Press or repeatedly until the menu item you want appears. 3 Press . 4 Press or repeatedly until the submenu item you want or the setting you want appears. 5 Press . Note: Pressing selects a setting. An * appears next to the selected setting. 6 To go into additional submenus and settings, repeat step 4 and step 5 as needed. 12
-
 1
1 -
2
-
3
-
4
-
5
-
6
-
 7
7 -
 8
8 -
 9
9 -
 10
10 -
 11
11 -
 12
12 -
 13
13 -
 14
14 -
 15
15 -
 16
16 -
 17
17 -
18
-
19
-
20
-
21
-
22
-
23
-
24
-
25
 |
 |