Lexmark Z43 User's Guide for Macintosh - Page 7
paper guide is against the side of the photo
 |
UPC - 734646145008
View all Lexmark Z43 manuals
Add to My Manuals
Save this manual to your list of manuals |
Page 7 highlights
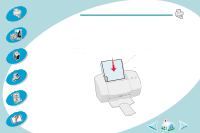
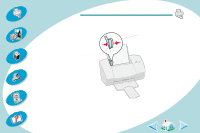
Steps to basic printing Beyond the basics Maintaining your printer Troubleshooting Appendix Index Steps to basic printing Load up to: 25 sheets of photo paper, glossy paper, or coated paper. 25 iron-on transfers. Make sure the... • glossy or coated side is facing you. • paper guide is against the side of the photo paper. Note: Remove each photo as it exits the printer and allow it to dry before stacking. • print side is facing you and you follow the instructions included in the iron-on transfer packaging. • paper guide is against the side of the iron-on transfers. Note: Many software applications accept iron-on transfers differently. We recommend printing your design on plain paper before printing the iron-on transfer. 7
-
 1
1 -
 2
2 -
 3
3 -
 4
4 -
 5
5 -
 6
6 -
 7
7 -
 8
8 -
 9
9 -
 10
10 -
 11
11 -
 12
12 -
13
-
14
-
15
-
16
-
17
-
18
-
19
-
20
-
21
-
22
-
23
-
24
-
25
-
26
-
27
-
28
-
29
-
30
-
31
-
32
-
33
-
34
-
35
-
36
-
37
-
38
-
39
-
40
-
41
-
42
-
43
-
44
-
45
-
46
-
47
-
48
-
49
-
50
-
51
-
52
-
53
-
54
-
55
-
56
-
57
-
58
-
59
-
60
-
61
-
62
-
63
-
64
 |
 |
7
Steps to basic printing
Beyond the basics
Maintaining your printer
Troubleshooting
Appendix
Index
Steps to basic printing
25 sheets of photo
paper, glossy
paper, or coated
paper.
•
glossy or coated side is facing you.
•
paper guide is against the side of the photo
paper.
Note:
Remove each photo as it exits the printer
and allow it to dry before stacking.
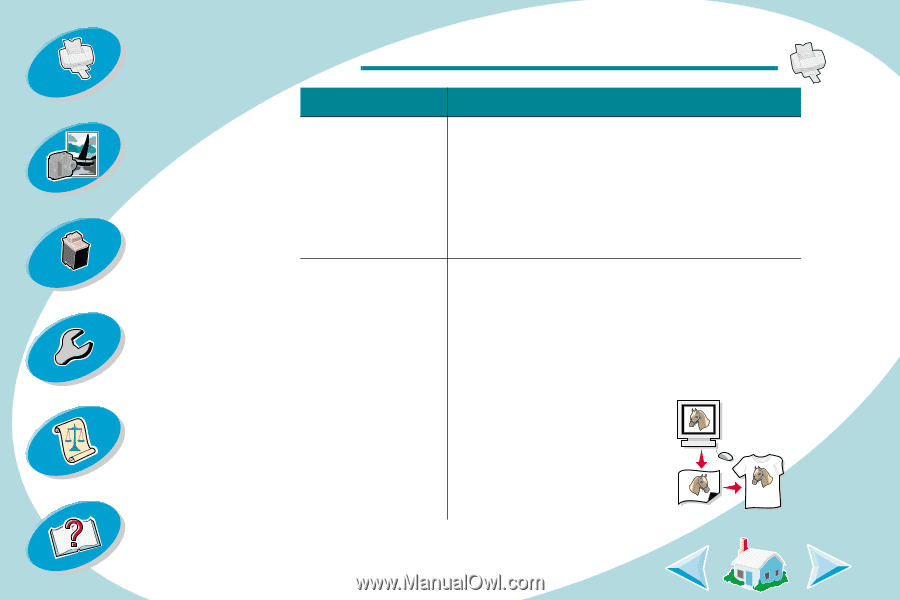
25 iron-on
transfers.
•
print side is facing you and you follow the
instructions included in the iron-on transfer
packaging.
•
paper guide is against the side of the iron-on
transfers.
Note:
Many software
applications accept iron-on
transfers differently. We
recommend printing your
design on plain paper before
printing the iron-on transfer.
Load up to:
Make sure the...