Marantz SR4003 SR4003 User Manual - Englis - Page 31
Attenuation To Analog Input Signal, 1 Ch Input, Aux2 Input, Ht-eq Home Theater Equalizer, Tv Auto
 |
View all Marantz SR4003 manuals
Add to My Manuals
Save this manual to your list of manuals |
Page 31 highlights
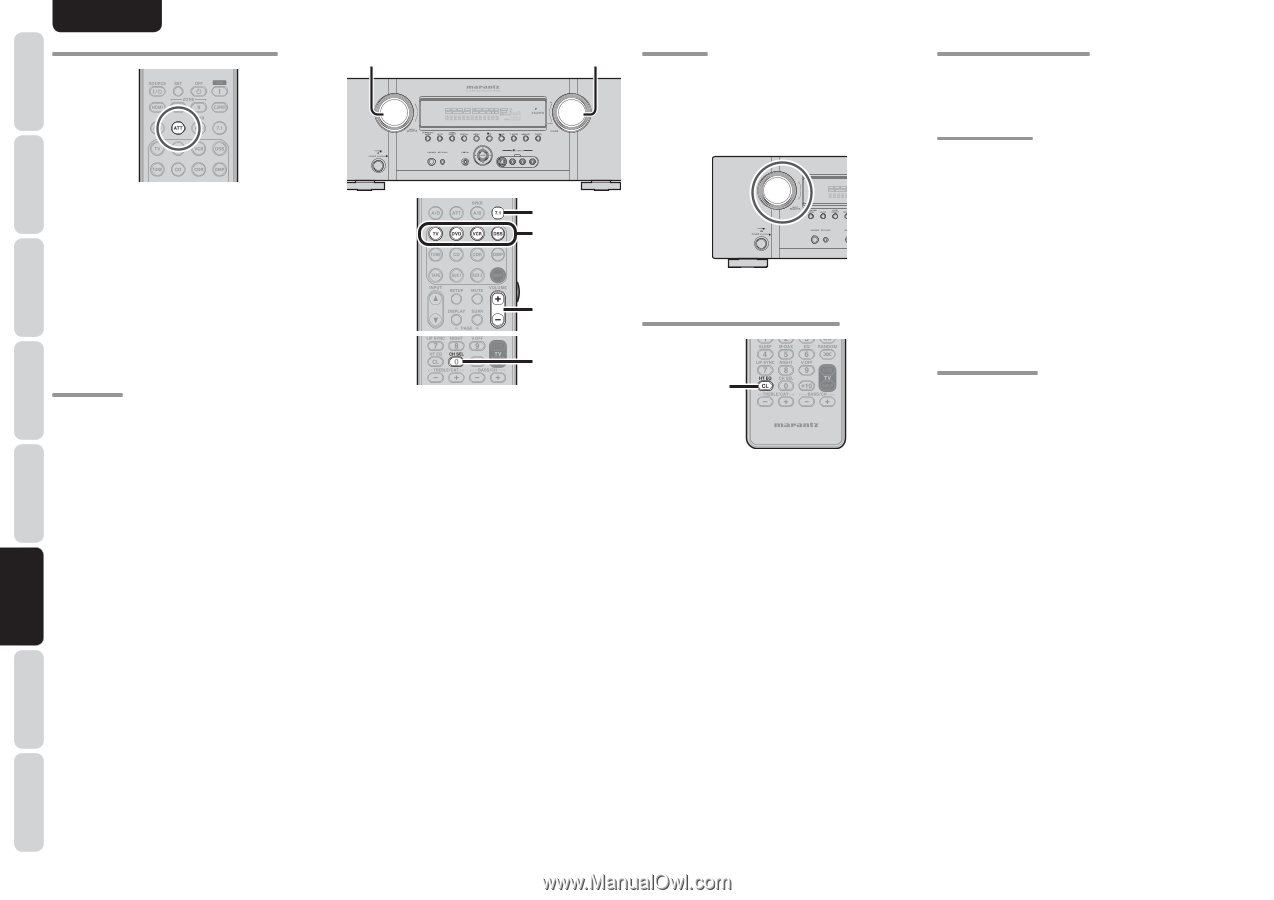
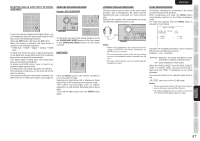
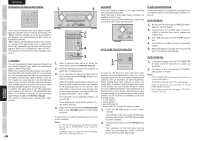
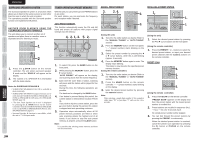
ENGLISH NAMES AND FUNCTIONS BASIC CONNECTIONS BASIC OPERATION ADVANCED CONNECTIONS ATTENUATION TO ANALOG INPUT SIGNAL If the selected analog audio input signal is greater than the capable level of internal processing, the "PEAK" indicator will light up on the front display. If this happens, you should press the ATT button on the remote controller. "ATT" indicator will be illuminated when this function is activated. The signal-input level is reduced by about half. Attenuation will not work with the output signal of TAPE-OUT, CD/CDR-OUT and VCR-OUT. This function is memorized for each individual input source. 7.1 CH INPUT This unit is equipped for future expansion through the use of Multi channel Super Audio CD multichannel player or DVD-Audio player. When this is selected, the input signals connected to the L(front left), R (front right), CENTER, SL (surround left), SR (surround right) and SBL (surround back left) and SBR (surround back right) channels of the 7.1 CH. In jacks are output directly to the front (left and right), center, surround (left and right) and surround back speaker systems as well as the pre-out jacks without passing through the surround circuitry. In addition, the signal input to the SW (subwoofer) jack is output to the PRE OUT SW (subwoofer) jack. When 7.1 CH. INPUT is selected, the last video input used remains routed to the Monitor Outputs. This permits simultaneous viewing with video sources. 28 1. DISP MULTI AUTO TUNED SLEEP AUTO SURR DIRECT ST V - OFF NIGHT PEAK ATT DISC 6.1 MT X 6.1 SPKR B EQ ANALOG DIGITAL AAC PCM SURROUND DIGITAL LCR LFE SL S SR 4. 2. 1. 4. 3. 1. Select a desired Video source to decide the routed video signal to the Monitor Outputs. 2. Press the 7.1 button on the remote controller to switch the 7.1 channel input. 3. If it is necessary to adjust the output level of each channel, press the CH.SEL button on the remote controller. Adjust the speaker output levels so that you can hear the same sound level from each speaker at the listening position. For the front left, front right, center, surround left, surround right and surround back speakers, the output levels can be adjusted between -10 to +10 dB. The subwoofer can be adjusted between -15 and +10 dB. These adjustments result will be stored to 7.1 CH. INPUT memory. 4. Adjust the main volume with the MAINVOLUME knob or the VOLUME buttons on the remote controller. To cancel the 7.1 CH. INPUT setting, press 7.1 on the remote controller. Notes: • 7.1 CH. Input mode bypasses the internal surround processing, so SURROUND mode cannot be selected. • In addition, there is no signal at the record outputs when the 7.1 CH. Input is in use. AUX2 INPUT If you don't need to connect 7.1 Ch. input terminals with multi channel decoder, L(front left) and R (front right) inputs terminals are available as AUX2 input. In this case, You can connect additional audio source to AUX2 as other audio input terminals. DISP MULTI AUTO SLEEP AUTO SURR HT-EQ (HOME THEATER EQUALIZER) 1. 2. At cinemas, the front left, front right and center speakers are located behind the screen. So, screen damping is taken into account when mastering movie software, with an emphasis on high frequencies. When playing back such software at home, the signal takes on different characteristics from those at the cinema. This unit includes HT-EQ to rectify the sound difference between that experienced at a cinema and in a home theater, allowing you to enjoy the same sound you would experience at the cinema at home. The HT-EQ feature is available except in the following modes. • 7.1 CH INPUT • PURE-DIRECT • SOURCE DIRECT • When VIRTUAL is set for the surround mode 1. Press the HT EQ button on the remote controller. "EQ" indicator on the front panel will illuminate, indicating the HOME THEATER EQUALIZER has been activated. 2. To cancel this function, press the HT EQ button again. "EQ" indicator on the front panel will be turned off, indicating the HOME THEATER EQUALIZER has been deactivated. TV AUTO ON/OFF FUNCTION This function allows the component connected to the TV-VIDEO in jack to control the power (ON/OFF) to the unit. AUTO POWER ON 1. Be sure the TV auto mode is ENABLED. (Refer page 22 : System Setup) 2. Connect your TV TUNER (etc) to the TV- VIDEO in terminal. Be sure to connect the VIDEO input. 3. Turn OFF the power to the TV TUNER and the unit. 4. Turn ON the TV TUNER and tune in a receivable station. 5. When the station is received, this unit turns ON and TV is selected automatically. AUTO POWER OFF 1. In the above situation, turn the TV TUNER OFF or select a channel that does not contain any broadcast. 2. The power to the unit switches to STANDBY after approx. 5 minutes. Notes: • AUTO POWER OFF is canceled if this unit is set to a source other than TV. The function reactivates when TV is selected again. • Some TV broadcasts may cause the TV AUTO FUNCTION to turn ON. • The S-Video terminal does not support "TV AUTO ON/OFF" function. SETUP ADVANCED OPERATION TROUBLESHOOTING OTHERS
-
 1
1 -
2
-
3
-
4
-
5
-
6
-
7
-
8
-
9
-
10
-
11
-
12
-
13
-
14
-
15
-
16
-
17
-
18
-
19
-
20
-
21
-
22
-
23
-
24
-
25
-
 26
26 -
 27
27 -
 28
28 -
 29
29 -
 30
30 -
 31
31 -
 32
32 -
 33
33 -
 34
34 -
 35
35 -
 36
36 -
37
-
38
-
39
-
40
-
41
-
42
-
43
-
44
-
45
-
46
-
47
-
48
 |
 |