Meade ETX125 Instruction Manual - Page 52
One Star Alt/az Alignment
 |
View all Meade ETX125 manuals
Add to My Manuals
Save this manual to your list of manuals |
Page 52 highlights
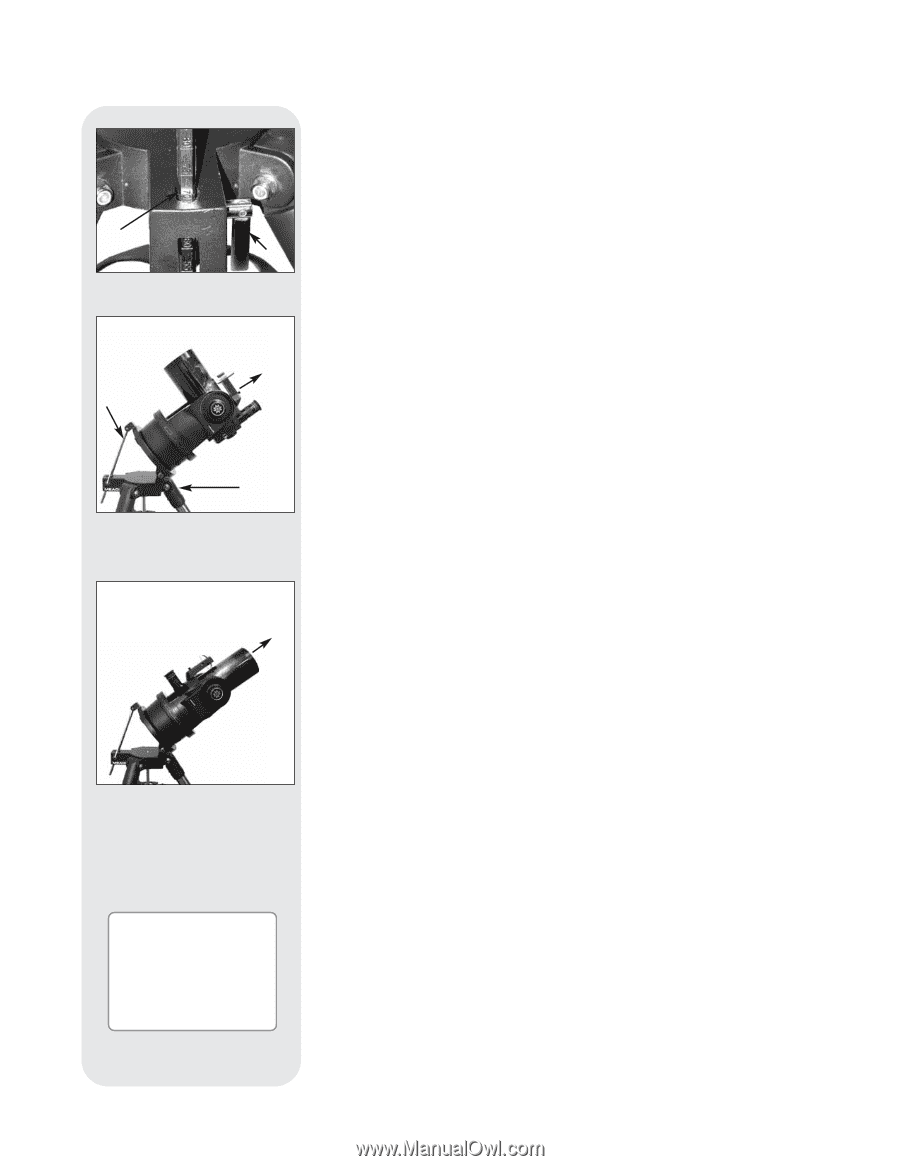
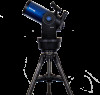
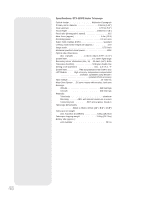
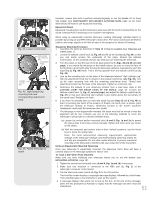
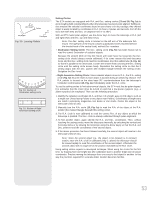
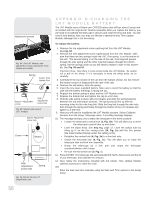
¿ ³ Fig. 47: Set latitude. North Celestial Pole + ¿ ´ Fig. 48: Example of Polar Alignment. Note that the face of the tilt-plate points North. North Celestial Pole + Fig. 49: Example of Polar Alignment. Note that the face of the tilt-plate points North. This is the Polar home position. Important Note: In order to select any of three polar alignment options, you must first select "Polar" in the "Mount" option of the "Setup: Telescope" menu. 5. Press ENTER repeatedly until "Setup: Align" displays. 6. Press the Scroll Down key repeatedly until "Setup: Telescope" displays. Press ENTER. "Telescope: Telescope Model" displays. 7. Press the Scroll Down key repeatedly until "Telescope: Mount" displays. Press ENTER. "Scope Mounting: Alt/az" displays. 8. Press the Scroll Down key once. "Scope Mounting: Polar" displays. Press ENTER. "Telescope: Mount" displays again. 9. Press Mode once. "Setup: Telescope" displays. 10. Press the Scroll Down key once. "Setup: Targets" displays. 11. Press ENTER. "Targets: Terrestrial" displays. Press one of the Scroll keys once. "Targets: Astronomical" now displays. 12. Use the Arrow keys to locate a bright star in the night sky. Use the SmartFinder (2, Fig. 1) to help line up on the star. You may choose any unobstructed, bright star for the purposes of this example. Use AutoStar's Arrow keys to center the star in the eyepiece. Once the star is centered, press ENTER to select "Astronomical." The telescope's tracking motors then engage. It may take the tracking motors several seconds to begin tracking. When they do, it may be necessary to once again center the star in the eyepiece. The tracking motors will then keep the star you have chosen in the center of the eyepiece. 13. Press and hold the ENTER key for a few seconds and then release to stop tracking. You may repeat the procedure to locate another star or object using the Arrow keys. Then press ENTER to re-engage the tracking motors. Caution: Do not move the tripod or adjust the latitude setting while observing or the mounting alignment will be lost. The telescope's motor drive disengages when the Horizontal and the Vertical lock levers are unlocked and re-engages when the levers are relocked. AutoStar Polar Alignment AutoStar provides three different (manual) methods for polar alignment: Easy, One-Star and Two-Star. Easy Polar Alignment Two alignment stars are chosen by AutoStar based on the date, time and location. First, choose "Polar" from the "Setup: Telescope: Mount" menu. The rest of the procedure is identical to the Alt/Az AUTOMATIC ALIGNMENT, page 17. One-Star Polar Alignment Polar One-Star Alignment requires some knowledge of the night sky. AutoStar provides a database of bright stars and one star from this database is chosen by the observer for alignment. Polaris is chosen by AutoStar. First, choose "Polar" from the "Setup: Telescope: Mount" menu. The rest of the procedure is almost identical to the Alt/Az ONE STAR ALT/AZ ALIGNMENT, page 36, except that AutoStar prompts you to point the telescope at Polaris and center it in the telescope eyepiece. Two-Star Polar Alignment Polar Two-Star Alignment requires some knowledge of the night sky. AutoStar provides a database of bright stars and two stars from this database are chosen by the observer for alignment. First, choose "Polar" from the "Setup: Telescope: Mount" menu. The rest of the procedure is almost identical to the Alt/Az TWO STAR ALT/AZ ALIGNMENT, page 36. Locating the Celestial Pole To get basic bearings at an observing location, take note of where the Sun rises (East) and sets (West) each day. After the site is dark, face North by pointing your left shoulder toward where the Sun sets. To precisely point at the pole, find the North Star (Polaris) by using the Big Dipper as a guide (Fig. 50, next page). Important Note: For almost all astronomical observing requirements, approximate settings of the telescope's latitude and Polar axis are acceptable. Do not allow undue attention to precise Polar Alignment of the telescope to interfere with your basic enjoyment of the instrument. 52
-
 1
1 -
2
-
3
-
4
-
5
-
6
-
7
-
8
-
9
-
10
-
11
-
12
-
13
-
14
-
15
-
16
-
17
-
18
-
19
-
20
-
21
-
22
-
23
-
24
-
25
-
26
-
27
-
28
-
29
-
30
-
31
-
32
-
33
-
34
-
35
-
36
-
37
-
38
-
39
-
40
-
41
-
42
-
43
-
44
-
45
-
46
-
 47
47 -
 48
48 -
 49
49 -
 50
50 -
 51
51 -
 52
52 -
 53
53 -
 54
54 -
 55
55 -
 56
56 -
 57
57 -
58
-
59
-
60
 |
 |