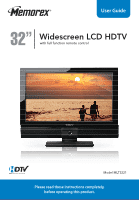
Memorex MLT3221 Manual - Page 2
Connecting an Audio Receiver and, TV Cable
 |
UPC - 749720009374
View all Memorex MLT3221 manuals
Add to My Manuals
Save this manual to your list of manuals |
Page 2 highlights
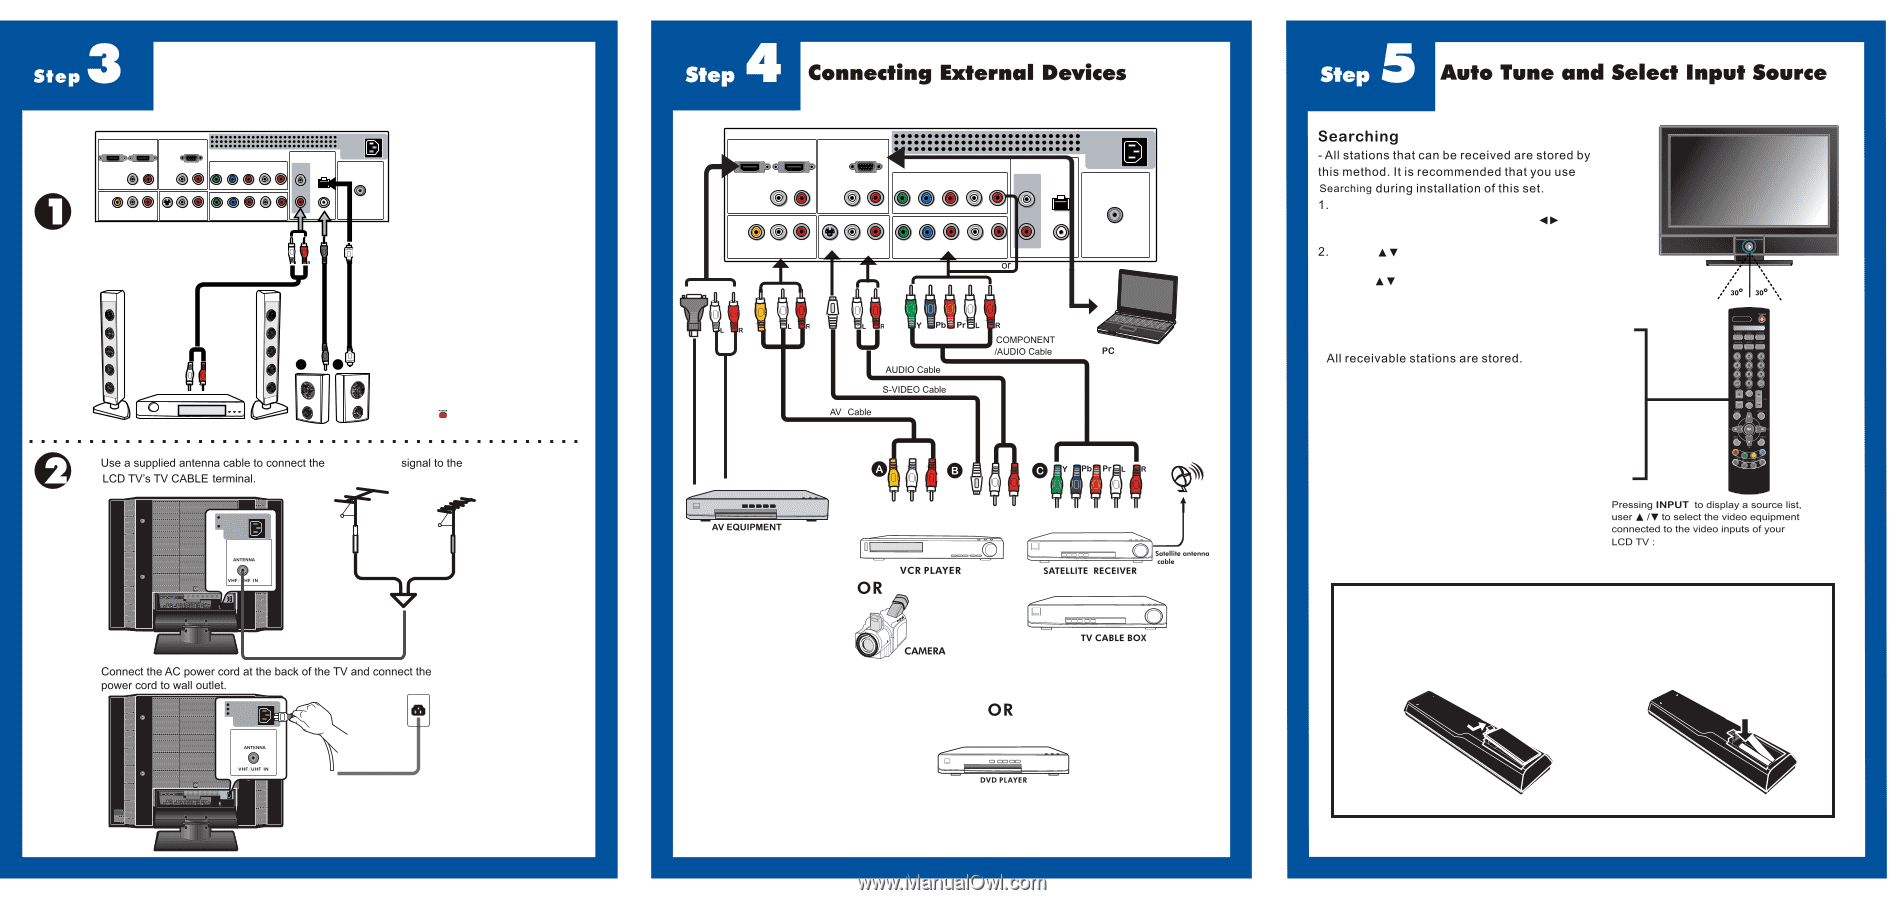
Connecting an Audio Receiver and TV Cable HDMI 1 IN HDMI 2 IN AUDIO L R PC/VGA IN AUDIO L R VIDEO L R AUDIO VIDEO2 IN S-VIDEO L AUDIO R S-VIDEO IN YPbPr1 IN Y Pb Pr AUDIO AUDIO OUT STEREO DIGITAL OPTICAL L R Y Pb Pr AUDIO L COAXIAL L R R YPbPr2 IN HDTV/TV Air/Cable VHF/UHF IN AUDIO Cable Audio Receiver B A Audio Amplifier Connecting to Audio Receiver: Use an audio cable to connect the audio receiver's audio LINE IN jacks to LCD TV's AUDIO OUT jacks. Connecting to Digital 5.1 Sound System: METHOD A: Use a optical cable to connect the audio amplifier's OPTICAL IN jacks to LCD TV's OPTICAL OUT jacks. METHOD B: Use a coaxial cable to connect the audio amplifier's COAXIAL IN jacks to LCD TV's COAXIAL OUT jacks. Connect all AC power sources, before turning on the power switch of the LCD TV or other connected equipment. Press the button on the remote to turn on the LCD TV. ATSC/NTSC HDMI 1 IN HDMI 2 IN AUDIO L R PC/VGA IN AUDIO L R L R VIDEO AUDIO VIDEO2 IN S-VIDEO L AUDIO R S-VIDEO IN YPbPr1 IN Y Pb Pr AUDIO AUDIO OUT STEREO DIGITAL OPTICAL L R Y Pb Pr AUDIO L COAXIAL L R R YPbPr2 IN HDTV/TV Air/Cable VHF/UHF IN While in TV (CABLE/AIR) mode, press the MENU button to display the Main menu, and use the buttons to select the TV menu. Use the buttons to select Tuner Mode (AIR/CABLE) and press OK button. 3. Use the buttons to select Channel Scan and press OK button. It will automatically cycle through all the 16 feet channels and store active channels into memory. TV(CABLE/AIR) VIDEO 1(SIDE) VIDEO 2(REAR) VIDEO 3(S-VIDEO) VIDEO 4(YPbPr1) VIDEO 5(YPbPr2) VIDEO 6(HDMI1) VIDEO 7(HDMI2) COMPUTER(VGA) INPUT TV(CABLE/AIR), VIDEO 1(SIDE), VIDEO 2(REAR), VIDEO 3(S-VIDEO), VIDEO 4(YPbPr1), VIDEO 5(YPbPr2), VIDEO 6(HDMI1), VIDEO 7(HDMI2), COMPUTER(VGA) and press OK button. Step1 Slide to open the battery compartment cover of the remote control. Step2 Install two "AAA" batteries (not included), paying attention to the polarity diagram in the battery compartment. Replace the battery compartment cover.
-
 1
1 -
 2
2 -
 3
3 -
 4
4 -
 5
5 -
 6
6 -
 7
7 -
 8
8 -
9
-
10
-
11
-
12
-
13
-
14
-
15
-
16
-
17
-
18
-
19
-
20
-
21
-
22
-
23
-
24
-
25
-
26
-
27
-
28
-
29
-
30
-
31
-
32
-
33
-
34
-
35
-
36
-
37
-
38
-
39
-
40
-
41
-
42
-
43
-
44
-
45
-
46
-
47
-
48
-
49
-
50
-
51
-
52
-
53
 |
 |