Motorola 2247NWG-VGX User Manual - Page 4
Connections, ENGLISH - netopia
 |
View all Motorola 2247NWG-VGX manuals
Add to My Manuals
Save this manual to your list of manuals |
Page 4 highlights
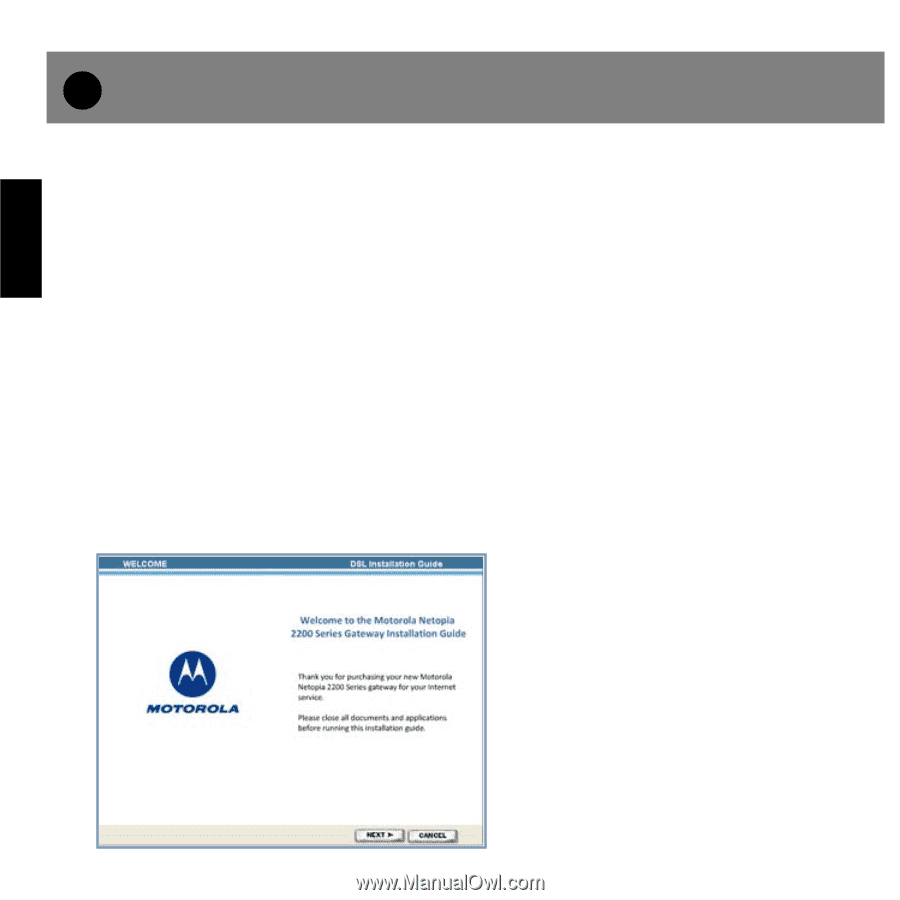
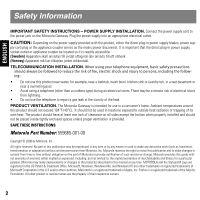
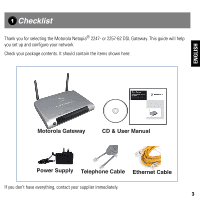
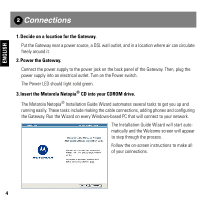
ENGLISH 2 Connections 1. Decide on a location for the Gateway. Put the Gateway near a power source, a DSL wall outlet, and in a location where air can circulate freely around it. 2. Power the Gateway. Connect the power supply to the power jack on the back panel of the Gateway. Then, plug the power supply into an electrical outlet. Turn on the Power switch. The Power LED should light solid green. 3. Insert the Motorola Netopia® CD into your CDROM drive. The Motorola Netopia® Installation Guide Wizard automates several tasks to get you up and running easily. These tasks include making the cable connections, adding phones and configuring the Gateway. Run the Wizard on every Windows-based PC that will connect to your network. The Installation Guide Wizard will start automatically and the Welcome screen will appear to step through the process. Follow the on-screen instructions to make all of your connections. 4
-
 1
1 -
 2
2 -
 3
3 -
 4
4 -
 5
5 -
 6
6 -
 7
7 -
 8
8 -
 9
9 -
 10
10 -
11
-
12
-
13
-
14
-
15
-
16
-
17
-
18
-
19
-
20
-
21
-
22
 |
 |