Netgear PS121v1 PS121v1 User Manual - Page 18
Finally, Set Up Each Computer to Use the PS121, Warning, Use the NETGEAR Add Printer Wizard - software
 |
View all Netgear PS121v1 manuals
Add to My Manuals
Save this manual to your list of manuals |
Page 18 highlights
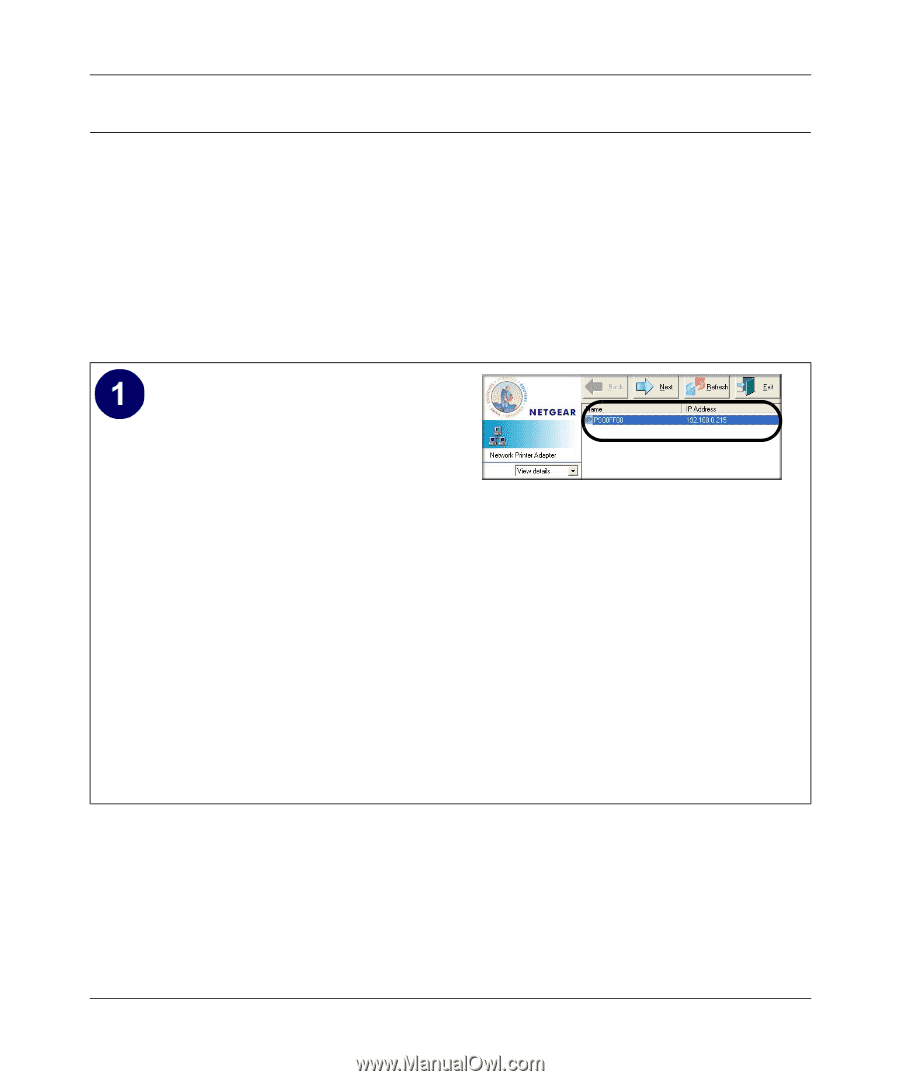
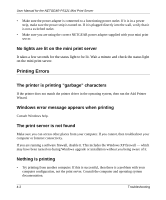
User Manual for the NETGEAR PS121 Mini Print Server Finally, Set Up Each Computer to Use the PS121 After you have set up the PS121 in your network, you need to set up each computer to use the PS121. You do this by using the NETGEAR Add Printer Port Wizard. For each computer on your network, use the NETGEAR PS121 Mini Print Server Resource CD to run the Add Printer Wizard according to the steps below. Warning: Print manager software from Epson and from some HP printers can block communications between your PC and the PS121. Uninstall such print manager software before proceeding with the Add Printer Port Wizard. Use the NETGEAR Add Printer Wizard to set up each PC to use the PS121. a. When the Print Server Setup Wizard finishes, you are prompted to run the Add Printer Port Wizard. Click Yes to proceed. Alternatively, from the Windows Start menu NETGEAR Print Server program group, you can run the NETGEAR Add Printer Wizard. b. After a short delay while the software searches the network for your PS121, the Printer Select window opens and displays the PS121 you have set up. c. Click Next to proceed to the Port/Printer name screen. Take note of the printer model number listed. Printer Select Window (Add Port) Note: If no printers are displayed in this window, use the Print Server Setup Wizard to check your TCP/IP configuration and make sure that your printer is recognized on the network. Also, be sure that both the PS121 and the connected printer are powered on, and the cable connections between the network, \ print server, and printer are secure. 3-6 Setup
-
 1
1 -
2
-
3
-
4
-
5
-
6
-
7
-
8
-
9
-
10
-
11
-
12
-
 13
13 -
 14
14 -
 15
15 -
 16
16 -
 17
17 -
 18
18 -
 19
19 -
 20
20 -
 21
21 -
 22
22 -
 23
23 -
24
-
25
-
26
-
27
-
28
-
29
-
30
-
31
-
32
-
33
-
34
-
35
-
36
-
37
-
38
-
39
-
40
-
41
 |
 |