Panasonic SCPM25 SAPM25 User Guide - Page 17
RECORDING THE RADIO, Set the tape direction.
 |
View all Panasonic SCPM25 manuals
Add to My Manuals
Save this manual to your list of manuals |
Page 17 highlights
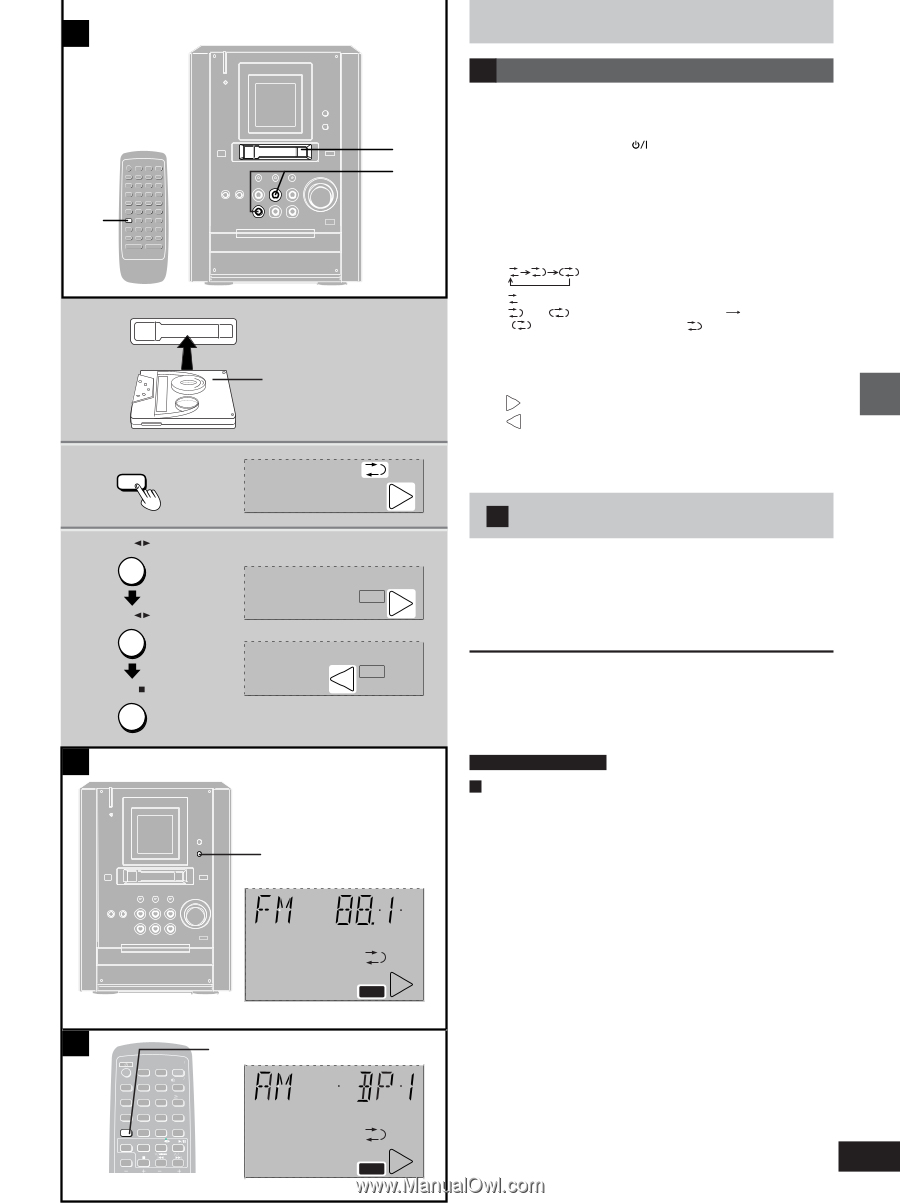
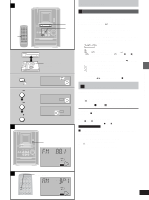
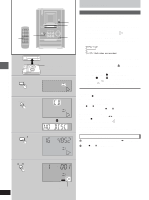
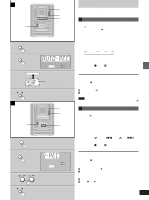
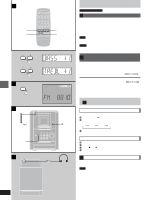
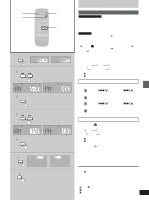
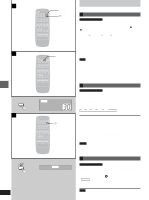
A 1 3 2 1 2 REV MODE 3 TAPE TAPE STOP B side to be recorded facing up FWD PLAY FWD PRGM AUTO 1 - 1-REC RANDOM PLAY REV FWD REC 2 TUNED ST MONO kHz MHz dB PRGM AUTO 1 - 1-REC PLAY RANDOM REV REC FWD C CLOCK AUTO OFF SLEEP TIMER 1 2 3 PLAY REC 4 5 6 10 7 8 9 0 TUNE MODE PROGRAM CANCEL PLAY MODE SELECTOR TUNER TAPE CD REV MODE CLEAR REW FF BASS TREBLE TUNE MODE TUNED ST MONO kHz dB PRGM AUTO 1 - 1-REC PLAY RANDOM REV FWD REC Before recording A Preparatory steps Do these steps before each recording. Wind up the leader tape so recording can begin immediately. (unneccessary if auto CD editing) Preparation: Press [POWER ] to turn the unit on. 1 Insert the tape to be recorded on. Insert with the exposed tape facing left. 2 Press [REV MODE] on the remote control to select the reverse mode. Every time you press the button: : One side only records. and : Both sides record (forward reverse). " " automatically changes to " " when ([REC/ J) is pressed. 3 (unneccessary with auto editing recording, \ Page 19) Set the tape direction. : FWD To record on the forward side. : REV To record on the reverse side. To change the direction Press [TAPE 2 3] twice and then [STOP L]. B Recording the radio Preparation: Do the preparatory steps above. 1 Tune to the required station. (\ page 10 or 11) 2 Press [[REC/ J] to start recording. To stop recording. Press [STOP L]. To stop recording temporarily Press [[REC/ J]. To resume recording, press [[REC/ J]. by remote control only C To reduce noise while recording an AM broadcast (Beat proof function) Press and hold [TUNE MODE] while recording. Every time you press and hold the button: BP 1 ↔ BP 2 Select the position where there is less noise. 17 RQT5717 Recording operations
-
 1
1 -
2
-
3
-
4
-
5
-
6
-
7
-
8
-
9
-
10
-
11
-
 12
12 -
 13
13 -
 14
14 -
 15
15 -
 16
16 -
 17
17 -
 18
18 -
 19
19 -
 20
20 -
 21
21 -
 22
22 -
23
-
24
-
25
-
26
-
27
-
28
 |
 |