Panasonic SCXH50 SAXH50 User Guide - Page 16
Changing the player settings - plasma tv
 |
View all Panasonic SCXH50 manuals
Add to My Manuals
Save this manual to your list of manuals |
Page 16 highlights
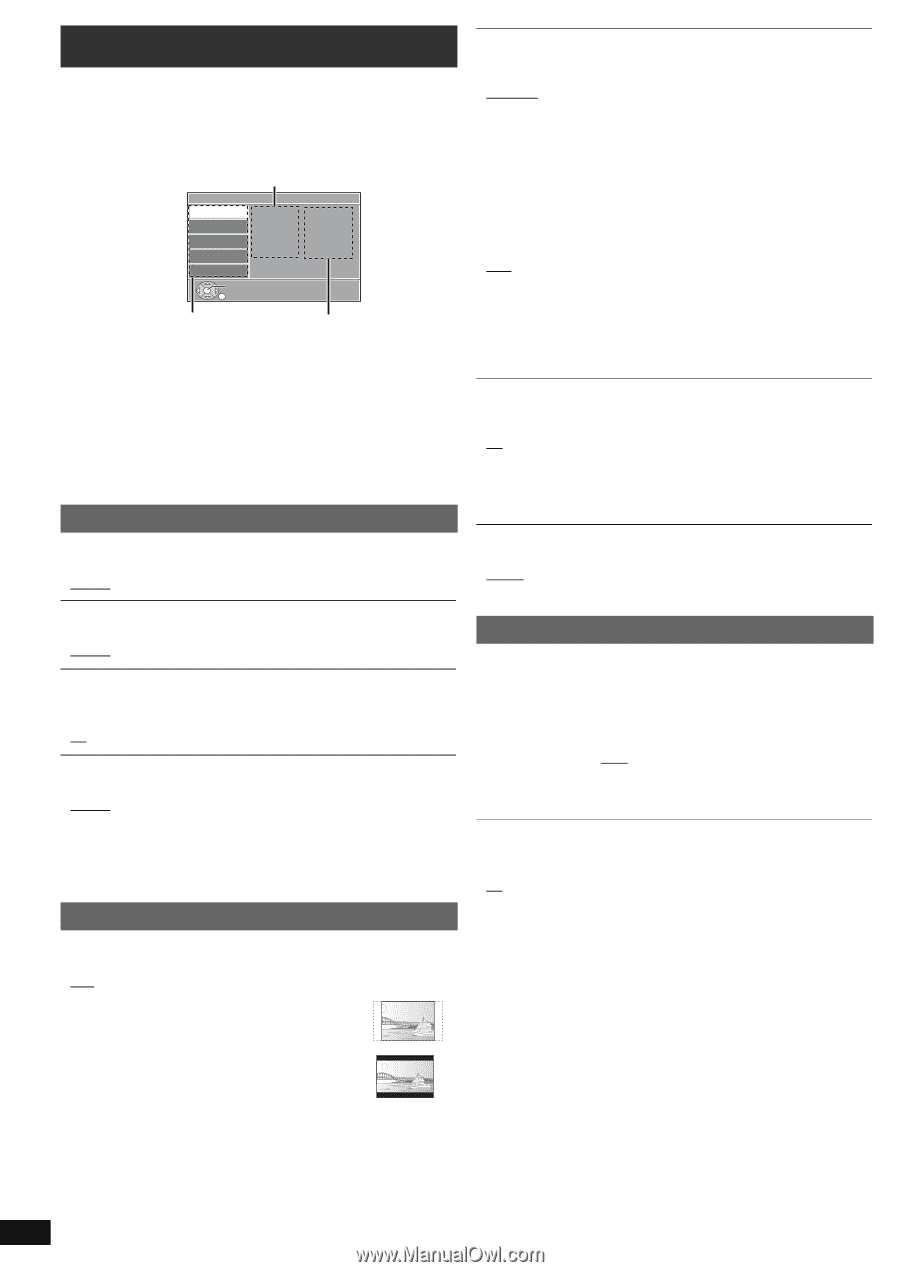
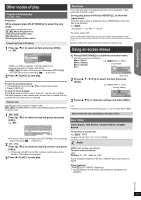
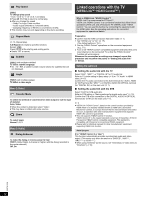
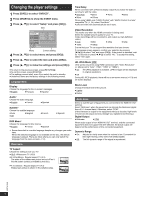
Getting Started Playing Discs Other Operations Changing the player settings 1 Press [DVD]4 to select "DVD/CD". 2 Press [START]B to show the START menu. 3 Press [3, 4]8 to select "Setup" and press [OK]8. Item Setup Language Video Audio HDMI Display Audio Subtitle DVD Menu Others Set RETURN : English : English : Off : English Menu Current setting 4 Press [3, 4]8 to select menu and press [OK]8. 5 Press [3, 4]8 to select the item and press [OK]8. 6 Press [3, 4]8 to make the settings and press [OK]8. ≥ To return to the previous screen, press [RETURN]D. ≥ To exit the screen, press [START]B. ≥ The settings remain intact, even if you switch the unit to standby. ≥ Underlined items are the factory settings in the following menus. Language menu Display Choose the language for the on-screen messages. ≥ English ≥ Français ≥ Español Audio§ Choose the audio language. ≥ English ≥ French ≥ Spanish Subtitle§ Choose the subtitle language. ≥ Auto ≥ English ≥ Off ≥ French ≥ Spanish DVD Menu§ Choose the language for disc menus. ≥ English ≥ French ≥ Spanish § Some discs start in a certain language despite any changes you make here. When the selected language is not available on the disc, the default language is played. There are discs where you can only switch the language from the menu screen (B 12). Video menu TV Aspect Choose the setting to suit your TV. ≥ 16:9: Widescreen TV (16:9) ≥ 4:3 Pan&Scan: Regular aspect TV (4:3) The sides of the widescreen picture are cut off so it fills the screen (unless prohibited by the disc). ≥ 4:3 Letterbox: Regular aspect TV (4:3) Widescreen picture is shown in the letterbox style. Time Delay When connected with a Plasma display, adjust if you notice the audio is out of sync with the video. ≥ 0ms/Auto ≥ 20ms ≥ 40ms ≥ 60ms ≥ 80ms ≥ 100ms When using VIERA Link "HDAVI Control" with "HDAVI Control 3 or later" compatible TV (B 14), select "0ms/Auto". Audio and video will automatically be set in sync. Video Resolution This works only when the HDMI connection is being used. Select the suitable picture quality for your TV. (Video recordings will be converted to, and output as, high-definition video.) ≥ Auto ≥ 480i ≥ 480p ≥ 720p ≥ 1080i ≥ 1080p Ensure that your TV can support the resolution that you choose. If a message screen appears, confirm your selection by pressing [2, 1]8 to select "Yes" and press [OK]8. If the picture is distorted, wait for 15 seconds or press [2, 1]8 to select "No". To accept the setting, select "Yes" again. HD JPEG Mode [JPEG] (This works only when using HDMI connection with "Video Resolution" (B above) set to "Auto", "720p", "1080i" or "1080p".) ≥ On: HD JPEG playback is available. (JPEG images will be displayed in original resolution.) ≥ Off During HD JPEG playback, there will be no on-screen menus (B 13) and on-screen displays. Black Level Change the black level of the picture. ≥ Lighter ≥ Darker Audio menu Select to suit the type of equipment you connected to the HDMI AV OUT terminal. Select "Bitstream" when the equipment can decode the bitstream (digital form of 5.1-channel data). Otherwise, select "PCM". (If the bitstream is output to the equipment without a decoder, high levels of noise can be output and may damage your speakers and hearing.) Digital Output ≥ Bitstream ≥ PCM When audio output is from HDMI AV OUT terminal, and the connected equipment does not support the item selected, the actual output will depend on the performance of this connected equipment. Dynamic Range ≥ On: Adjusts for clarity even when the volume is low. Convenient for late night viewing. (Only works with Dolby Digital) ≥ Off: The full dynamic range of the signal is reproduced. Reference RQTX1326 16
-
 1
1 -
2
-
3
-
4
-
5
-
6
-
7
-
8
-
9
-
10
-
 11
11 -
 12
12 -
 13
13 -
 14
14 -
 15
15 -
 16
16 -
 17
17 -
 18
18 -
 19
19 -
 20
20 -
 21
21 -
22
-
23
-
24
-
25
-
26
 |
 |