Panasonic U1 Panaboard - Page 17
Printing with an external printer, Moving the Electronic Board, printer
 |
UPC - 092281895208
View all Panasonic U1 manuals
Add to My Manuals
Save this manual to your list of manuals |
Page 17 highlights
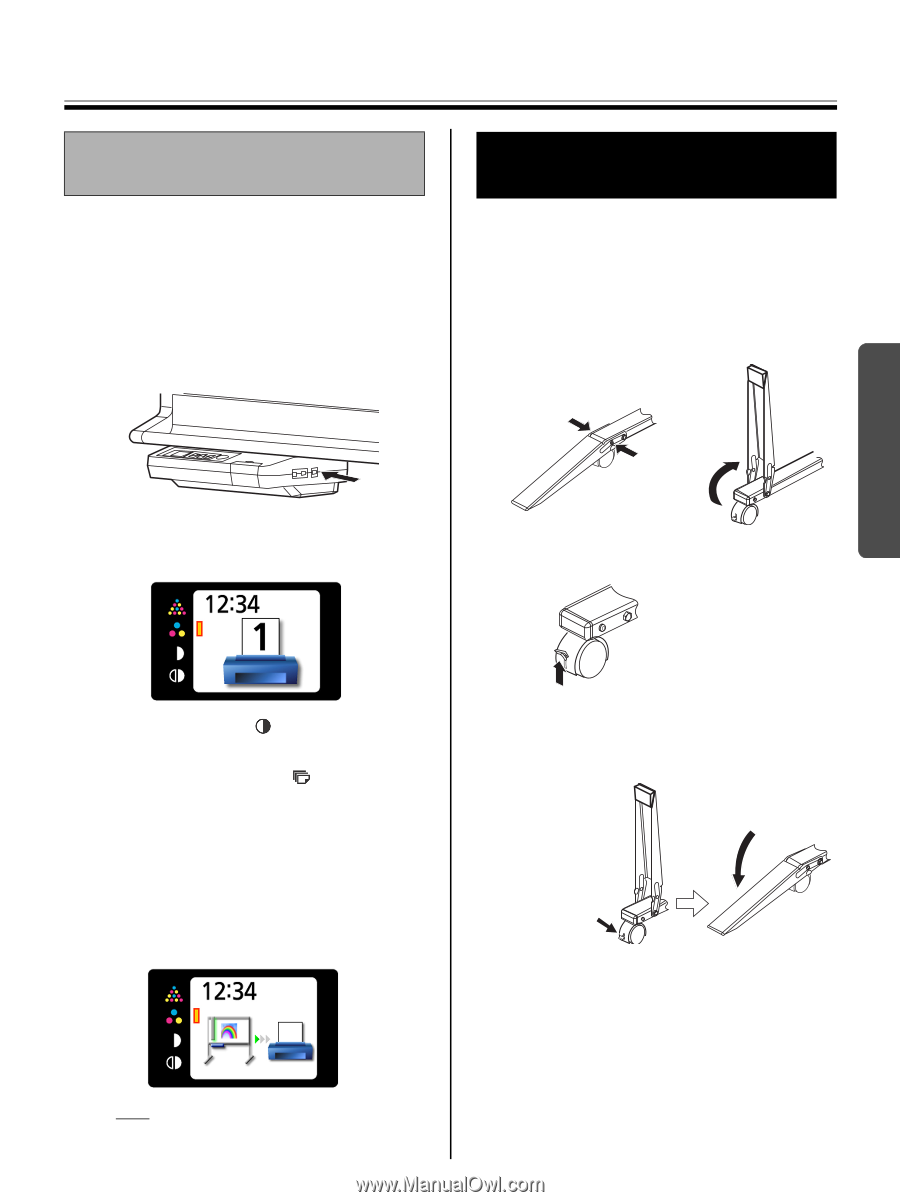
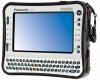
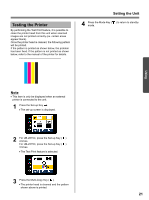
Scanning / Moving the Electronic Board Printing with an external printer 1 Set the power switch to on ( I ). • The scanner will move to the home position and stop. 2 Turn the external printer on and load the paper. 3 Connect the external printer to "USB Connector-A for Printer" with a USB cable. • The printer icon is shown on the display. The display below is an example of the unit in standby mode. Moving the Electronic Board 1 Disconnect the power cord on both ends and coil it. • Make sure if there are any other devices connected to the unit. If so, disconnect them. 2 Release the lock A and fold back the fallprevention extension legs B as follows: A A B 3 Release the caster locks and move the unit. Using 4 Press the Mode Key to select the scanning mode. 5 Press the Multi-Copy Key repeatedly to select the number of copies (1 to 9) to be printed. 6 Press the Start/Stop Key. • The unit starts scanning and the image is printed. • The copying status is shown on the display. • After printing is finished, the unit will return to standby mode. Releasing the lock 4 Lock the casters and set the fall-prevention extension legs. Locking the casters (Push this side) Push to lock 5 Plug-in the power cord on both ends. Note • Only remove the USB cable once you have returned to standby mode. 17
-
 1
1 -
2
-
3
-
4
-
5
-
6
-
7
-
8
-
9
-
10
-
11
-
 12
12 -
 13
13 -
 14
14 -
 15
15 -
 16
16 -
 17
17 -
 18
18 -
 19
19 -
 20
20 -
 21
21 -
 22
22 -
23
-
24
-
25
-
26
-
27
-
28
-
29
-
30
-
31
-
32
-
33
-
34
-
35
-
36
-
37
-
38
-
39
-
40
-
41
-
42
-
43
-
44
-
45
-
46
-
47
-
48
 |
 |