Panasonic U1 Panaboard - Page 19
Setting the Unit, Setting for scanning time display, File format set-up, display
 |
UPC - 092281895208
View all Panasonic U1 manuals
Add to My Manuals
Save this manual to your list of manuals |
Page 19 highlights
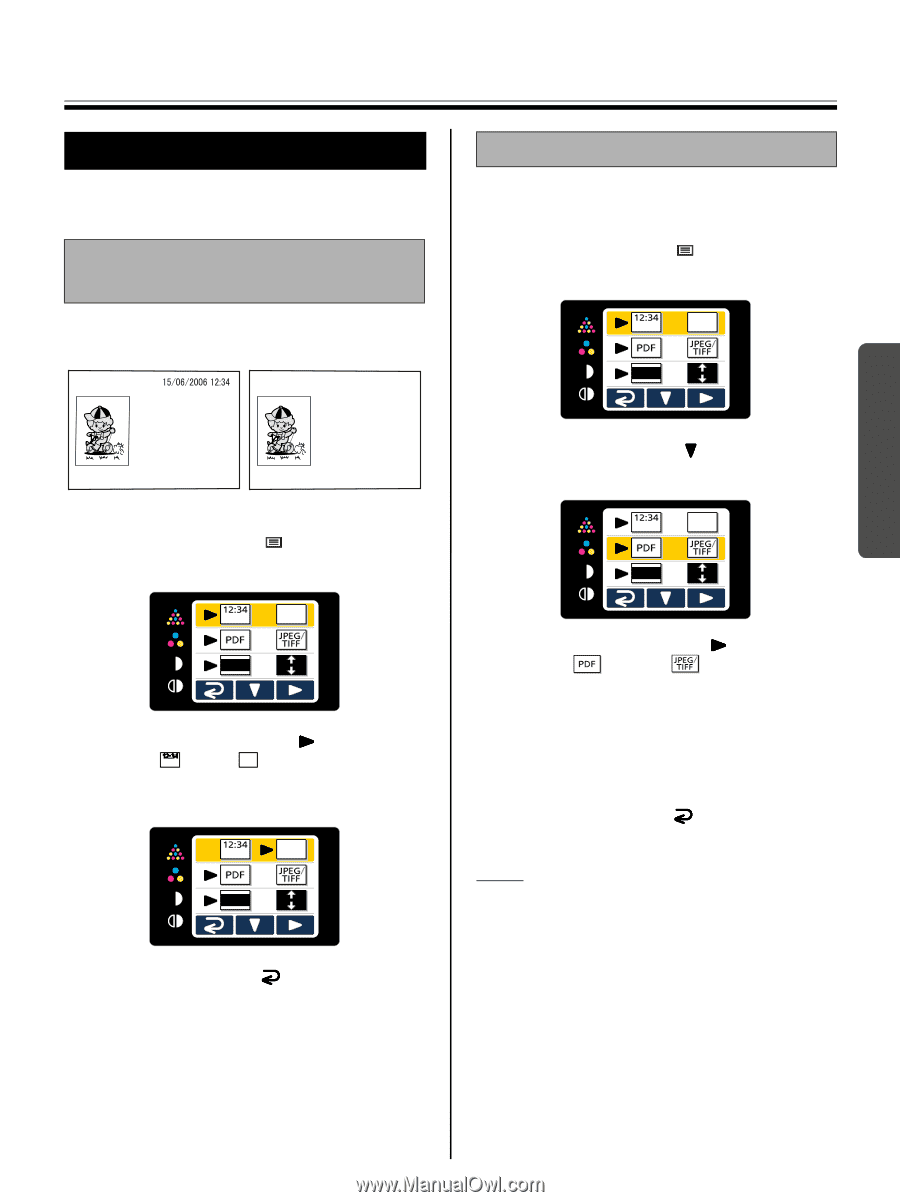
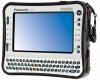
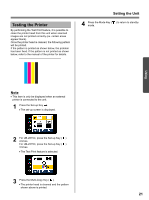
Using Setting the Unit The following settings can be made using the control panel. Setting for scanning time display It is possible to select whether the time that an image is scanned is displayed on the image. Setting the Unit File format set-up It is possible to select the file format for outputting images to a USB flash memory device or SD memory card. 1 Press the Set-up Key . • The set-up screen is displayed. Panaboard Panaboard [On] [Off] 1 Press the Set-up Key . • The set-up screen is displayed. 2 Press the Set-up Key ( ) again. • File format set-up is selected. 2 Press the Multi-Copy Key ( ) repeatedly to select (On) or (Off). • When the scanning time display is set to "off", the following screen is displayed. 3 Press the Mode Key ( ) to return to standby mode. 3 Press the Multi-Copy Key ( ) repeatedly to select (PDF) or (JPEG/TIFF). • When PDF is selected, all images are saved as PDF files. • When JPEG/TIFF is selected, images scanned in color are saved as JPEG files and images scanned in black and white are saved as TIFF files. 4 Press the Mode Key ( ) to return to standby mode. Note • When JPEG/TIFF is selected, images will be rotated 90 degrees and saved. Use a graphic software to rotate the image back to the position it was displayed on the whiteboard. 19
-
 1
1 -
2
-
3
-
4
-
5
-
6
-
7
-
8
-
9
-
10
-
11
-
12
-
13
-
 14
14 -
 15
15 -
 16
16 -
 17
17 -
 18
18 -
 19
19 -
 20
20 -
 21
21 -
 22
22 -
 23
23 -
 24
24 -
25
-
26
-
27
-
28
-
29
-
30
-
31
-
32
-
33
-
34
-
35
-
36
-
37
-
38
-
39
-
40
-
41
-
42
-
43
-
44
-
45
-
46
-
47
-
48
 |
 |