Panasonic WVCP464 WVCP460 User Guide - Page 5
Setup
 |
View all Panasonic WVCP464 manuals
Add to My Manuals
Save this manual to your list of manuals |
Page 5 highlights
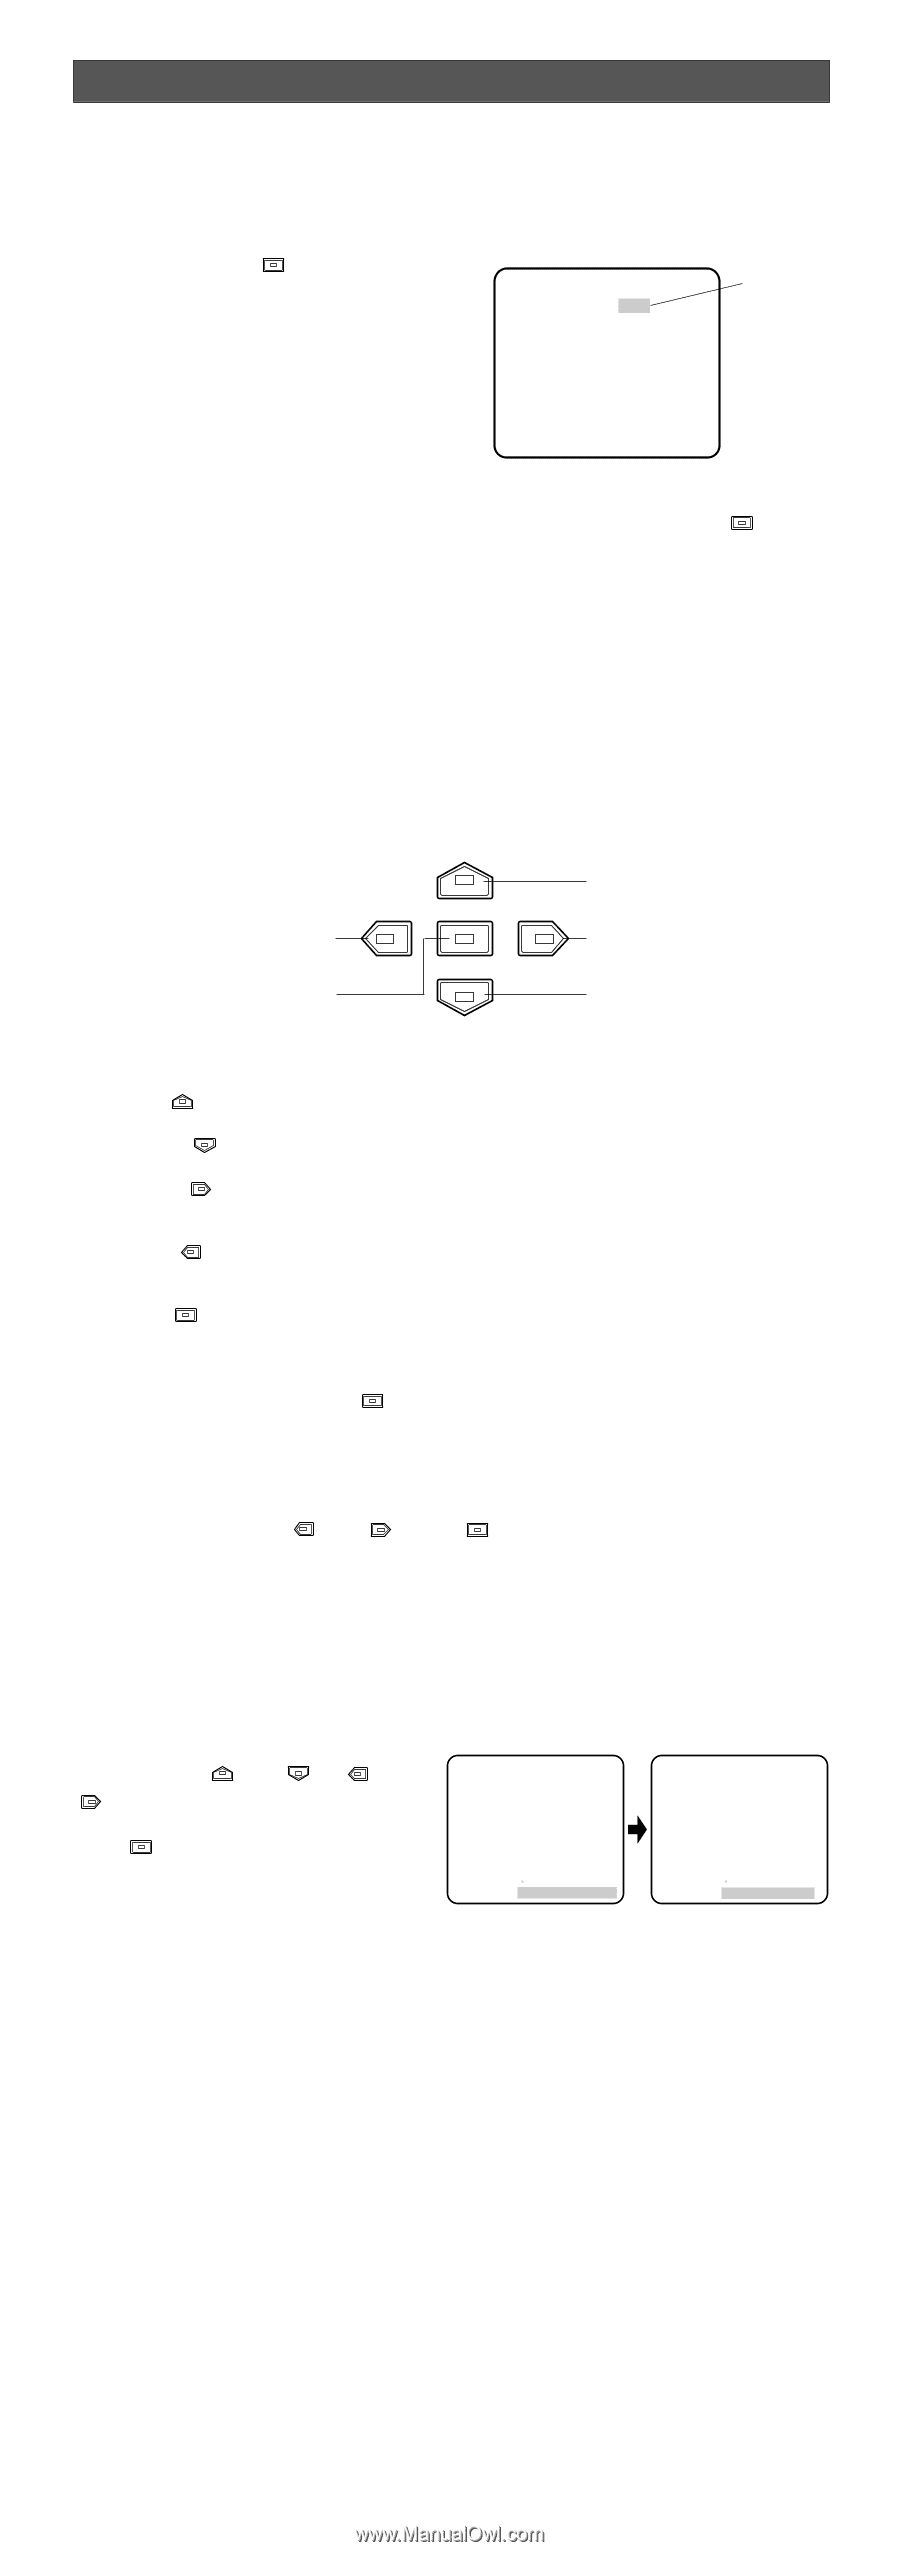
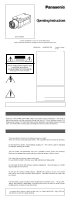
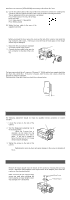
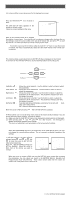
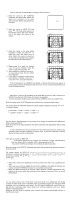
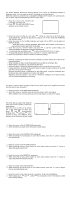
SETUP 1. CAMERA SETUP MENU This camera utilizes a user setup menu that is displayed on-screen. • Opening the Setup Menu Press and hold down more. for 2 seconds or The CAM SET UP menu appears on the monitor as shown at right. Check the current settings on the menu. ** CAM SET UP ** ↵↵ CAMERA ID OFF ALC/ELC ALC SHUTTER OFF AGC ON SENS UP OFF SYNC INT ↵ WHITE BAL ATW MOTION DET OFF LENS DRIVE DC Highlighted END SET UP DISABLE Refer to the sections below for a detailed description of menu items. If you decide not to make any changes after checking the current settings, move the cursor to END at the start of the bottom line, and press to close the CAM SET UP menu and return to normal camera picture mode. Note: If no button is pressed for 6 minutes while the CAM SET UP menu or any other menu is opened, the menu is automatically closed and the mode returns to the normal camera picture. 2. SETUP OPERATION This camera utilizes a user setup menu (CAM SET UP) that is displayed on the monitor. To set items on the CAM SET UP menu, use the following buttons on the side panel. Left Button Set Button Up Button Right Button Down Button Up Button ( ): Moves the cursor upwards. Use this button to select an item or adjust the parameters. Down Button ( ): Moves the cursor downwards. Use this button to select an item or adjust the parameters. Right Button ( ): Moves the cursor to the right. Use this button to select or adjust the parameters of the selected item. The parameter changes each time this button is pressed. Left Button ( ): Moves the cursor to the left. Use this button to select or adjust the parameters of the selected item. The parameter changes each time this button is pressed. Set Button ( ): Executes selections and displays a submenu for an item with mark. END: Close Setup menu. RET: Return to the previous menu or page. To return to the CAM SET UP menu Move the cursor to RET and press . The CAM SET UP menu appears. ↵ • All Reset Operation All Reset allows you to reset all setup menu items to the factory default settings if you are unsure about the correct settings. Proceed as follows: (1) Make sure that the CAM SET UP menu is not displayed (a camera picture is displayed). (2) While pressing both and , press for a few seconds. The message ALL RESET momentarily appears on the monitor. This resets all adjustments and parameters to the factory default settings. • Editing the CAM SET UP Menu Important Notice: When SET UP DISABLE appears in the bottom line of the CAM SET UP menu, you cannot change the currently active settings. This is to prevent accidental changing of the settings. To edit the CAM SET UP menu (change settings), press and or and to move the cursor to SET UP DISABLE in the bottom line. Press . SET UP DISABLE changes to SET UP ENABLE. Move the cursor to END, then to the item(s) you want to change. ** CAM SET UP ** ↵↵ CAMERA ID OFF ALC/ELC ALC SHUTTER OFF AGC ON SENS UP OFF SYNC INT ↵ WHITE BAL ATW MOTION DET OFF LENS DRIVE DC END SET UP DISABLE ** CAM SET UP ** ↵↵ CAMERA ID OFF ALC/ELC ALC SHUTTER OFF AGC ON SENS UP OFF SYNC INT ↵ WHITE BAL ATW MOTION DET OFF LENS DRIVE DC END SET UP ENABLE Important Notice: When the cursor is moved to END and the CAM SET UP menu closed after changing the parameters, the new values are saved in the EEPROM (Electric Erasable and Programmable Read Only Memory). These values remain valid until new values are saved, even if the power of the camera is off. (To be continued reverse page)
-
 1
1 -
 2
2 -
 3
3 -
 4
4 -
 5
5 -
 6
6 -
 7
7 -
 8
8 -
 9
9 -
 10
10 -
 11
11
 |
 |