Pfaff 130-6 Owner's Manual - Page 11
Attachments
 |
View all Pfaff 130-6 manuals
Add to My Manuals
Save this manual to your list of manuals |
Page 11 highlights
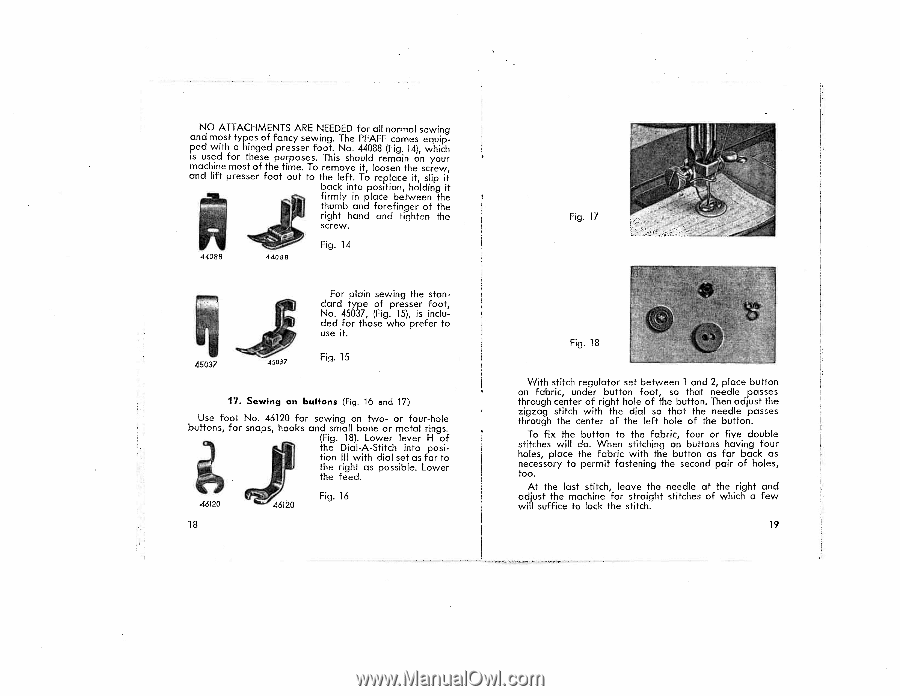
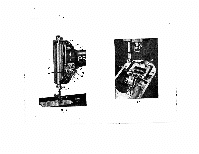
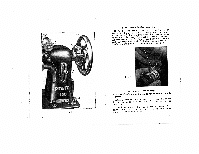
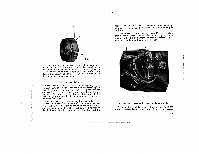
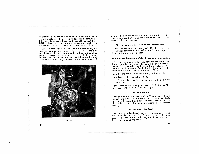
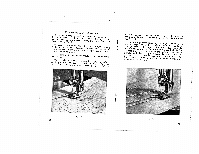
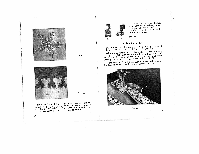
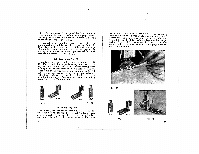
NO ATTACHMENTS ARE NEEDED for all normal sewing and most types of fancy sewing. The PFAFF comes equip ped with a hinged presser foot. No. 44088 (Fig. 14), which is used for these purposes. This should remain on your machine most of the time. To remove it, loosen the screw, nand lift presser foot out to the left. To replace it, slip it back into position, holding it firmly in place between the thumb and forefinger of the right hand and tighten the screw. Fig. 14 44088 44088 45037 For plain sewing the stan. dard type of presser foot, No. 45037, (Fig. 15), is inclu ded for those who prefer to use it. Fig. 15 17. Sewing on buttons (Fig. 16 and 17) Use foot No. 46120 for sewing on two- or four-hole buttons, for snaps, hooks and small bone or metal rings. (Fig. 18). Lower ever H of the Dial-A-Stitch into posi tion Ill with dial set as far to the right as possible. Lower the feed. 46120 Fig. 16 18 Fig 17 Fig. 18 With stitch regulator set between 1 and 2, place button on fabric, under button foot, so that needle passes through center of right hole of the button. Then adjust the zigzag stitch with the dial so that the needle passes through the center of the left hole of the button. To fix the button to the fcsbric, four or five double stitches will do. When stitching on buttons having four holes, place the fabric with the button as far back as necessary to permit fastening the second pair of holes, too. At the last stitch, leave the needle at the right and adjust the machine for straight stitches of which a few will suffice to lock the stitch. 19
-
 1
1 -
2
-
3
-
4
-
5
-
 6
6 -
 7
7 -
 8
8 -
 9
9 -
 10
10 -
 11
11 -
 12
12 -
 13
13 -
 14
14 -
 15
15 -
 16
16 -
17
-
18
-
19
-
20
-
21
-
22
 |
 |