Pfaff 130-6 Owner's Manual - Page 21
Index, Mechanical, Adjusiments
 |
View all Pfaff 130-6 manuals
Add to My Manuals
Save this manual to your list of manuals |
Page 21 highlights
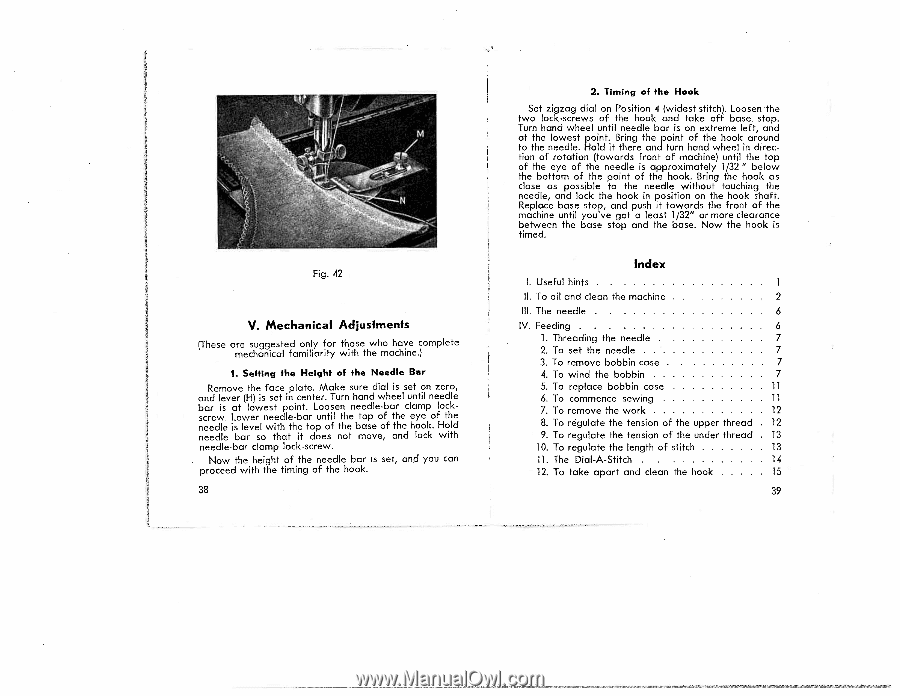
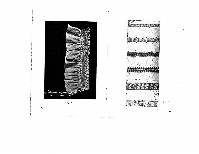
Fig. 42 V. Mechanical Adjusiments (These are suggested only for those who have complete mechanical familiarity with the machine.) 1. SettIng the Height of the Needle Bar Remove the face plate. Make sure dial is set on zero, and lever (H) is set in center. Turn hand wheel until needle bar is at lowest point. Loosen needle-bar clamp lockscrew. Lower needle-bar until the top of the eye of the needle is level with the top of the base of the hook. Hold needle bar so that it does not move, and lock with needle-bar clamp lock-screw. Now the height of the needle bar is set, and you con proceed with the timing of the hook. 38 2. Timing of Ihe Hook Set zigzag dial on Position 4 (widest stitch). Loosen 'the two lack-screws of the hook and take off base, stop. Turn hand wheel until needle bar is on extreme left, and at the lowest point. Bring the point of the hook around to the needle. Hold it there and turn hand wheel in direc tion of rotation (towards front of machine) until the top of the eye of the needle is approximately 1/32" below the bottom of the point of the hook. Bring the hook as close as possible to the needle without touching the needle, and lock the hook in position on the hook shaft. Replace base stop, and push it towards the front of the machine until you've got a least 1/32" or more clearance between the base stop and the base. Now the hook is timed. Index I. Useful hints 1 II. To oil and clean the machine .......... 2 Ill. The needle 6 lv. Feeding .6 1. Threading the needle 2. To set the needle 3. To remove bobbin case 7 4. To wind the bobbin 7 5. To replace bobbin case 11 6. To commence sewing 11 7. To remove the work 12 8. To regulate the tension of the upper thread 12 9. To regulate the tension of the under thread 13 10. To regulate the length of stitch 13 11. The Dial-A-Stitch 14 12. To take apart and clean the hook 15 39
-
 1
1 -
2
-
3
-
4
-
5
-
6
-
7
-
8
-
9
-
10
-
11
-
12
-
13
-
14
-
15
-
 16
16 -
 17
17 -
 18
18 -
 19
19 -
 20
20 -
 21
21 -
 22
22
 |
 |