Pfaff creative 2140 Owner's Manual - Page 157
Embroider, endless, borders, beyond, length
 |
View all Pfaff creative 2140 manuals
Add to My Manuals
Save this manual to your list of manuals |
Page 157 highlights
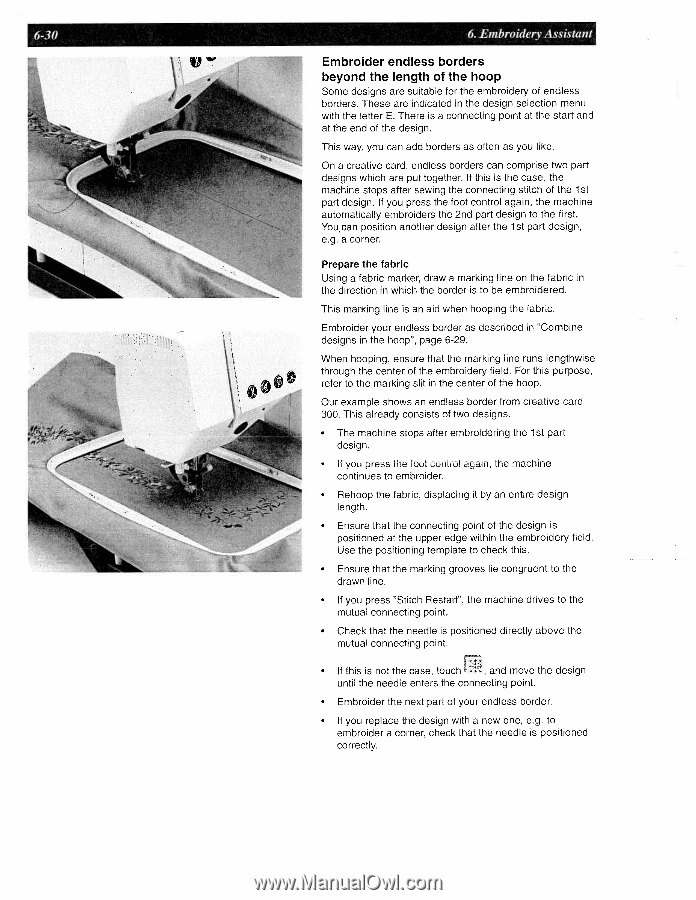
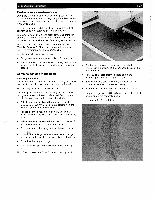
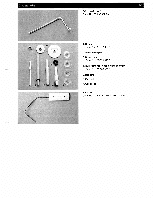
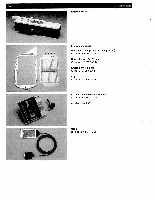
6-30 6 Embroidery Assistant Embroider endless borders beyond the length of the hoop Some designs are suitable for the embroidery of endless borders. These are indicated in the design selection menu with the letter E. There is a connecting point at the start and at the end of the design. This way, you can add borders as often as you like. On a creative card, endless borders can comprise two part designs which are put together. If this is the case, the machine stops after sewing the connecting stitch of the 1st part design. If you press the foot control again, the machine automatically embroiders the 2nd part design to the first. You can position another design after the 1st part design, e.g. a corner. Prepare the fabric Using a fabric marker, draw a marking line on the fabric in the direction in which the border is to be embroidered. This marking line is an aid when hooping the fabric. Embroider your endless border as described in "Combine designs in the hoop", page 6-29. When hooping, ensure that the marking line runs lengthwise through the center of the embroidery field. For this purpose, refer to the marking slit in the center of the hoop. Our example shows an endless border from creative card 300. This already consists of two designs. • The machine stops after embroidering the 1st part design. • If you press the foot control again, the machine continues to embroider. • Rehoop the fabric, displacing it by an entire design length. • Ensure that the connecting point of the design is positioned at the upper edge within the embroidery field. Use the positioning template to check this. • Ensure that the marking grooves lie congruent to the drawn line. • If you press 'Stitch Restart", the machine drives to the mutual connecting point. • Check that the needle is positioned directly above the mutual connecting point. • If this is not the case, touch and move the design until the needle enters the connecting point. • Embroider the next part of your endless border. • If you replace the design with a new one, e.g. to embroider a corner, check that the needle is positioned correctly.
-
 1
1 -
2
-
3
-
4
-
5
-
6
-
7
-
8
-
9
-
10
-
11
-
12
-
13
-
14
-
15
-
16
-
17
-
18
-
19
-
20
-
21
-
22
-
23
-
24
-
25
-
26
-
27
-
28
-
29
-
30
-
31
-
32
-
33
-
34
-
35
-
36
-
37
-
38
-
39
-
40
-
41
-
42
-
43
-
44
-
45
-
46
-
47
-
48
-
49
-
50
-
51
-
52
-
53
-
54
-
55
-
56
-
57
-
58
-
59
-
60
-
61
-
62
-
63
-
64
-
65
-
66
-
67
-
68
-
69
-
70
-
71
-
72
-
73
-
74
-
75
-
76
-
77
-
78
-
79
-
80
-
81
-
82
-
83
-
84
-
85
-
86
-
87
-
88
-
89
-
90
-
91
-
92
-
93
-
94
-
95
-
96
-
97
-
98
-
99
-
100
-
101
-
102
-
103
-
104
-
105
-
106
-
107
-
108
-
109
-
110
-
111
-
112
-
113
-
114
-
115
-
116
-
117
-
118
-
119
-
120
-
121
-
122
-
123
-
124
-
125
-
126
-
127
-
128
-
129
-
130
-
131
-
132
-
133
-
134
-
135
-
136
-
137
-
138
-
139
-
140
-
141
-
142
-
143
-
144
-
145
-
146
-
147
-
148
-
149
-
150
-
151
-
 152
152 -
 153
153 -
 154
154 -
 155
155 -
 156
156 -
 157
157 -
 158
158 -
 159
159 -
 160
160 -
 161
161 -
 162
162 -
163
-
164
-
165
-
166
-
167
-
168
-
169
-
170
-
171
-
172
-
173
-
174
-
175
-
176
-
177
-
178
-
179
-
180
-
181
-
182
-
183
-
184
-
185
-
186
-
187
-
188
-
189
-
190
-
191
 |
 |