Pioneer AVH-P4900DVD Owner's Manual - Page 42
Setting the automatic open, function, Setting the clock
 |
UPC - 012562853161
View all Pioneer AVH-P4900DVD manuals
Add to My Manuals
Save this manual to your list of manuals |
Page 42 highlights
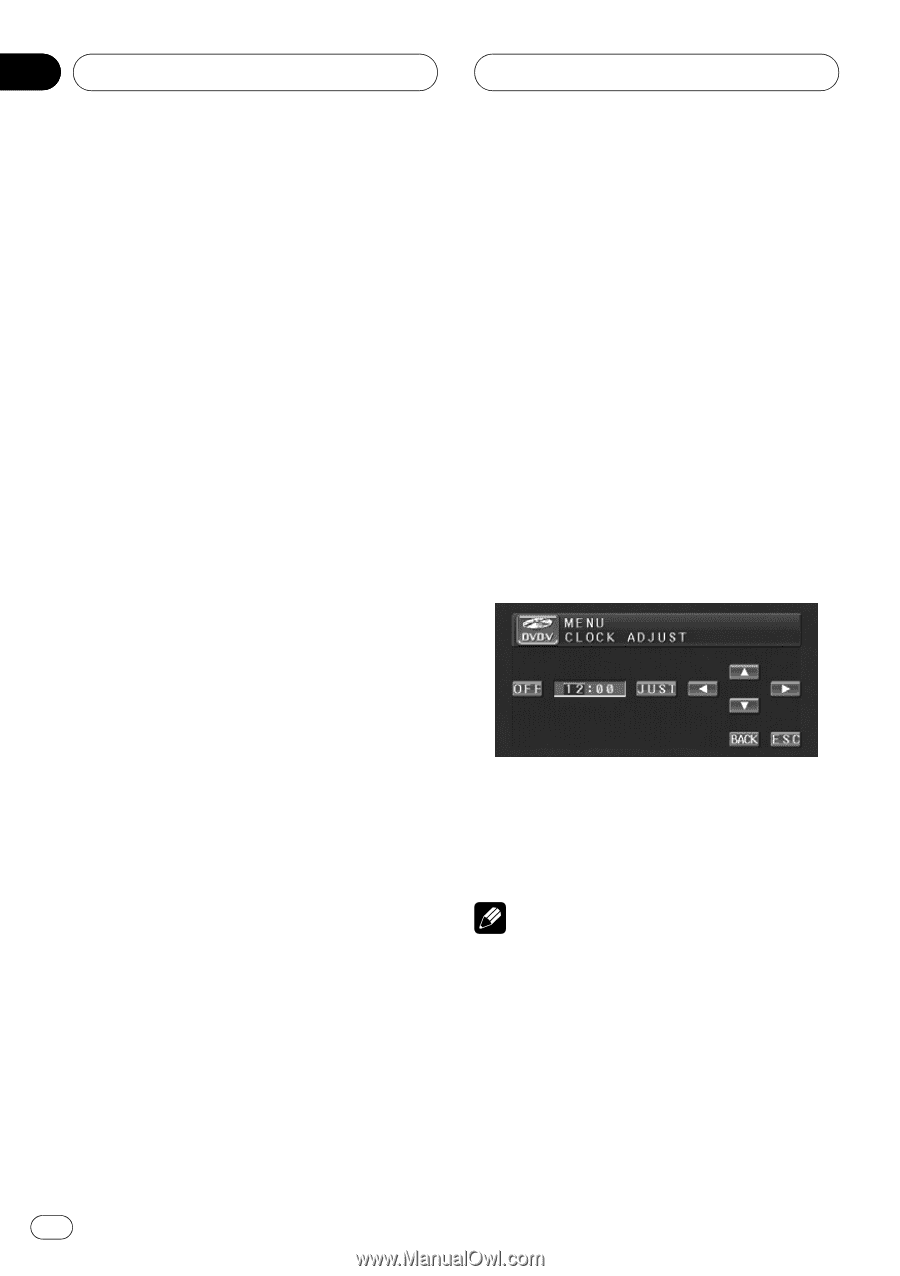
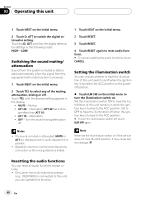
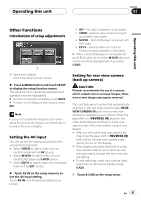
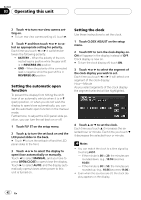
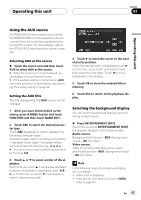
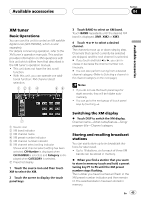
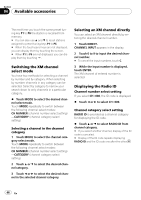
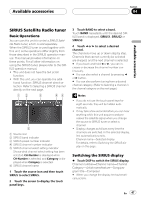
Section 03 Operating this unit 2 Touch c to turn rear view camera setting on. # To turn rear view camera setting off, touch d. 3 Touch b and then touch c or d to select an appropriate setting for polarity. Each time you touch c or d it switches between the following polarity: ! BATTERY - When the polarity of the connected lead is positive while the gear shift is in REVERSE (R) position ! GND - When the polarity of the connected lead is negative while the gear shift is in REVERSE (R) position Setting the automatic open function To prevent the display from hitting the shift lever of an automatic vehicle when it is in P (park) position, or when you do not wish the display to open/close automatically, you can set the automatic open function in the manual mode. Furthermore, to adjust the LCD panel slide position, you can turn the set back on or off. 1 Touch FLP ST on the setup menu. 2 Touch a to turn the set back on and the LCD panel slides to the back. # Touch b to turn the set back off and the LCD panel slides to the front. 3 Touch c or d to select the display to open/close automatically or manually. Touch c to select MANUAL, and you have to press OPEN/CLOSE to open/close the display. Touch d to select AUTO, and the display automatically opens/closes when power to this unit is turned on. Setting the clock Use these instructions to set the clock. 1 Touch CLOCK ADJUST on the setup menu. 2 Touch OFF to turn the clock display on. ON will appear in the display instead of OFF. Clock display is now on. # To turn the clock display off, touch ON. 3 Touch c or d to select the segment of the clock display you wish to set. Each time you touch c or d it will select one segment of the clock display: Hour-Minute As you select segments of the clock display the segment selected will be highlighted. 4 Touch a or b to set the clock. Each time you touch a it increases the selected hour or minute. Each time you touch b it decreases the selected hour or minute. Notes ! You can match the clock to a time signal by touching JUST. - If the minute is 00 to 29, the minutes are rounded down. (e.g., 10:18 becomes 10:00.) - If the minute is 30 to 59, the minutes are rounded up. (e.g., 10:36 becomes 11:00.) ! Even when the sources are off, the clock display appears on the display. 42 En
-
 1
1 -
2
-
3
-
4
-
5
-
6
-
7
-
8
-
9
-
10
-
11
-
12
-
13
-
14
-
15
-
16
-
17
-
18
-
19
-
20
-
21
-
22
-
23
-
24
-
25
-
26
-
27
-
28
-
29
-
30
-
31
-
32
-
33
-
34
-
35
-
36
-
 37
37 -
 38
38 -
 39
39 -
 40
40 -
 41
41 -
 42
42 -
 43
43 -
 44
44 -
 45
45 -
 46
46 -
 47
47 -
48
-
49
-
50
-
51
-
52
-
53
-
54
-
55
-
56
-
57
-
58
-
59
-
60
-
61
-
62
-
63
-
64
-
65
-
66
-
67
-
68
-
69
-
70
-
71
-
72
-
73
-
74
-
75
-
76
-
77
-
78
-
79
-
80
-
81
-
82
-
83
-
84
-
85
 |
 |