Pioneer VSX 517-K Owner's Manual - Page 28
The System Setup menu - manuals
 |
UPC - 012562849676
View all Pioneer VSX 517-K manuals
Add to My Manuals
Save this manual to your list of manuals |
Page 28 highlights
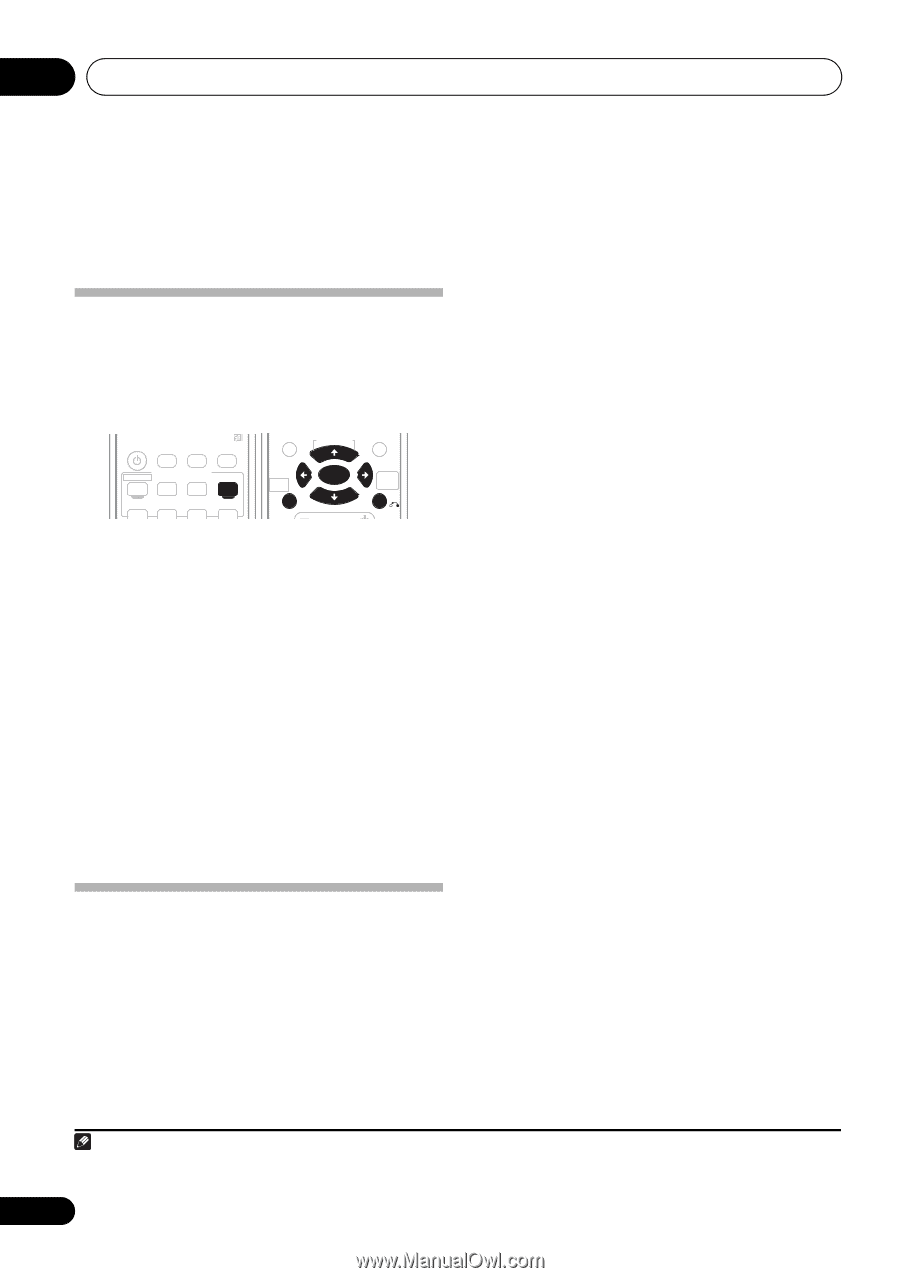
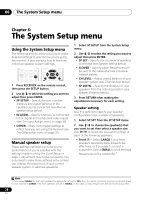
06 The System Setup menu Chapter 6: The System Setup menu Using the System Setup menu The following section shows you how to make detailed settings to specify how you're using the receiver. It also explains how to fine-tune individual speaker system settings. RECEIVER SLEEP DIMMER PHASE INPUT SELECTOR DVD 5.1 DVD TV DVR RECEIVER TOP MENU S.RETRIEVER MIDNIGHT TUNER EDIT ENTER MENU DIALOG E ONE TOUCH COPY CD CD-R FM AM SETUP VOLUME RETURN 1 Press RECEIVER on the remote control, then press the SETUP button. 2 Use / to select the setting you want to adjust then press ENTER. • SP SETUP - Specify the size, number, distance and overall balance of the speakers you've connected (see Manual speaker setup below). • IN ASSIG. - Specify what you've connected to the digital and component video inputs (see The Input Assign menu on page 30). • OTHER - Make customized settings to reflect how you are using the receiver (see The Other setup menu on page 31). Manual speaker setup These settings optimize surround sound performance (if you're satisfied with the settings made in Using the Quick Setup on page 7, adjustment may not be necessary). You only need to make these settings once (unless you change the placement of your current speaker system or add new speakers). 1 Select SP SETUP from the System Setup menu. 2 Use / to select the setting you want to adjust then press ENTER. • SP SET - Specify size / number of speakers connected (see Speaker setting below). • X.OVER - Specify which frequencies will be sent to the subwoofer (see Crossover network below). • CH LEVEL - Adjust overall balance of your speaker system (see Channel level below). • SP DISTN. - Specify the distance of your speakers from the listening position (see Speaker Distance below). 3 Press RETURN after making the adjustments necessary for each setting. Speaker setting Use this setting to specify your speaker configuration (size, number of speakers). 1 Select SP SET from the SP SETUP menu. 2 Use / to choose the speaker(s) that you want to set then select a speaker size. Use / to select the size (and number) of each of the following speakers: • Front (F) - Select LARGE if your front speakers reproduce bass frequencies effectively, or if you didn't connect a subwoofer. Select SMALL to send the bass frequencies to the subwoofer.1 Note 1 If you select SMALL for the front speakers the subwoofer is fixed to YES. Also, the center, surround, and surround back speakers can't be set to LARGE if the front speakers are set to SMALL. In this case, all bass frequencies are sent to the subwoofer. 28 En
-
 1
1 -
2
-
3
-
4
-
5
-
6
-
7
-
8
-
9
-
10
-
11
-
12
-
13
-
14
-
15
-
16
-
17
-
18
-
19
-
20
-
21
-
22
-
 23
23 -
 24
24 -
 25
25 -
 26
26 -
 27
27 -
 28
28 -
 29
29 -
 30
30 -
 31
31 -
 32
32 -
 33
33 -
34
-
35
-
36
-
37
-
38
-
39
-
40
-
41
-
42
-
43
-
44
-
45
-
46
-
47
-
48
-
49
-
50
-
51
-
52
-
53
-
54
-
55
-
56
-
57
-
58
-
59
-
60
-
61
-
62
-
63
-
64
-
65
-
66
-
67
-
68
-
69
-
70
-
71
-
72
-
73
-
74
-
75
-
76
-
77
-
78
 |
 |