ProForm 405 Spx Instruction Manual - Page 9
functions properly. Make sure that all parts are properly tightened before you use the exercise bike
 |
View all ProForm 405 Spx manuals
Add to My Manuals
Save this manual to your list of manuals |
Page 9 highlights
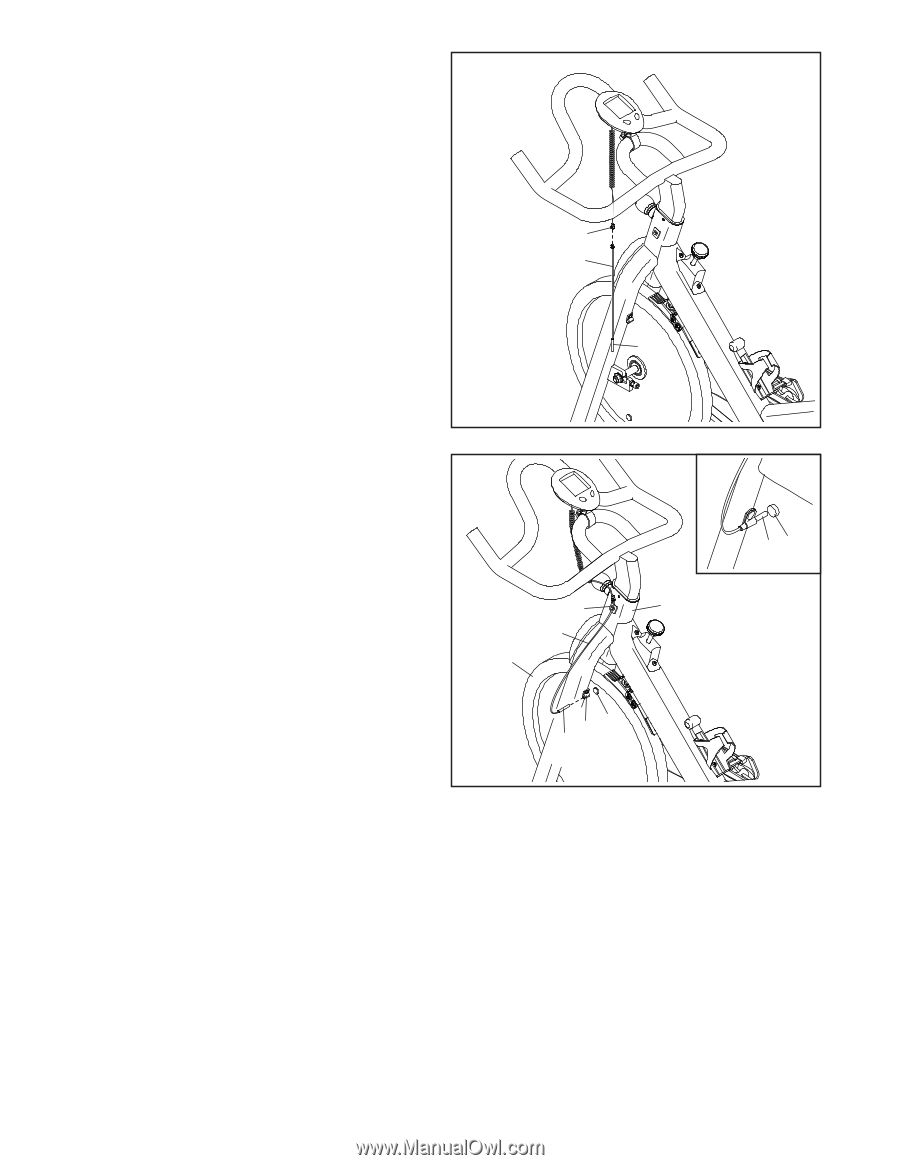
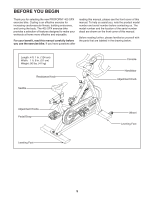
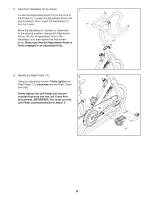
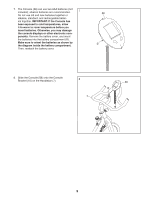
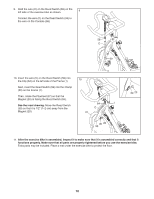
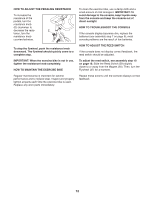
9. Hold the wire (C) on the Reed Switch (59) on the left side of the exercise bike as shown. 9 Connect the wire (C) on the Reed Switch (59) to the wire on the Console (58). 58 C 59 10. Insert the wire (C) on the Reed Switch (59) into the Clip (64) on the left side of the Frame (1). 10 Next, insert the Reed Switch (59) into the Clamp (30) on the Frame (1). Then, rotate the Flywheel (37) so that the Magnet (20) is facing the Reed Switch (59). See the inset drawing. Move the Reed Switch (59) so that it is 1/2" (1-2 cm) away from the Magnet (20). 64 1 C 37 30 20 59 59 20 11. After the exercise bike is assembled, inspect it to make sure that it is assembled correctly and that it functions properly. Make sure that all parts are properly tightened before you use the exercise bike. Extra parts may be included. Place a mat under the exercise bike to protect the floor. 10
-
 1
1 -
2
-
3
-
 4
4 -
 5
5 -
 6
6 -
 7
7 -
 8
8 -
 9
9 -
 10
10 -
 11
11 -
 12
12 -
 13
13 -
 14
14 -
15
-
16
-
17
-
18
-
19
 |
 |