RCA DRC99392 DRC99392 Product Manual - Page 6
Playing a Disc Basic Playback, Connections - dvd player
 |
View all RCA DRC99392 manuals
Add to My Manuals
Save this manual to your list of manuals |
Page 6 highlights
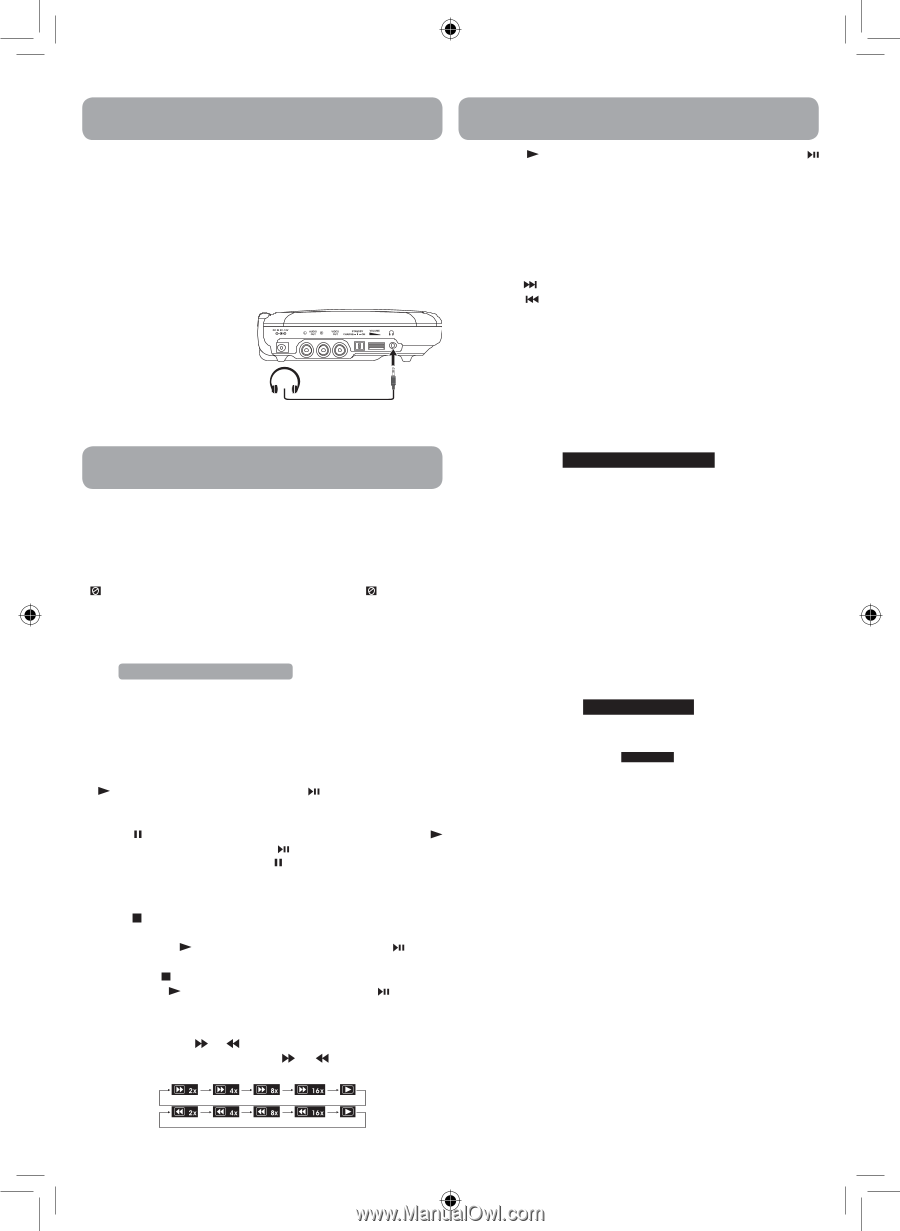
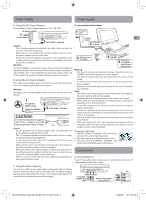
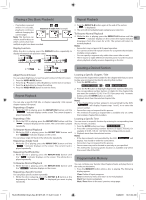
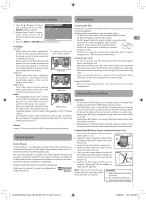
Connections Playing a Disc (Basic Playback) Watching a DVD on your TV 1. Turn on the unit. 2. Turn on the TV and follow the instructions included with it to watch video from external sources. B. Using Headphones/Earphones • Turn down the volume before connecting, and then adjust the level. • When headphones/earphones are connected, no sound will be emitted from the unit's speaker. Caution: Avoid listening to sound at levels which may be harmful to your ears. Headphones/Earphones (3.5mm diameter plug) (not included) Playing a Disc (Basic Playback) This owner's manual explains the basic instructions for operating this unit. Some DVDs are produced in a manner that allows specific or limited operation during playback. Therefore, this unit may not respond to all operating commands. THIS IS NOT A DEFECT. Please refer to the instructions accompanying the specific DVD in question for more information about the options available on that DVD. " " may appear on the screen during operation. A " " means the desired operation is not permitted by the unit or disc. Playing a Disc 1. Slide the CHARGE / STANDBY / ON switch on the left side of the unit to the ON position. See Customizing the function settings before proceeding to step 2. 2. Press the OPEN knob to open the disc door. 3. Hold the disc by its sides and carefully place it onto the spindle with the label side facing up, pushing gently until you hear a "click". 4. Close the disc door. It takes a short while for your unit to load the disc. After loading, the unit will automatically bring you to the main menu of the DVD or start playing the DVD. 5. If the unit does not automatically start playing the DVD, press the PLAY button on the remote control or button on the unit. Pausing Playback (Still Mode) Press the PAUSE button. To resume normal playback, press the PLAY button on the remote control or button on the unit. For a DVD, each time you press the PAUSE button on the remote control, the picture advances one frame. Stopping Playback Press the STOP button at the location where you want to interrupt playback. To resume playback at the position where the disc was stopped, press the PLAY button on the remote control or button on the unit. If you press the STOP button twice, the unit's memory will be cleared and pressing the PLAY button on the remote control or button on the unit will reset the DVD to the beginning. Fast Forward / Fast Reverse 1. Press the SEARCH or SEARCH button when a disc is playing. Each time you press the SEARCH or SEARCH button, the playback speed changes in the following sequence: 2. Press the PLAY button on the remote control or press the button twice on the unit when you reach the desired point to resume normal playback. Notes: • The DVD player mutes sound and subtitles during reverse and forward scan of DVDs. • The fast playback speed may differ depending on the disc. Skip (Forward / Reverse) • Press the NEXT button to advance titles, chapters/tracks. • Press the PREV button to go back to current or previous titles, chapters/tracks. • For an Audio CD, use the number buttons on the remote control to go directly to the desired track number. Audio Selection On some DVDs, the sound is recorded in two or more formats. Follow the directions below to select the preferred language and sound system. 1. While a disc is playing, press the AUDIO button to show the current audio format number. Audio 1/3:Dolby D 2ch English 2. Press the AUDIO button repeatedly to select the desired audio format. Notes: • If only one audio format is recorded on the DVD, the number does not change. • Some DVDs allow you to change audio selections using the disc menu only. If this is the case, press the MENU button and choose the appropriate language on the disc menu. • You can select different audio channels (Stereo, Mono Left, Mono Right or Mix-Mono) on an Audio CD by pressing the AUDIO button repeatedly. Subtitle Selection 1. While a DVD is playing, press the SUBTITLE button to display the current language setting, as shown in the example. Subtitle 02/03:Spanish 2. Press the SUBTITLE button repeatedly to select the desired subtitle language. You can turn subtitles off by pressing the SUBTITLE button repeatedly until the " Subtitle Off " is displayed. Notes: • Some DVDs are set to display subtitles automatically, and you cannot turn them off even if you set the subtitle function to off. • During some scenes, the subtitles may not appear immediately after you select your desired scene. • The number of subtitle languages recorded differs depending on the disc. If only one language is recorded, the language does not change. • This function can only be used for discs on which subtitles have been recorded in multiple languages. • Some DVDs allow you to change subtitles using the disc menu only. If this is the case, press the MENU button and choose the appropriate subtitle on the disc menu. Angle Selection Some DVDs contain scenes that have been shot from a number of different angles. For these discs, the same scene can be viewed from each of these different angles. 1. While you are playing a DVD with different angles recorded, press the ANGLE button to view the number of current angles available. 2. Press the ANGLE button repeatedly to change the scene to the next recorded angle. • After approx. two seconds, playback will continue from the new angle selected. 6 RCA DRC99392_Eng & Spa IB_MTK A5_17-3-2011.indd 6 3/28/2011 10:31:04 AM
-
 1
1 -
 2
2 -
 3
3 -
 4
4 -
 5
5 -
 6
6 -
 7
7 -
 8
8 -
 9
9 -
 10
10 -
 11
11 -
 12
12 -
13
-
14
-
15
-
16
-
17
-
18
-
19
-
20
 |
 |