Rane SL3 SL3 Owners Manual for Scratch Live 2.5.0 - Page 14
Tap Tempo, Key Lock, Repeat, Censor, Eject, Autoplay, Reverse Input Control, Track Gain, USB Dropout
 |
View all Rane SL3 manuals
Add to My Manuals
Save this manual to your list of manuals |
Page 14 highlights
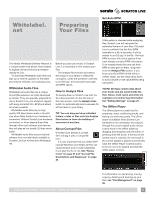
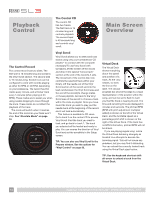
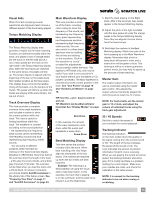
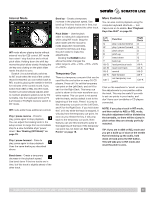
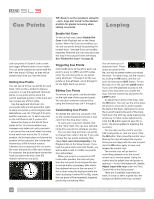
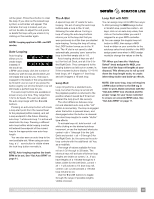
Tap Tempo For tracks with no BPM information, there is a tap tempo button displayed where the BPM usually is, in the song info area. Pressing altspace bar activates the tempo tapper (press alt-space bar a second time to activate the tempo tapper on the Right Virtual Deck). Tap the space bar along with the beat. After you've tapped the first beat, you can switch to double time tapping, half time, start of each bar etc. The range is set by the first two taps, after that you can switch to any steady rhythm you feel comfortable with - quarter notes, half note, whole notes. Esc resets the BPM, Enter saves the BPM to the track. You can use the mouse if you prefer. Your CD player or turntable's pitch slider doesn't need to be at zero, we do the math for you. You can also use the tempo tapper when no song is loaded, for finding the BPM of regular records, for example. Key Lock When Key Lock is on, the key or pitch of the song stays locked at what it would be if the track was playing at normal speed, regardless of the platter speed of the turntable or CD player. Key Lock has scratch detection, so that it automatically turns off when scratching for a natural scratching sound. Turn Key Lock on or off by clicking the button to the top right of the Virtual Deck. TIP: F5 and F10 will turn Key Lock on and off for the Left and Right Decks respectively. Repeat Use the Repeat function to repeat the song across the entire length of the control record. Censor Use the censor button to "mask" parts of a song, or use as a special effect. When you press the censor button, the track starts playing backwards from that point. When you release the censor button, the track plays forward from the point you would have been, had you not pressed the censor button. Censor is available only in REL and INT Modes. Eject This ejects the track playing or loaded from it's Virtual Deck. Autoplay Click the Auto button to enable autoplay. With this setting turned on, when one track finishes playing, the next track starts automatically. Load from a crate to play through the songs in that crate, or from your library to play through your library. Autoplay works in both REL and INT modes. Play from start must be checked in the Playback tab of the Setup screen for autoplay to work correctly. See "Play From Start" on page 33. Reverse Input Control Swaps the Left Deck input (3 & 4) with the Right Deck input (5 & 6) of the SL3. This transfers control over to the alternate Virtual Deck. For example, the physical record on the right hand side now controls the Left Virtual Deck. This essentially lets you continue mixing, but just using one turntable. See "Mixing With One Turntable Or CD Player" on page 30. TIP: Short "loop" samples can be turned into a continuous track using the Repeat function. The loops must be less than 10 seconds long, and cut at the start and end of a bar. Track Gain Use the track gain knob to balance the volume of the tracks in your library. Any adjustment made to the gain of a track is saved with the file, and will be reapplied to the entire track when it is loaded again. The level meter shows the level sent to the hardware interface after both individual track gain and master gain adjustment. Ctrl-click the knob to reset it to 12 o'clock. NOTE: For automatic gain setting of your tracks, see "Use Auto Gain" on page 33. USB Dropout Indicator The USB dropout indicator on the main screen is a useful trouble shooting tool if you have problems with audio dropouts. Such dropouts are caused by an interruption in passing the audio to the Scratch Live hardware interface. If such an interruption (or dropout) occurs, a red light will appear briefly, just to the left of the Scratch Live logo at the top of the screen. The light will be red for one second, and then orange for four seconds. If you experience USB drop outs: • Increase the USB Buffer Size. See "USB Buffer Size (Latency)" on page 32. • Try closing other applications that are running at the same time as Scratch Live. • Try turning off background tasks, for example, wireless networking. • If your CPU load is very high, try decreasing the Maximum Screen Updates setting in the Display tab of the Setup screen. See "Maximum Screen Updates" on page 35. 14 RANE SL3 FOR SERATO SCRATCH LIVE • OPERATOR'S MANUAL 2.5.0
-
 1
1 -
2
-
3
-
4
-
5
-
6
-
7
-
8
-
 9
9 -
 10
10 -
 11
11 -
 12
12 -
 13
13 -
 14
14 -
 15
15 -
 16
16 -
 17
17 -
 18
18 -
 19
19 -
20
-
21
-
22
-
23
-
24
-
25
-
26
-
27
-
28
-
29
-
30
-
31
-
32
-
33
-
34
-
35
-
36
-
37
-
38
-
39
-
40
-
41
-
42
-
43
-
44
 |
 |