Samsung BD-HM51 User Manual Ver.1.0 (English) - Page 12
WireD Network Settings, Manual Network SetuP, Network Test, Network Status, device Name, Bd-Live - blu ray player manual
 |
View all Samsung BD-HM51 manuals
Add to My Manuals
Save this manual to your list of manuals |
Page 12 highlights
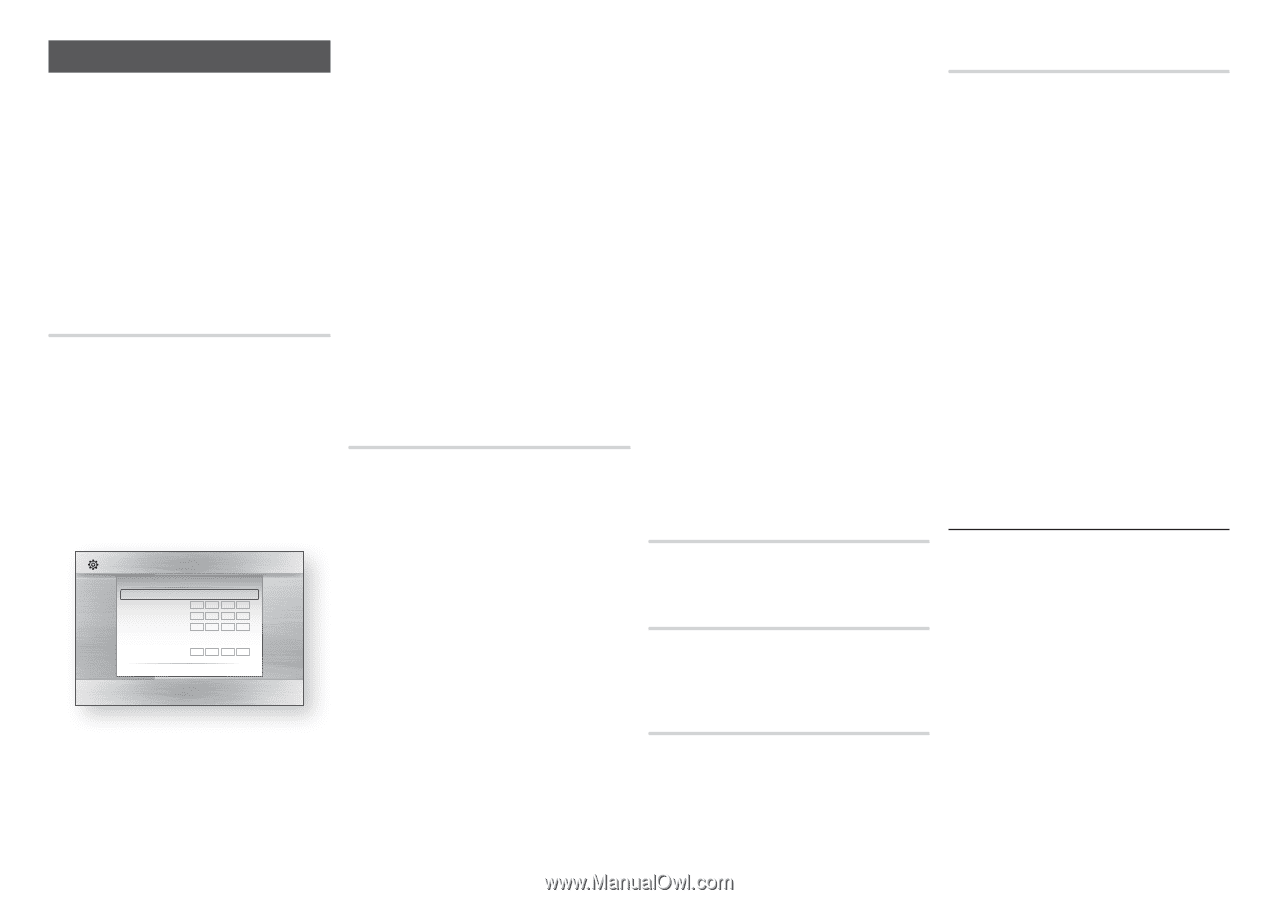
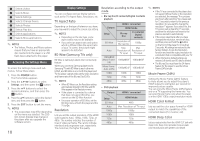
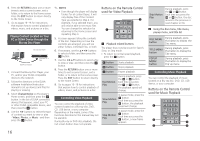
Network Settings Please contact your ISP to find out if your IP address is static or dynamic. If it is dynamic - and most are - we recommend using the Auto procedure for network setup. This is easiest and will work in the majority of cases. If it is static, you must use the manual set up procedure. Network setup directions start below. ✎✎ NOTES ■■ This unit can only be connected to a Network via a wired connection. Wired Network Settings 1. In the Home menu, press the buttons to select Settings, and then press the v button. 2. Press the ▼▲ buttons to select Network, and then press the v button. 3. Press the ▼▲ buttons to select Wired Network Settings, and then press the v button. The Wired Network Settings screen appears. Settings Display Wired Network Settings Audio Internet Protocol Setup : Auto NetworkIP Address Subnet Mask System Gateway Language :0 0 0 :0 0 0 :0 0 0 SecuritDyNS DNS Server General : Auto :0 0 0 ▶ 0 0 0 0 Support > Move " Select ' Return 4. In the Internet Protocol Setup field, select Auto if it is not selected. (Press v to select Auto, and then press v.) 12 5. The Auto Function acquires and fills in the values for IP Address, Subnet Mask, etc., automatically. ✎✎ NOTES ■■ This process can take up to five minutes. 6. After the Network Function has acquired the network values, press the RETURN button. 7. Select Network Test, and then press v to ensure the player has connected to your network. 8. When the Network Test is complete, press the RETURN twice to return to the Main Menu. 9. If the Network Function does not acquire the network values, go to the directions for Manual Setup. Manual Network Setup Before you start manual network setup, you need the network setting values. To get the network setting values, contact your ISP (Internet Service Provider) or your network administrator. To enter the Network Settings into your player, follow these steps: 1. In the Home menu, press the buttons to select Settings, and then press the v button. 2. Press the ▲▼ buttons to select Network, and then press the v button. 3. Press the ▼▲ buttons to select Wired Network Settings, and then press the v button. The Wired Network Settings screen appears. 4. Select the Internet Protocol Setup field, and then press the v button. 5. Press the ▲▼ buttons to select Manual, and then press the v button. 6. Press the ▼ button to go to the first entry field (IP Address). 7. Use the number buttons on your remote to enter numbers. 8. When done with each field, use the ▶ button to move to the next field. You can also use the other arrow buttons to move up, down, and back. 9. Enter the IP Address, Subnet Mask, and Gateway values in the same way. 10. Press the ▼ button to go to DNS. 11. Press the ▼ button to go to the first DNS entry field. 12. Enter the numbers as above. 13. Press the RETURN button on your remote control. 14. Run a Network Test to ensure the player has connected to your network. Network Test Use this menu item to check whether your network connection is working or not. Network Status Use to check whether a connection to a network and the Internet has been established. Device Name The Device Name function allows you to change the player's name by selecting from a device name list box. BD-Live Internet Connection Set to allow or prohibit an Internet connection when you use the BD-LIVE service. ●● Allow (All) : The Internet connection is allowed for all BD-LIVE contents. ●● Allow (Valid Only) : The Internet connection is allowed only for BD-LIVE contents containing a valid certificate. ●● Prohibit : No Internet connection is allowed for any BD-LIVE content. ✎✎ NOTES ■■ What is a valid certificate? When the player uses BD-LIVE to send the disc data and a request to the server to certify the disc, the server uses the transmitted data to check if the disc is valid and sends the certificate back to the player. ■■ The Internet connection may be restricted while you are using BD-LIVE contents. Using BD-LIVE™ Once the player is connected to the network, you can enjoy various movierelated service contents using a BD-LIVE compliant disc. 1. Attach a USB memory stick to the USB jack on the front of the player, and then check its remaining memory. The memory device must have at least 1GB of free space to accommodate the BDLIVE services. 2. Insert a Blu-ray Disc that supports BDLIVE. 3. Select an item from various BD-LIVE service contents provided by the disc manufacturer.
-
 1
1 -
2
-
3
-
4
-
5
-
6
-
 7
7 -
 8
8 -
 9
9 -
 10
10 -
 11
11 -
 12
12 -
 13
13 -
 14
14 -
 15
15 -
 16
16 -
 17
17 -
18
-
19
-
20
-
21
-
22
-
23
-
24
-
25
-
26
 |
 |