Samsung BD-HM51 User Manual Ver.1.0 (English) - Page 9
Settings - blue ray
 |
View all Samsung BD-HM51 manuals
Add to My Manuals
Save this manual to your list of manuals |
Page 9 highlights
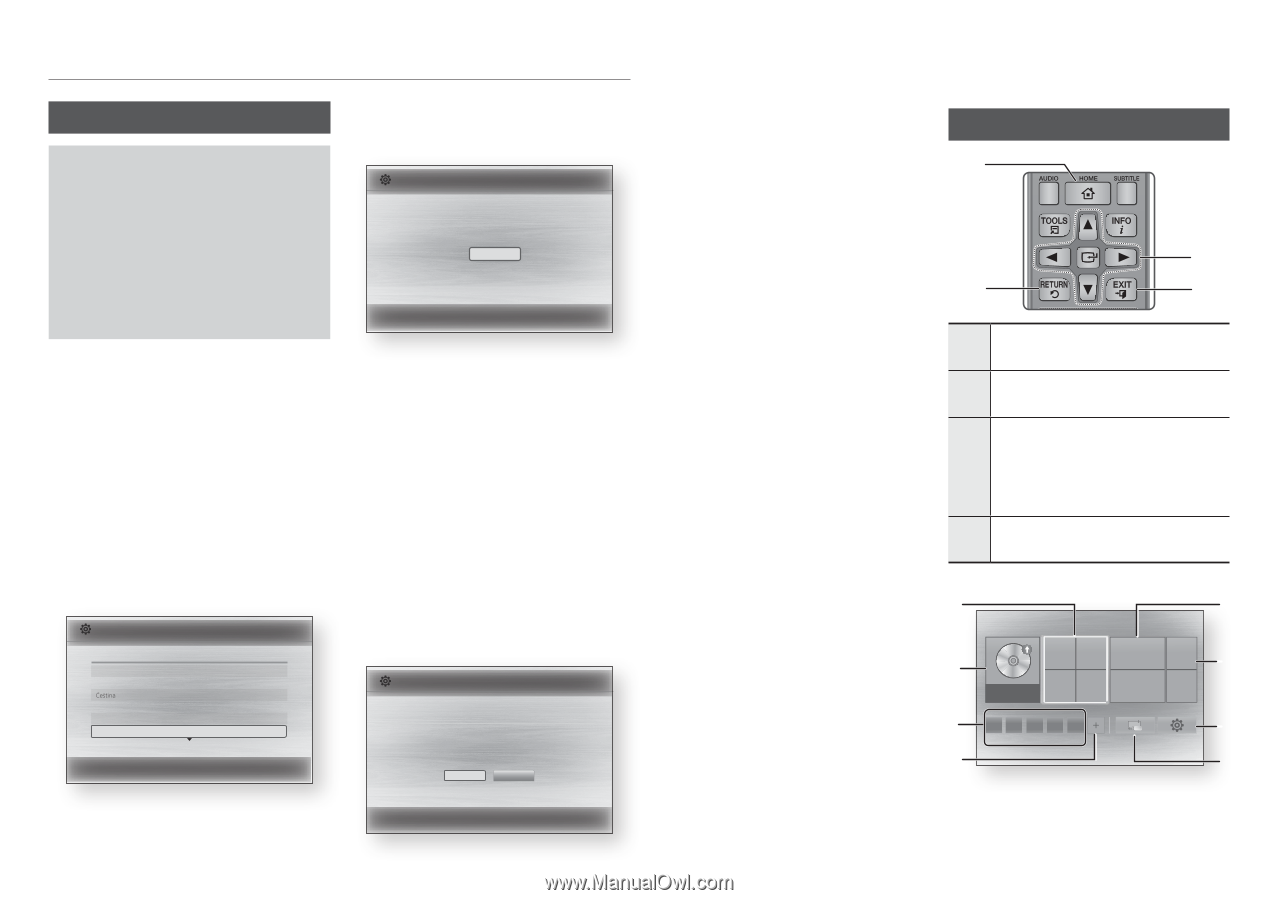
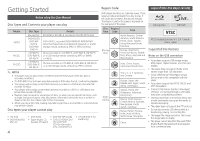
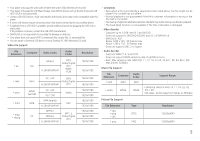
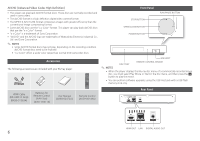
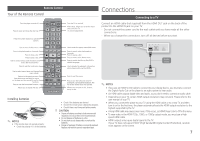
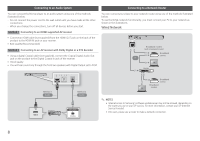
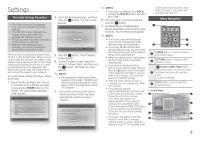
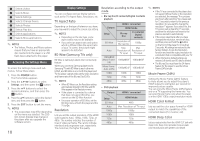
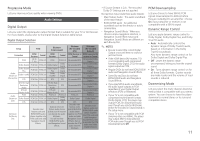
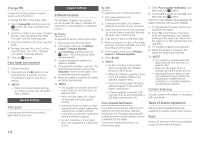
Settings The Initial Settings Procedure ●● The Home screen will not appear if you do not configure the initial settings. ●● The OSD (On Screen Display) may change in this player after you upgrade the software version. ●● The access steps may differ depending on the menu you selected. ●● After the initial settings process is complete, you can then operate the panel buttons and remote control. After you have connected the player to your TV, turn on the TV and player. When you turn on the player the first time, the player's Initial Settings screen appears on the TV. The Initial Setting procedure lets you set the On Screen Display (OSD) and menu languages, the aspect ratio (screen size), the network type, and connect the player to your network. To run the Initial Settings procedure, follow these steps : 1. Plug in the Blu-ray player, turn on your TV, and then turn on the Blu-ray player by pressing the POWER button on the remote, The Initial Setting Language screen appears. Initial Settings I On-Screen Language Select a language for the on-screen displays. Hrvatski Dansk Nederlands English > Move " Select 2. Select the desired language, and then press the v button. The Start screen appears. Initial Settings TV Aspect and Network will be set. Each setting may be changed later under "Settings" Start a Previous " Select 3. Press the v button. The TV Aspect screen appears. 4. On the TV Aspect screen, select the desired TV Aspect Ratio, and then press the v button. The Network screen appears. ✎✎ NOTES ■■ An explanation of each Aspect Ratio appears on the screen. Highlight each choise to see each explanation. If you have an HDTV, we suggest you choose 16:9 original. 5. If you have connected a LAN cable to the Blu-ray player, the Blu-ray player automatically verifies your wired network. Initial Settings I Network - Wired Choose the method to configure Internet Protocol (IP). Please make sure that the Ethernet cable is connected. Auto : Configure IP automatically Auto Manual a Previous d Skip ?\ Move " Select ✎✎ NOTES ■■ If you have no network, select SKIP by pressing the BLUE (D) button, and then go to Step 7. 6. After the player verifies the network, press the v button. 7. The Initial Settings Complete window appears and remains on the screen for a few moments. Then, the Home screen appears. ✎✎ NOTES ■■ The Home screen will not appear if you do not configure the initial settings except as noted below. ■■ If you press the BLUE (D) button during network setup, you can access the Home screen even if the network setup is not completed yet. ■■ When you return to the Home screen, the full screen mode is cancelled automatically. ■■ If you want to display the Initial Setting screen again to make changes, press the ■ button on the front panel of the player for more than 5 seconds with no disc inserted. This resets the player to its default settings. ■■ After the initial settings process is complete, you can operate the HDMICEC function. ■■ If you want to use the Anynet+(HDMI-CEC) function to aid in the initial set up process, please follow the instructions below. 1) Connect the player to an Anynet+(HDMI-CEC) compliant Samsung TV using HDMI Cable. 2) Set the Anynet+(HDMI-CEC) feature to On in both the TV and the player. 3) Set the TV to the Initial Settings Procedure. ■■ If you leave the player in the stop mode for more than 5 minutes without using it, a screen saver will appear on your TV. If the player is left in the screen saver mode for more than 25 minutes, the power will automatically turn off. Menu Navigation 1 3 2 4 1 HOME Button : Press to move to BONUS REPEAT REPEAT FULL VIEW A-B SCREEN the Home menu. 2 RETURN Button : Return to the previous menu. v (Enter) / DIRECTION Button : Move the cursor or select an item. 3 Activate the currently selected item. Confirm a setting. 4 EXIT Button : Press to exit the current menu. ●● Home Menu 5 Play Disc Photos Videos 1 Music 6 Empty disc tray 2 7 8 App 1 App 2 App 3 App 4 App 5 More Change Device Settings 3 4 9
-
 1
1 -
2
-
3
-
 4
4 -
 5
5 -
 6
6 -
 7
7 -
 8
8 -
 9
9 -
 10
10 -
 11
11 -
 12
12 -
 13
13 -
 14
14 -
15
-
16
-
17
-
18
-
19
-
20
-
21
-
22
-
23
-
24
-
25
-
26
 |
 |