Sennheiser SKM 5200 Instructions for use - Page 12
Doing a frequency check
 |
View all Sennheiser SKM 5200 manuals
Add to My Manuals
Save this manual to your list of manuals |
Page 12 highlights
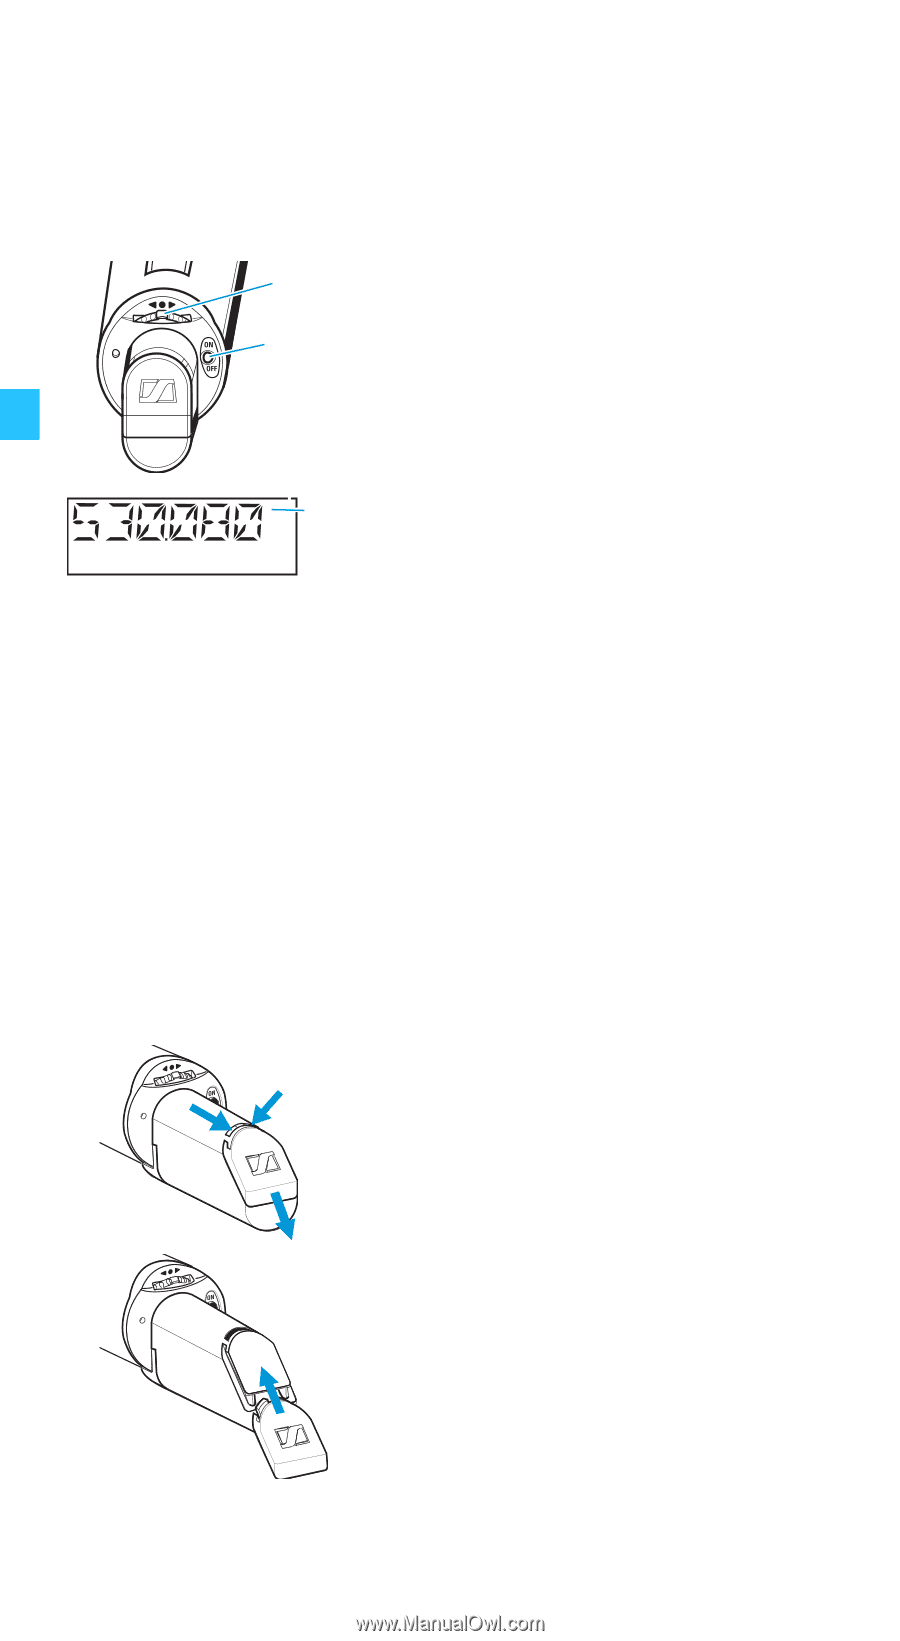
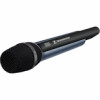
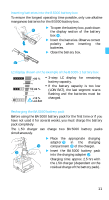
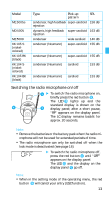
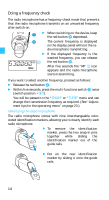
Doing a frequency check The radio microphone has a frequency check mode that prevents that the radio microphone transmits on an unwanted frequency after switch-on. ¶ ̈ When switching on the device, keep the red button º depressed. º The current frequency is displayed on the display panel without the ra- dio microphone transmitting. ̈ If the displayed frequency is the RF ቤ MHz wanted frequency, you can release the red button º. After five seconds the "RF" ቤ icon appears and the radio microphone starts transmitting. If you want to select another frequency, proceed as follows: ̈ Release the red button º. ̈ Within five seconds, press the multi-functions switch ¶ twice (switch position țSET). You will be passed to the "CHAN" or "TUNE" menu and can change the transmission frequency as required. (See "Adjustment tips for the operating menu" on page 23.) Identifying the radio microphone The radio microphone comes with nine interchangeable colorcoded identification markers, allowing you to clearly identify each radio microphone. ̈ To remove the identification marker, press the two snap-in pins together while sliding the identification marker out of the guide rails. ̈ Put on the new identification marker by sliding it onto the guide rails. 14
-
 1
1 -
2
-
3
-
4
-
5
-
6
-
 7
7 -
 8
8 -
 9
9 -
 10
10 -
 11
11 -
 12
12 -
 13
13 -
 14
14 -
 15
15 -
 16
16 -
 17
17 -
18
-
19
-
20
-
21
-
22
-
23
-
24
-
25
-
26
-
27
-
28
-
29
-
30
-
31
-
32
 |
 |