Sharp XL-HP707 XL-HP707 Operation Manual - Page 31
Enhancing your system
 |
View all Sharp XL-HP707 manuals
Add to My Manuals
Save this manual to your list of manuals |
Page 31 highlights
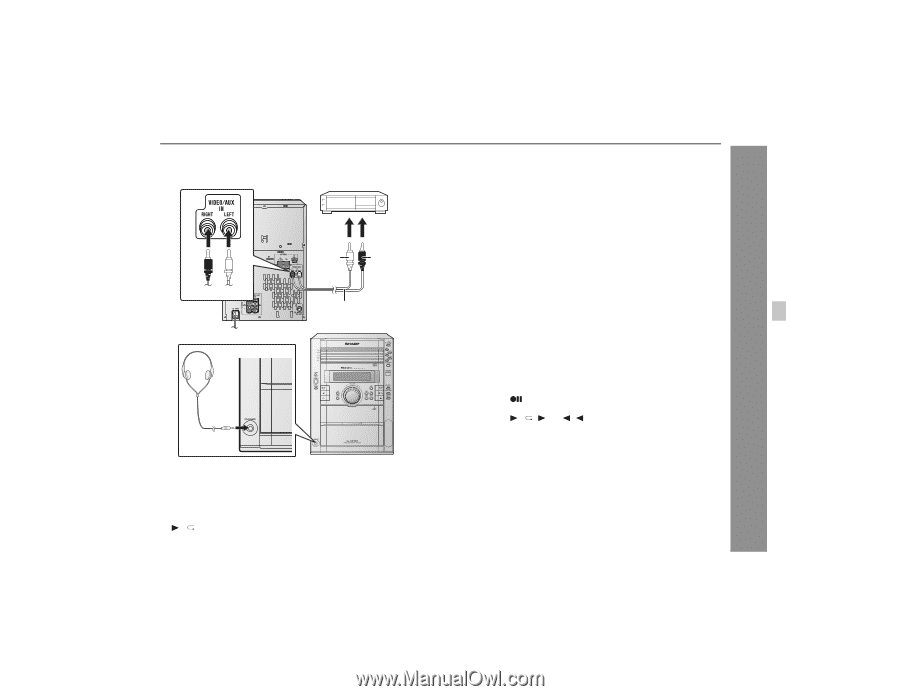
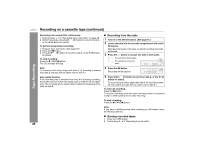
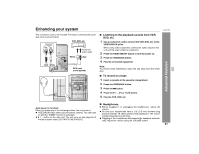
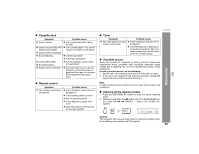
Enhancing your system The connection cord is not included. Purchase a commercially available cord as shown below. VCR, DVD, etc. Red White White To the line output jacks Red RCA cord (not supplied) ! Listening to the playback sounds from VCR, DVD, etc. 1 Use a connection cord to connect the VCR, DVD, etc. to the VIDEO/AUX IN jacks. When using video equipment, connect the audio output to this unit and the video output to a television. 2 Press the ON/STAND-BY button to turn the power on. 3 Press the VIDEO/AUX button. 4 Play the connected equipment. Note: To prevent noise interference, place the unit away from the television. ! To record on a tape 1 Insert a cassette in the cassette compartment. 2 Press the VIDEO/AUX button. 3 Press the button. 4 Press the / ( ) or ( ) button. 5 Play the VCR, DVD, etc. Advanced Features XL-HP707 Auto power on function: When you press any of the following buttons, the unit turns on. " VIDEO/AUX button (main unit and remote control): The unit turns on and the "VIDEO" function is activated. " / button on the main unit: The unit turns on and playback of the last function starts (CD/TAPE/TUNER/VIDEO). ! Headphones " Before plugging in or unplugging the headphones, reduce the volume. " Be sure your headphones have a 1/8" (3.5 mm) diameter plug and are between 16 ohms and 50 ohms impedance. The recom- mended impedance is 32 ohms. " Plugging in the headphones disconnects the speakers automati- cally. Adjust the volume using the VOLUME control. 31
-
 1
1 -
2
-
3
-
4
-
5
-
6
-
7
-
8
-
9
-
10
-
11
-
12
-
13
-
14
-
15
-
16
-
17
-
18
-
19
-
20
-
21
-
22
-
23
-
24
-
25
-
 26
26 -
 27
27 -
 28
28 -
 29
29 -
 30
30 -
 31
31 -
 32
32 -
 33
33 -
 34
34 -
 35
35 -
 36
36
 |
 |