Sony CCD-TR51 Operation Manual - Page 3
Welcome, Video, Introduction, Checking, Supplied, Accessories, Before, Start
 |
View all Sony CCD-TR51 manuals
Add to My Manuals
Save this manual to your list of manuals |
Page 3 highlights
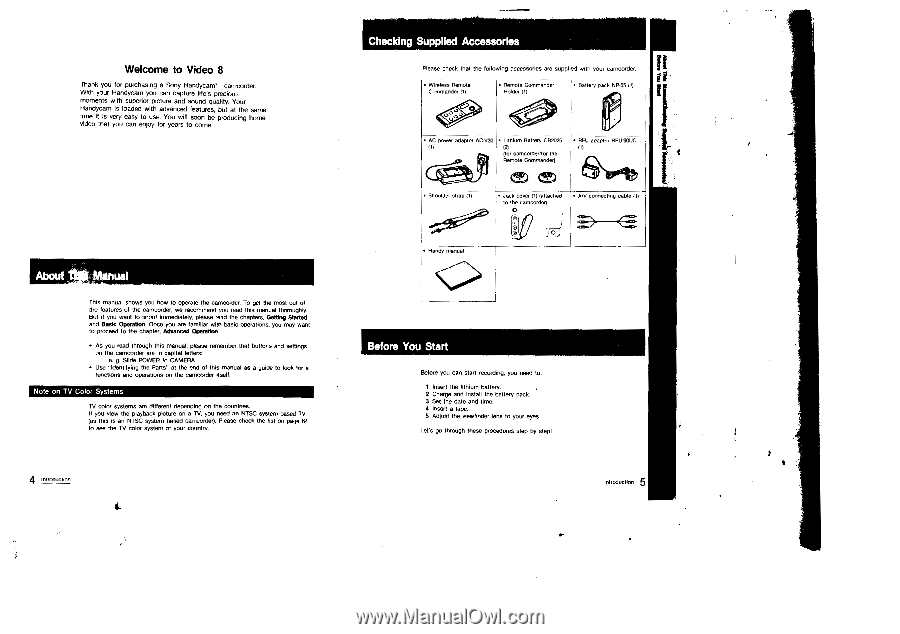
Welcome to Video 8 Thank you for purchasing a Sony HandyCam. camcorder. With your Handycam you can capture life's precious moments with superior picture and sound quality. Your Handycam is loaded with advanced features, but at the same time it is very easy to use. You will Soon be producing home video that you can enjoy for years to come. This manual shows you how to operate the camcorder. To get the most out of the features of the carncorder, we recommend you read this manual thoroughly. But if you want to shoot immediately, please read the chapters, Getting shoed and Basic Operation. Once you are familiar with basic operations, you may want to proceed to the chapter. Advanced Operation. • As you read through this manual. please remember that buttons and settings on the camcorder are in capital letters: e. g. Slide POWER to CAMERA. • Use "Identifying the Parts" at the end of this manual as a guide to look for a functions and operations on the camcorder itself. Note on TV Color Systems TV color systems am different depending on the countries. If you view the playback picture on a TV, you need an NTSC system based TV (as this is an NTSC system based camcorder). Please check the list on page 64 to see the TV color system of your country. 4 Introduction Checking Supplied Accessories Please check that the following accessories are supplied with your camcorder. • Wireless Remote Commander (1) • Remote Commander Holder (1) • Battery pack NP-55111 • /1,C power adaptor ACV30 • Lithium Battery CR2025 (,, 1O1 (for camcorder/for the Remote Commander) )1r • ABU adaptor RFU-90UC (1) & St/ 1°l b • Shoulder strap (1) • Jack cover (11 (attached to the camcorder) O • AB/ connecting cable (1) • Handy manual _IT)1 1 Before You Start Before you can start recording, you need to: 1 Insert the lithium battery. 2 Charge and install the battery pack. 3 Set the date and time. 4 Insert a tape. 5 Adjust the viewfinder lens to your eyes Let's go through these procedures step by step! 5 Introduction
-
 1
1 -
 2
2 -
 3
3 -
 4
4 -
 5
5 -
 6
6 -
 7
7 -
 8
8 -
 9
9 -
10
-
11
-
12
-
13
-
14
-
15
-
16
-
17
-
18
-
19
-
20
-
21
-
22
-
23
-
24
-
25
-
26
-
27
-
28
-
29
-
30
-
31
-
32
-
33
-
34
-
35
-
36
-
37
-
38
-
39
-
40
 |
 |