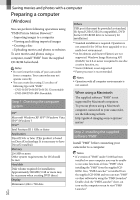
Sony DCR-SX83 Operating Guide - Page 34
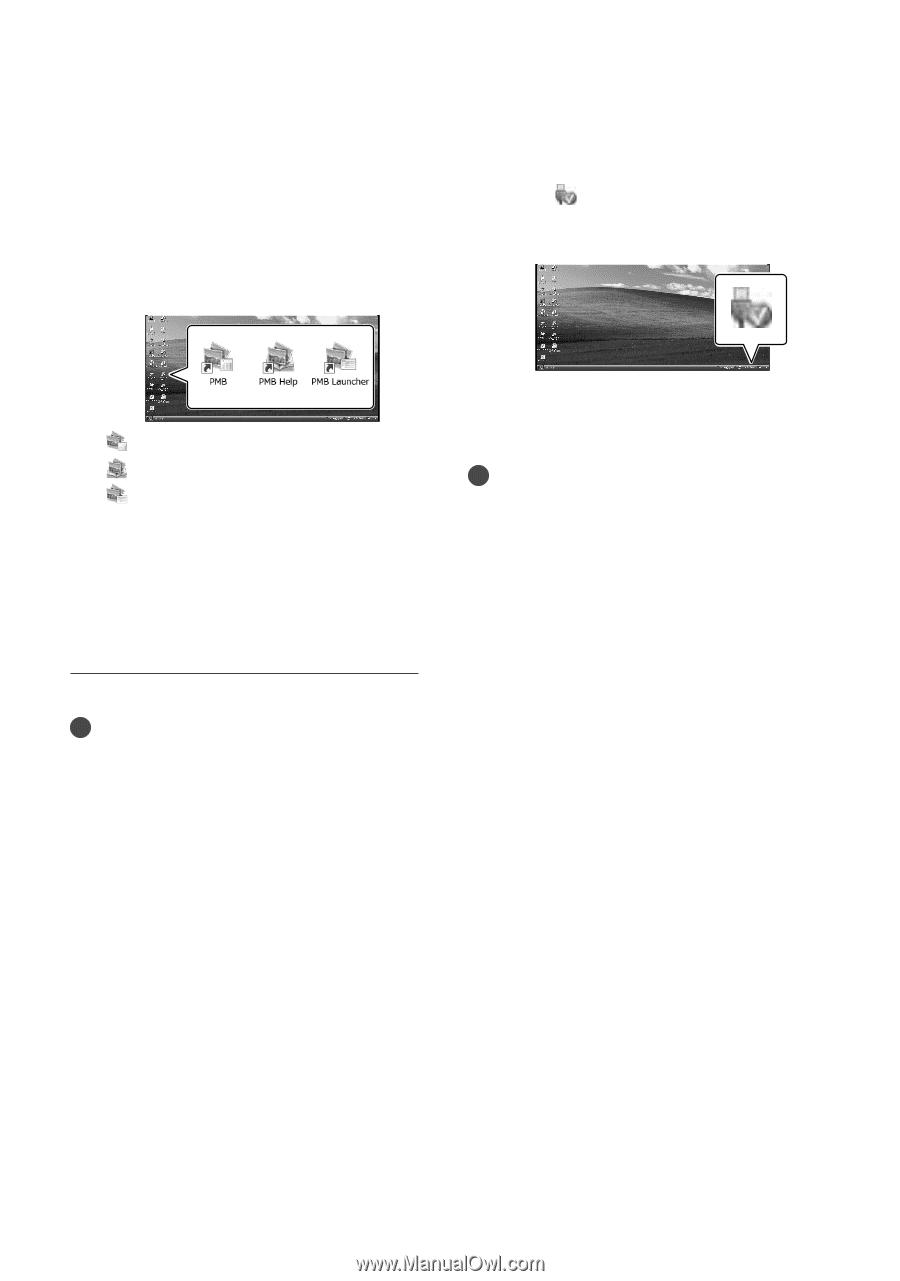
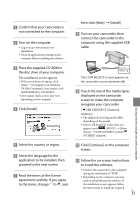
To disconnect your camcorder from the, computer, Displays PMB Launcher.
 |
UPC - 027242788848
View all Sony DCR-SX83 manuals
Add to My Manuals
Save this manual to your list of manuals |
Page 34 highlights
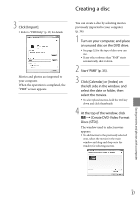
software. Restart the computer if required to complete the installation. When the installation is completed, following icons will appear. Remove the CD-ROM from your computer. To disconnect your camcorder from the computer Click the icon at the bottom right of the desktop of the computer [Safely remove USB Mass Storage Device]. : Starts "PMB." : Displays "PMB Help." : Displays "PMB Launcher." "PMB Launcher" enables you to start "PMB" or other software, or to open web sites. Other icons may appear. No icon may appear depending on the installation procedure. Notes To create discs or use other functions on Windows XP, Image Mastering API v2.0 for Windows XP should be installed. If Image Mastering API v2.0 for Windows XP has not been installed yet, select it from required programs on the installation screen and install it following the procedures displayed. (The computer must be connected to the internet for the installation.) You may install Image Mastering API v2.0 for Windows XP in response to the message displayed when you try to start those functions. Touch [END] [YES] on the camcorder screen. Disconnect the USB cable. Notes Access from the computer using the supplied software "PMB." Do not modify the files or folders on the camcorder from the computer. The image files may be destroyed or may not be played back. Operation is not guaranteed, if you perform the above operation. When you delete image files, follow the steps on page 30. Do not delete the image files on the camcorder directly from the computer. Do not copy the files on the recording media from the computer. Operation is not guaranteed. US 34
-
 1
1 -
2
-
3
-
4
-
5
-
6
-
7
-
8
-
9
-
10
-
11
-
12
-
13
-
14
-
15
-
16
-
17
-
18
-
19
-
20
-
21
-
22
-
23
-
24
-
25
-
26
-
27
-
28
-
 29
29 -
 30
30 -
 31
31 -
 32
32 -
 33
33 -
 34
34 -
 35
35 -
 36
36 -
 37
37 -
 38
38 -
 39
39 -
40
-
41
-
42
-
43
-
44
-
45
-
46
-
47
-
48
-
49
-
50
-
51
-
52
-
53
-
54
-
55
-
56
-
57
-
58
-
59
-
60
-
61
-
62
-
63
-
64
-
65
-
66
-
67
-
68
-
69
-
70
-
71
-
72
-
73
-
74
-
75
-
76
-
77
-
78
-
79
-
80
-
81
-
82
-
83
-
84
-
85
-
86
-
87
-
88
-
89
-
90
-
91
-
92
-
93
-
94
-
95
-
96
-
97
-
98
-
99
-
100
-
101
-
102
-
103
-
104
-
105
-
106
-
107
-
108
-
109
-
110
-
111
-
112
-
113
-
114
-
115
-
116
-
117
-
118
-
119
-
120
-
121
-
122
-
123
-
124
 |
 |