Sony FX41 Operating Instructions - Page 21
To adjust the tilt of the installation, surface, output to the projector.
 |
UPC - 027242754775
View all Sony FX41 manuals
Add to My Manuals
Save this manual to your list of manuals |
Page 21 highlights
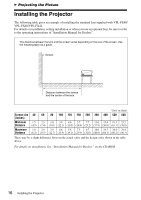
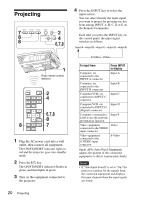
Projecting the Picture For details, see "Auto Input Search" in the Function menu on page 35. • The Smart APA feature is effective for the input (analog) signal from a computer only. (It is not effective for digital computer signal.) 5 Switch the equipment connected to output to the projector. Depending on the type of your computer, for example a notebook, or an all-in-one LCD type, you may have to switch the computer to output to the projector by pressing certain keys (e.g., / , LCD VGA / , etc.), or by changing your computer's settings. F7 or Fx and Fn To adjust the tilt of the installation surface If the projector is installed on an uneven surface, use the adjusters to keep the projector level. Turn to adjust Adjusters Notes • Be careful not to let the projector down on your fingers. • Do not push hard on the top of the projector with the adjuster extended. It may cause a malfunction. Note The key used for switching the computer to output to the projector varies depending on the type of computer. 6 Adjust the upper, lower, left or right position of the picture using the M/m/
-
 1
1 -
2
-
3
-
4
-
5
-
6
-
7
-
8
-
9
-
10
-
11
-
12
-
13
-
14
-
15
-
 16
16 -
 17
17 -
 18
18 -
 19
19 -
 20
20 -
 21
21 -
 22
22 -
 23
23 -
 24
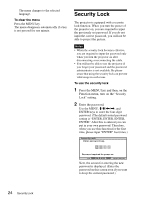
24 -
 25
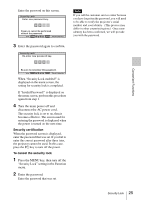
25 -
 26
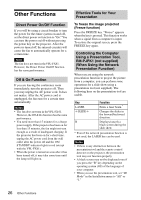
26 -
27
-
28
-
29
-
30
-
31
-
32
-
33
-
34
-
35
-
36
-
37
-
38
-
39
-
40
-
41
-
42
-
43
-
44
-
45
-
46
-
47
-
48
-
49
-
50
-
51
-
52
-
53
-
54
-
55
-
56
-
57
-
58
-
59
 |
 |