Sony HDR-PJ50V Handycam® Handbook - Page 43
Changing the settings for Highlight Playback, Changing the settings for, Highlight Playback
 |
UPC - 027242820104
View all Sony HDR-PJ50V manuals
Add to My Manuals
Save this manual to your list of manuals |
Page 43 highlights
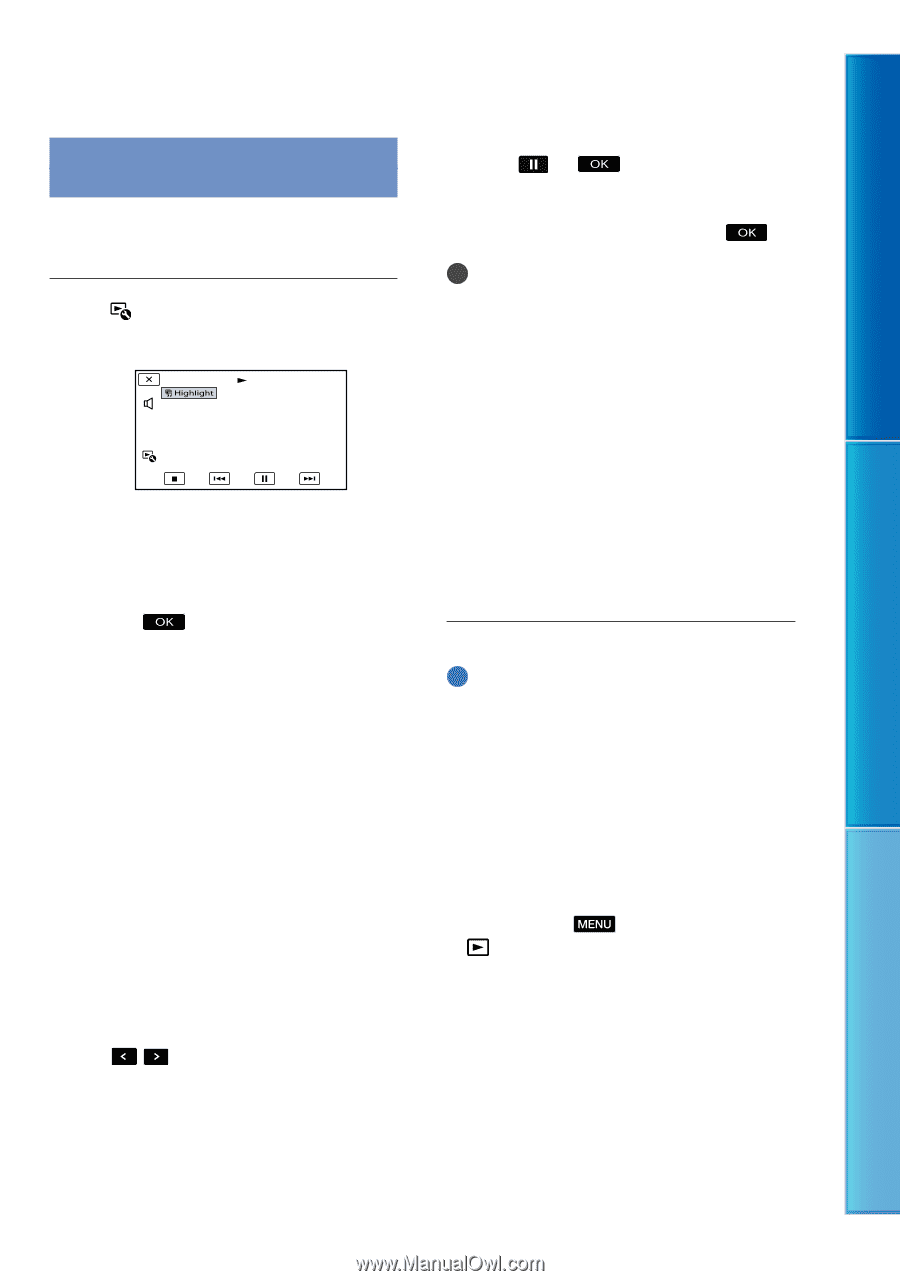
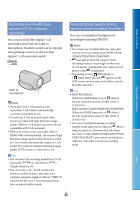
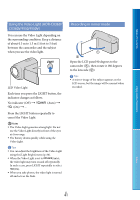
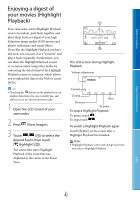
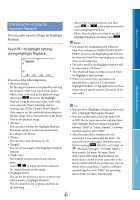
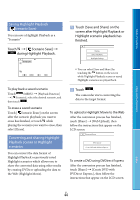
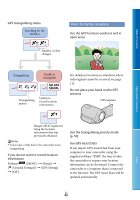
Table of Contents Enjoy Useful Functions Changing the settings for Highlight Playback You can make various settings for Highlight Playback. Touch [Highlight Setting] during Highlight Playback. You can set the following items. [Playback Range] Set the range of movies to be played by selecting the range of events from which event and to which event, to be used as the playback range, then touch . If you set the Highlight Playback range by selecting events on the Map View, select the "from" (starting) and "to" (ending) date (HDR-CX360V/PJ30V/PJ50V). If no range is set, the camcorder plays images in the date range of the event selected on the Event View as the playback range. [Theme] You can select a theme for Highlight Playback. The music category is selected automatically according to the theme. [Music] You can select and add music (p. 43). [Length] You can set the length of the Highlight Playback segment. [Audio mix] The original sound is played back with the music. Touch / to adjust the balance between the original sound and the music. [Highlight Point] You can set the points in a movie or photo that will be used in a Highlight Playback. Play the desired movie or photo, and then do the following. Movie: Play the desired movie, and then touch at the point you want to use in a Highlight Playback. Photo: Play the photo you want to use in a Highlight Playback, and then touch . Notes You cannot set a Highlight point when the Map View is displayed (HDR-CX360V/PJ30V/ PJ50V). However, the Highlight point that was set when the Event View was displayed can take effect on the Map View. The audio used for the Highlight Playback will be converted to 2ch stereo. The [Playback Range] setting is cleared when the Highlight Playback stops. When you connect the camcorder to an external device, such as a TV, and watch Highlight Playback or Highlight Scenario, these images do not appear on the LCD screen of the camcorder. Tips You can select [Highlight Setting] on the screen after a Highlight Playback has finished. You can transfer music files from audio CDs or MP3 files to your camcorder, and play them with Highlight Playback using the supplied software "PMB" or "Music Transfer," a software installed together with "PMB." After the music file is transferred to the camcorder, if you cannot play the music, the music file may be damaged. Delete the music file by touching (MENU) [Setup] [ (Playback Settings)] [Empty Music], then transfer the music file again. If you delete music files using [Empty Music], the music data recorded on your camcorder at the factory will be deleted too. In this case, you can restore them using Music Transfer, a software installed together with "PMB." For operating instructions, see Music Transfer help. Index US 43
-
 1
1 -
2
-
3
-
4
-
5
-
6
-
7
-
8
-
9
-
10
-
11
-
12
-
13
-
14
-
15
-
16
-
17
-
18
-
19
-
20
-
21
-
22
-
23
-
24
-
25
-
26
-
27
-
28
-
29
-
30
-
31
-
32
-
33
-
34
-
35
-
36
-
37
-
 38
38 -
 39
39 -
 40
40 -
 41
41 -
 42
42 -
 43
43 -
 44
44 -
 45
45 -
 46
46 -
 47
47 -
 48
48 -
49
-
50
-
51
-
52
-
53
-
54
-
55
-
56
-
57
-
58
-
59
-
60
-
61
-
62
-
63
-
64
-
65
-
66
-
67
-
68
-
69
-
70
-
71
-
72
-
73
-
74
-
75
-
76
-
77
-
78
-
79
-
80
-
81
-
82
-
83
-
84
-
85
-
86
-
87
-
88
-
89
-
90
-
91
-
92
-
93
-
94
-
95
-
96
-
97
-
98
-
99
-
100
-
101
-
102
-
103
-
104
-
105
-
106
-
107
-
108
-
109
-
110
-
111
-
112
-
113
-
114
-
115
-
116
-
117
-
118
-
119
-
120
-
121
-
122
-
123
-
124
-
125
-
126
-
127
-
128
-
129
 |
 |