Sony KDL-46W4100 Operating Instructions - Page 44
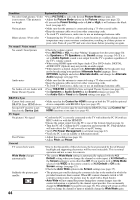
No sound / Noisy sound, BRAVIA Sync, PC Input, General, PC Power Management - television
 |
UPC - 027242736597
View all Sony KDL-46W4100 manuals
Add to My Manuals
Save this manual to your list of manuals |
Page 44 highlights
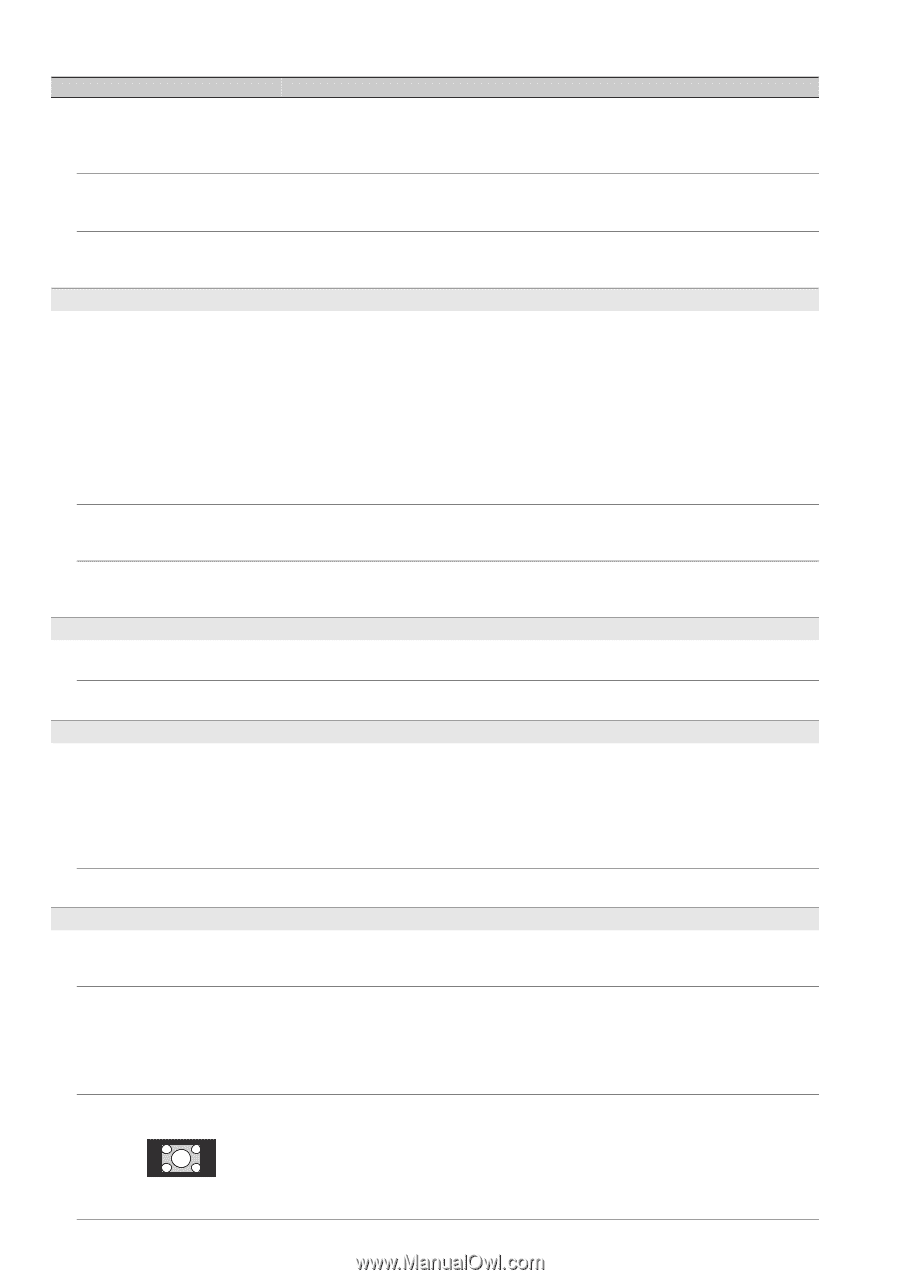
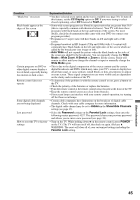
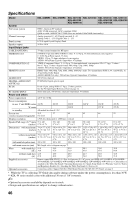
Condition Explanation/Solution No color / Dark picture / Color • Press PICTURE to select the desired Picture Mode (see page 21). is not correct / The picture is • Adjust the Picture Mode options in the Picture settings (see page 32). too bright • If you set the Power Saving mode to Low or High, it will enhance the black level (see page 42). Noisy picture • Make sure that the antenna is connected using a 75-ohm coaxial cable. • Keep the antenna cable away from other connecting cords. • To avoid TV interference, make sure to use an undamaged antenna cable. Blurry picture / Poor color • Transporting the TV from a cold to a warm location or a sudden change in room temperature may cause moisture condensation, resulting in a blurry picture or poor color. Turn off your TV and wait a few hours before powering on again. No sound / Noisy sound No sound / Good picture • Check the volume control. • Press MUTING or VOL + so that "Muting" disappears from the screen (page 20). • Set Speakers to TV Speakers in the Sound settings (see page 34). If it is set to Audio System, sound is not output from the TV's speakers regardless of the TV's volume control. • When using HDMI input with Super Audio CD or DVD-Audio, DIGITAL AUDIO OUT (Optical) may not provide an audio signal. • When tuned to a digital channel with Alternate Audio, the broadcaster may not be broadcasting your preferred Alternate Audio language. Press OPTIONS, highlight and select Alternate Audio, and change the Alternate Audio language (see page 35). Audio noise • Make sure that the antenna is connected using a 75-ohm coaxial cable. • Keep the antenna cable away from other connecting cords. • To avoid TV interference, make sure to use an undamaged antenna cable. No Audio or Low Audio with • Press THEATER for BRAVIA Sync activated Theater System (see page 25). Home Theater System • Set Speakers to Audio System in the Sound settings (see page 34). • Set Audio Out to Fixed in the Sound settings (see page 35). BRAVIA Sync Cannot find connected • Make sure that the Control for HDMI is set up on both the TV and the optional BRAVIA Sync HDMI device device compatible with BRAVIA Sync (see page 25). Second A/V receiver is not listed on the Device List • Only one A/V receiver may be used with the BRAVIA Sync and Control for HDMI functions at one time (see page 41). PC Input No picture / No signal • Confirm the PC is correctly connected to the TV with either the PC IN (with an HD15 cable) or with the HDMI IN. • Ensure the output signal from the PC is one of the formats listed on page 14. • Turn the PC off. Confirm the PC connection and restart the PC. Plug-and-play will auto-detect the TV and correctly set up PC timing. • Verify PC Power Management is activated (see page 42). • Verify the PC is not in standby or hibernation mode. Poor Picture • Adjust the resolution (see page 14). • Adjust Pitch and Phase. General TV screen feels warm • Due to the thin profile of this television, the heat generated by the LCD panel backlight and supporting electronics will be more noticeable. This is normal operation and not a cause for concern. Wide Mode changes automatically • The current Wide Mode setting is automatically replaced with the 4:3 Default setting when you change the channel or video input, if 4:3 Default in the Screen settings is set to other than Off. If you want to lock in Wide Mode selected with WIDE on the remote control, set 4:3 Default to Off in the Screen settings (see page 35). • Check the Auto Wide option in the Screen settings (see page 35). Suddenly the picture gets smaller • The picture gets smaller during the commercials due to the method in which the provider broadcasts their content. When HD content channels switch to SD content (commercials), the picture may be small with a black border. • Auto Wide will not expand the picture during these content changes since the content information is regulated by the channel signal provider. You can manually change the Wide Mode if you prefer (see page 22). This setting will remain in effect until you change the channel or input or manually change the Wide Mode again. 44
-
 1
1 -
2
-
3
-
4
-
5
-
6
-
7
-
8
-
9
-
10
-
11
-
12
-
13
-
14
-
15
-
16
-
17
-
18
-
19
-
20
-
21
-
22
-
23
-
24
-
25
-
26
-
27
-
28
-
29
-
30
-
31
-
32
-
33
-
34
-
35
-
36
-
37
-
38
-
 39
39 -
 40
40 -
 41
41 -
 42
42 -
 43
43 -
 44
44 -
 45
45 -
 46
46 -
 47
47 -
 48
48
 |
 |