Sony MEX-DV2000 Operating Instructions - Page 12
Getting Started, Installing the unit and an optional monitor, Resetting the unit - drivers
 |
UPC - 027242706477
View all Sony MEX-DV2000 manuals
Add to My Manuals
Save this manual to your list of manuals |
Page 12 highlights
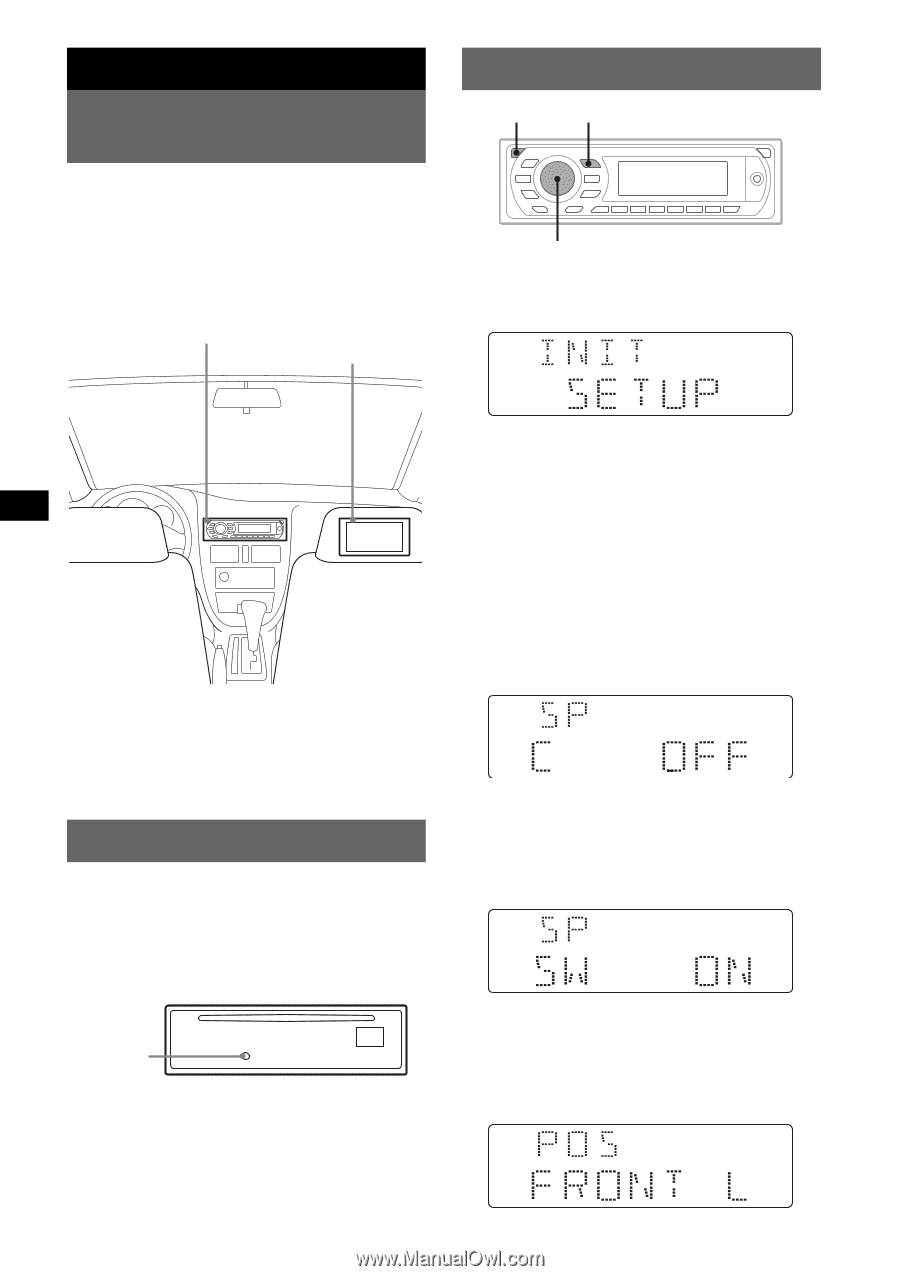
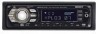
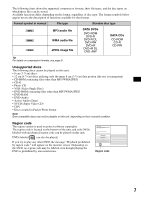
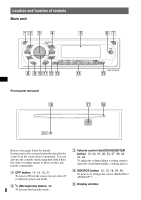
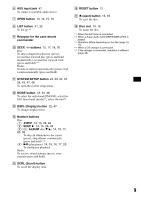
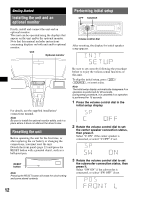
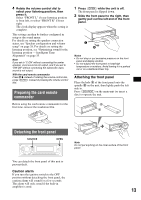
Getting Started Installing the unit and an optional monitor Firstly, install and connect the unit and an optional monitor. This unit can be operated using the displays that appear on the unit and/or the optional monitor. Note that this manual includes instructions concerning displays on both unit and/or optional monitor. Unit Optional monitor Performing initial setup OFF SOURCE Volume control dial After resetting, the display for initial speaker setup appears. For details, see the supplied installation/ connections manual. Note Be sure to install the optional monitor safely, and in a place where it does not obstruct the driver's view. Resetting the unit Before operating the unit for the first time, or after replacing the car battery or changing the connections, you must reset the unit. Detach the front panel (page 13) and press the RESET button with a pointed object, such as a ball-point pen. RESET button Note Pressing the RESET button will erase the clock setting and some stored contents. Be sure to set correctly following the procedure below to enjoy the various sound functions of this unit. To skip the initial setup, press (OFF)/ (SOURCE), or insert a disc. Note The initial setup display automatically disappears if no operation is performed for 30 seconds. During setup procedure, it is canceled if no operation is performed for 15 seconds. 1 Press the volume control dial in the initial setup display. 2 Rotate the volume control dial to set the center speaker connection status, then press it. Select "C ON" if the center speaker is connected, or select "C OFF" if not. 3 Rotate the volume control dial to set the subwoofer connection status, then press it. Select "SW ON" if the subwoofer is connected, or select "SW OFF" if not. 12
-
 1
1 -
2
-
3
-
4
-
5
-
6
-
 7
7 -
 8
8 -
 9
9 -
 10
10 -
 11
11 -
 12
12 -
 13
13 -
 14
14 -
 15
15 -
 16
16 -
 17
17 -
18
-
19
-
20
-
21
-
22
-
23
-
24
-
25
-
26
-
27
-
28
-
29
-
30
-
31
-
32
-
33
-
34
-
35
-
36
-
37
-
38
-
39
-
40
-
41
-
42
-
43
-
44
-
45
-
46
-
47
-
48
-
49
-
50
-
51
-
52
-
53
-
54
-
55
-
56
-
57
-
58
-
59
-
60
-
61
-
62
-
63
-
64
-
65
-
66
-
67
-
68
-
69
-
70
-
71
-
72
-
73
-
74
-
75
-
76
-
77
-
78
-
79
-
80
-
81
-
82
-
83
-
84
-
85
-
86
-
87
-
88
-
89
-
90
-
91
-
92
-
93
-
94
-
95
-
96
-
97
-
98
-
99
-
100
-
101
-
102
-
103
-
104
-
105
-
106
-
107
-
108
-
109
-
110
-
111
-
112
-
113
-
114
-
115
-
116
-
117
-
118
-
119
-
120
-
121
-
122
-
123
-
124
-
125
-
126
-
127
-
128
-
129
-
130
-
131
-
132
-
133
-
134
-
135
-
136
-
137
-
138
-
139
-
140
-
141
-
142
-
143
-
144
-
145
-
146
-
147
-
148
-
149
-
150
-
151
-
152
-
153
-
154
-
155
-
156
-
157
-
158
-
159
-
160
-
161
-
162
-
163
-
164
-
165
-
166
-
167
-
168
-
169
-
170
-
171
-
172
-
173
-
174
-
175
-
176
-
177
-
178
-
179
-
180
-
181
-
182
-
183
-
184
-
185
-
186
-
187
-
188
-
189
-
190
-
191
-
192
 |
 |