Sony MHC-MG310AV Operating Instructions (primary manual) - Page 16
Labeling a CD — Disc Memo
 |
View all Sony MHC-MG310AV manuals
Add to My Manuals
Save this manual to your list of manuals |
Page 16 highlights
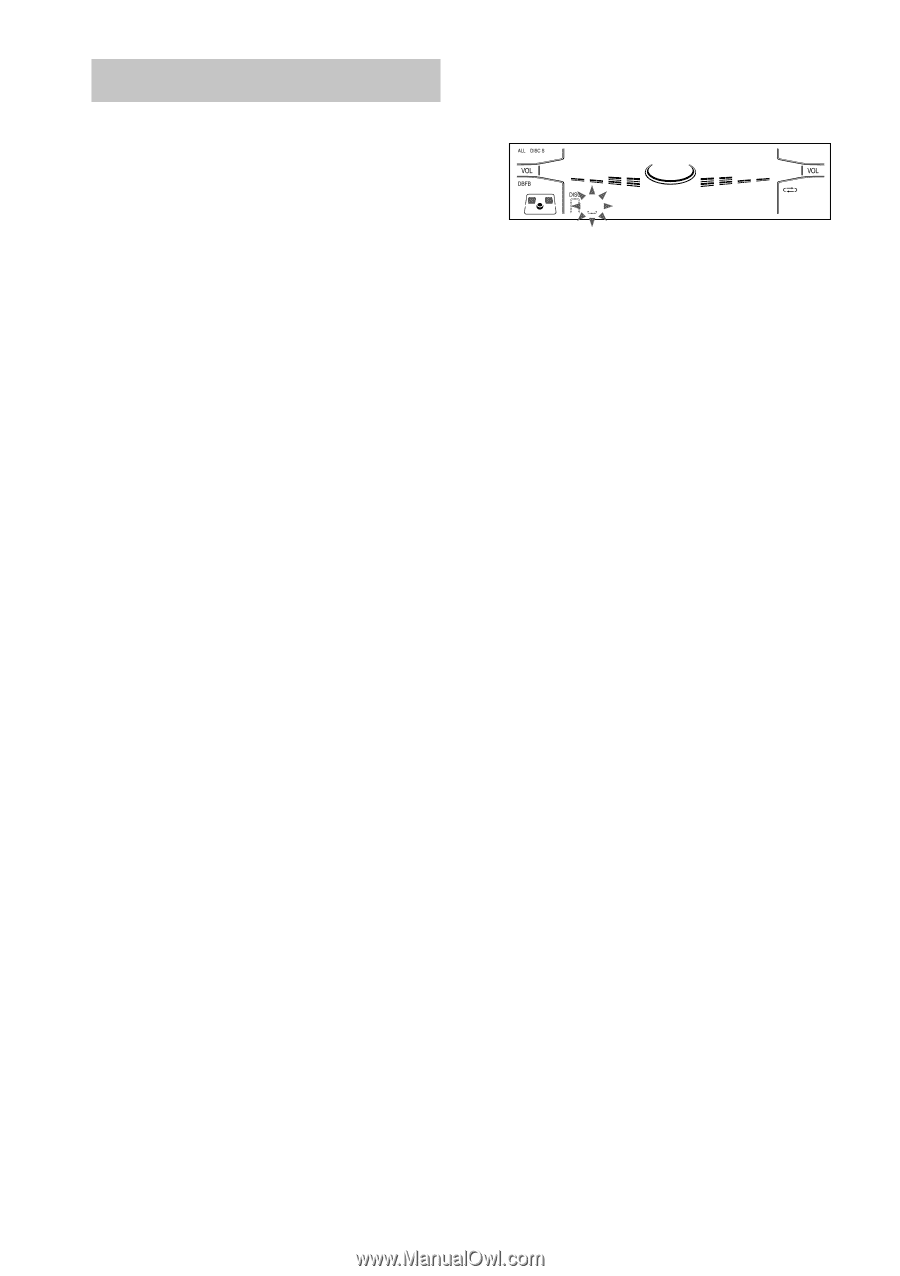
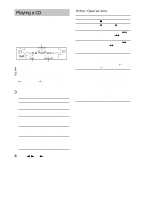
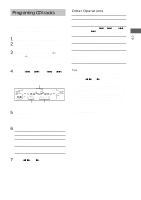
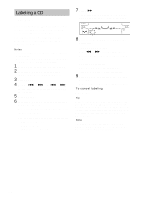
Labeling a CD - Disc Memo You can label up to 60 CDs with titles of up to 20 characters. Whenever you load a labeled CD, the title appears in the display. You can also label CDs using an optional keyboard (see "Labeling titles through the keyboard" on page 27). Notes • You cannot label a CD for which "TEXT" appears in the display. • You can label a CD only during Normal Play (when "1 DISC" or "ALL DISCS" is displayed). 1 Press CD to switch the function to CD. 2 Turn DISC ACCESS until the disc number you want to label appears. 3 Press MENU. 4 Press - . or > + (or . or > on the remote) repeatedly until "NAME IN" appears. 5 Press ENTER. 6 Turn DISC ACCESS until the character you want appears. The cursor disappears and the first space for the disc title flashes. You can input the following characters: • Upper cases (A - Z) • Numbers (0 - 9) • Symbols 7 Press M. The character you selected in step 6 stops flashing and the cursor shifts to the right. 8 Repeat steps 6 and 7 to complete the entire title. If you made a mistake Press m or M until the character you want to change flashes, then repeat steps 6 and 7. To erase a character Press CLEAR while the character is flashing. You cannot insert characters. 9 Press ENTER to complete the labeling procedure. Repeat steps 2 to 9 to label additional discs. To cancel labeling Press MENU. Tip When you replace a disc with a CD-TEXT disc, the Disc Memo of the CD-TEXT disc is automatically restored. The Disc Memo of the CD-TEXT disc is no longer stored (disappears) when the disc is removed. Note that you cannot change the Disc Memo of a CD-TEXT disc. Note The Disc Memo stores the number of the slot in which the CD was loaded. Re-enter the Disc Memo when loading a new CD into that slot. 16
-
 1
1 -
2
-
3
-
4
-
5
-
6
-
7
-
8
-
9
-
10
-
 11
11 -
 12
12 -
 13
13 -
 14
14 -
 15
15 -
 16
16 -
 17
17 -
 18
18 -
 19
19 -
 20
20 -
 21
21 -
22
-
23
-
24
-
25
-
26
-
27
-
28
-
29
-
30
-
31
-
32
-
33
-
34
-
35
-
36
-
37
-
38
-
39
-
40
 |
 |