Symphonic WF32L6 Owner's Manual - Page 12
Initial Settings - manual
 |
View all Symphonic WF32L6 manuals
Add to My Manuals
Save this manual to your list of manuals |
Page 12 highlights
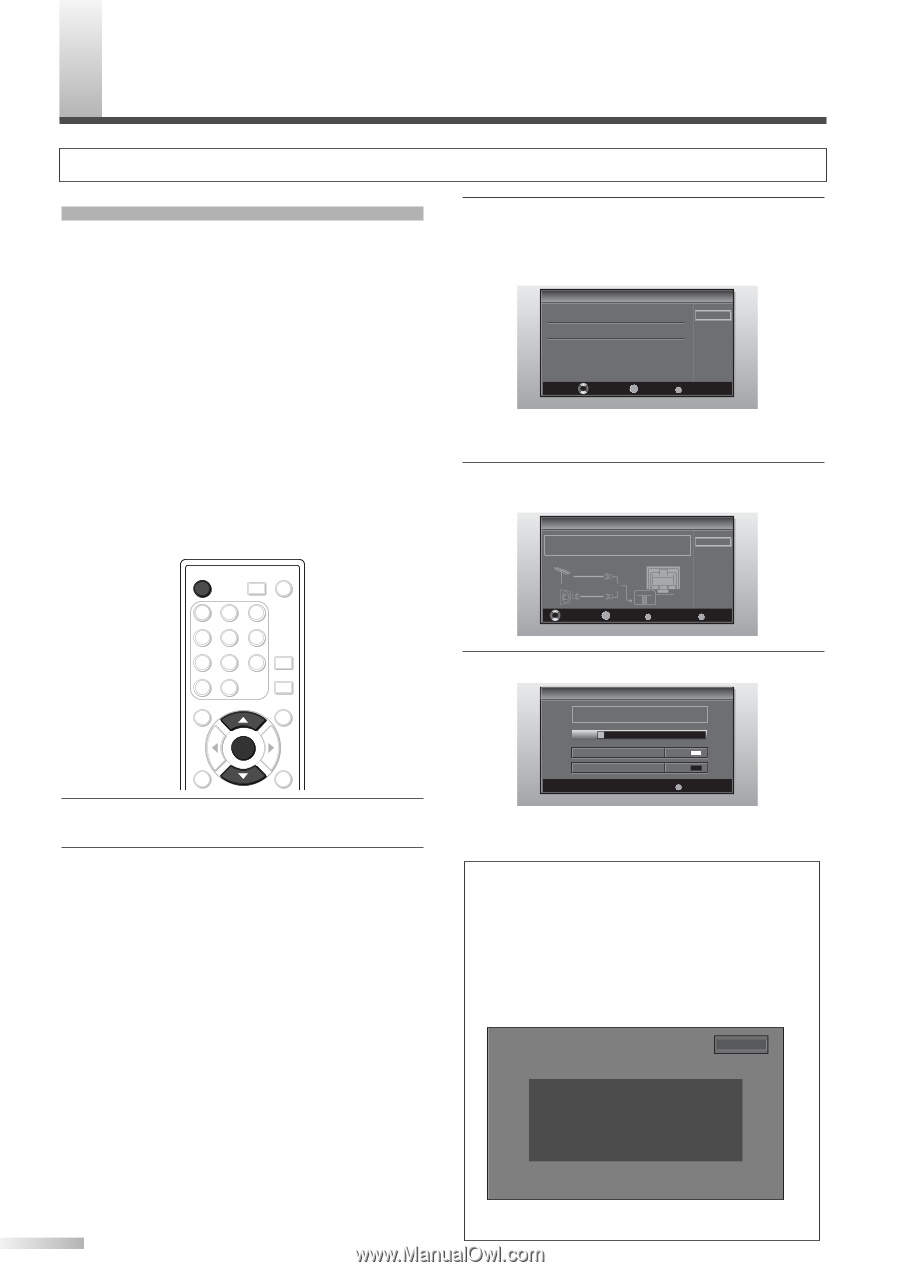
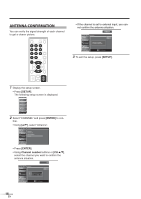
INITIAL SETTINGS Hint: Before starting initial setup you must connect antenna. INITIAL SETTINGS This section describes the initial settings when you first turn on the power after purchase. The initial setting items are shown below. • LANGUAGE SELECTION You can select the menu language displayed on the screen among English, Spanish and French. • AUTOSCAN (TV/DTV) (Select "Air" when using antenna) The channels broadcasted in TV and DTV are automatically scanned and memorized. Only the receivable channels in the area where this TV is used will be memorized. • AUTOSCAN (CATV) (Select "Cable" when using RF/Incoming cable) The channels broadcasted in CATV are automatically scanned and memorized. POWER INPUT SLEEP SELECT 12 45 78 -0 SETUP 3 6 AUDIO 9 STILL SCREEN MODE ENTER BACK INFO 1 After making all the necessary connections, turn on this TV. 2 Press [POWER]. Initial Setup menu will appear. • This operation may take a few moments. • If Initial Setup menu does not appear, press and hold [ENTER] for 3 seconds, initial setup will appear then proceed to step 3. If you have already turned on this TV before, refer to "LANGUAGE SELECTION" on page 17 to select a language for the on-screen displays. 3 Select your language using [K/L], press [ENTER]. When you first turn on the power, the following screen is displayed. Initial Setup Select the language for setup display. Elija idioma de preparación. Sélectionner langue écran config. English Español Français Select ENTER Enter SETUP Exit The Antenna Confirmation will be displayed in the selected language after you press [ENTER]. 4 Select source of ANT. IN jack using [K/L], press [ENTER]. Initial Setup Make sure the antenna is connected to "ANT IN" jack. Select the destination of "ANT IN" jack. Air Air Cable Cable Select Or ANT IN ENTER Enter BACK Back SETUP Exit 5 Autoscan will start automatically. Initial Setup Now the system is scanning for channels,please wait. 5% Analog channels Digital channels 1ch 0ch SETUP Exit • When scanning has completed, the lowest memorized channel will be displayed. NOTES: • The initial Autoscan function can be executed for either "Air" or "Cable" only once. When you change the connection (Air/Cable), set the "Autoscan" again. (Refer to page 13.) • If you connect cable system directly, contact the CATV installer. • When the scanning is not completed, Helpful Hint will be displayed every time you turn on the power. If you have previously registered channels when this screen appears you can select a channel with number buttons. 2-0 No channel is registered. Press and hold "ENTER" key for 3 seconds. Contact support hotline provided on manual or back of unit. Sin canal registrado. Mantenga oprimida la tecla "ENTER" durante 3 segundos. Llame teléfono de apoyo en manual o atrás de TV. Pas de chaîne consign. Maintenir la touche "ENTER" pressée 3 secondes. Contacter numero d'urgence dans manuel ou arrière appareil. 12 EN • Support hotline is provided on the front page of this manual.
-
 1
1 -
2
-
3
-
4
-
5
-
6
-
 7
7 -
 8
8 -
 9
9 -
 10
10 -
 11
11 -
 12
12 -
 13
13 -
 14
14 -
 15
15 -
 16
16 -
 17
17 -
18
-
19
-
20
-
21
-
22
-
23
-
24
-
25
-
26
-
27
-
28
-
29
-
30
-
31
-
32
-
33
-
34
-
35
-
36
 |
 |